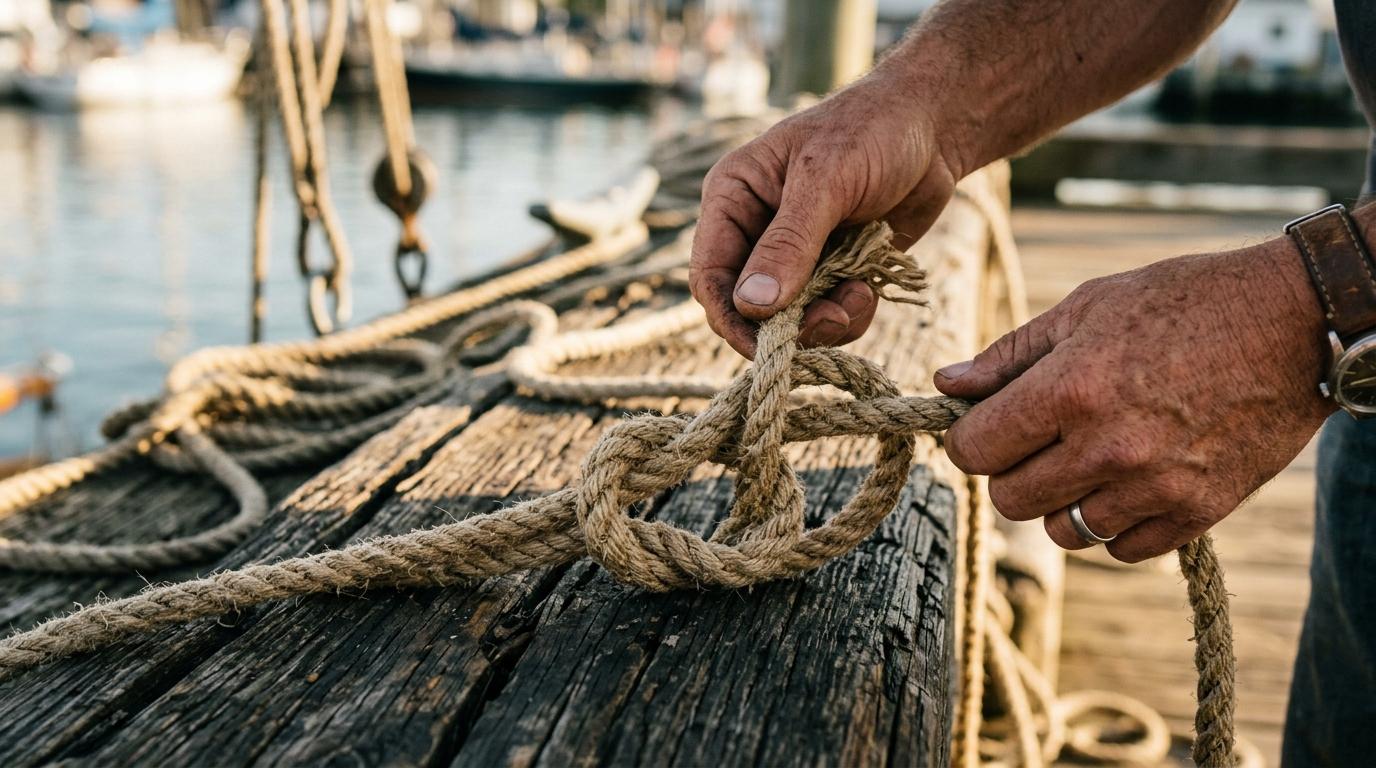
Why this knot
The bowline (say it: BOH-lin) creates a fixed loop that won't tighten under load and releases easily afterwards. It holds your weight on a climbing harness, secures a boat to a dock, and ties a rescue line around someone's chest. It's been in continuous use for at least 500 years.
Two properties make it invaluable: it won't slip or shrink when loaded, and it unties with a quick push even after heavy stress. No other common knot does both as reliably.
What to practise with
Use a rope or cord about 60cm long. A shoelace works fine. Avoid very stiff or slippery cord until the movement is automatic: it's harder to feel the shape forming.
Tying the knot
The parts of the rope
Hold the rope with one end (the working end) in your dominant hand. The rest, the standing part, hangs down from your other hand. The large loop you create will become the finished bowline.
The rabbit story
The classic mnemonic teaches the motion in exactly the right sequence:
1. Make the hole. Form a small overhand loop in the standing part of the rope, close to where you're holding it. The working end should emerge from underneath this loop.
2. The rabbit comes out. Pass the working end up through the small loop from below. Pull out about 15cm.
3. Around the tree. Bring the working end around behind the standing part (the tree), keeping it on the outside of the small loop.
4. Back down the hole. Pass the working end back down through the same small loop it came up through.
5. Tighten. Hold the working end and the large loop together in one hand. Pull the standing part firmly with the other. The knot should dress itself neatly against the collar.
Check it
A correct bowline has a loop that stays fixed in size, a neat collar where the strands cross, and the working end exiting on the inside of the large loop, not outside it.
Practice and uses
Build the movement
Tie it twenty times with your eyes open, then twenty times with your eyes closed. Then try tying it one-handed: hold the standing part against something fixed and work only with your dominant hand. The one-handed bowline is a real technique used in sailing when the other hand holds the tiller.
When to use it
Use a bowline any time you need a fixed loop that won't close: anchoring a tarp guy-line, attaching a line to a ring or cleat, making a loop around someone's waist in a basic rescue. It's excellent for static loads: situations where force is sustained rather than sudden.
Not for lead climbing
Don't use a bowline as a tie-in for sport or trad lead climbing falls. The shock load can cause it to slip. Use a re-threaded figure-eight for climbing harness tie-ins: it's the industry standard for that specific application.
Untying after load
After heavy loading the knot may feel locked. Push the collar forward along the standing part. This breaks the internal friction. The knot will then pull apart with two fingers. This ease-of-release is the bowline's second trick, and why sailors choose it over almost every other knot.