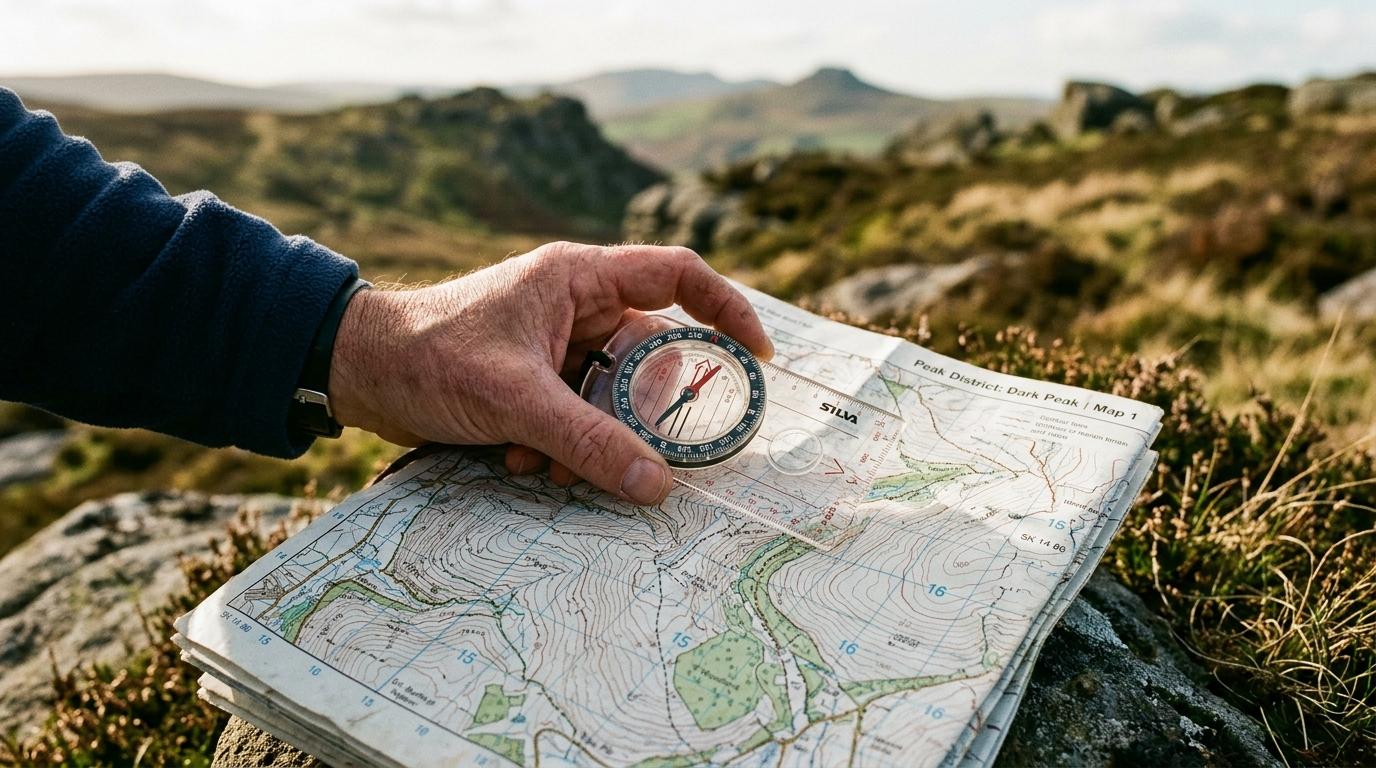
Meet your compass
A baseplate compass has three main parts: the magnetic needle (red tip always points north), the rotating bezel marked in degrees from 0 to 360, and the direction-of-travel arrow printed on the base plate. Every navigation move you make comes down to aligning these three things.
Parts at a glance
The bezel is your control dial. Rotating it sets your bearing, a number between 0° and 360° that describes a direction. North is 0° (or 360°), east is 90°, south is 180°, west is 270°. Everything else falls somewhere between.
Hold it level
Keep the compass flat and away from metal objects, phones, and belt buckles: anything magnetic will pull the needle off true north and give you a false reading.
Take a bearing
A bearing is a direction expressed as a number. To find yours, point the direction-of-travel arrow at your destination: a hilltop, a building, anything you can see. Rotate the bezel until the red needle sits neatly inside the orienting arrow (the two lines printed on the bottom of the bezel capsule). The number at the index line is your bearing.
The mantra that saves beginners
Compass veterans say: red in the shed. The shed is the orienting arrow outline. When the red needle tip sits inside it, you're aligned. If the needle's backwards (white end in the shed) you're pointed 180° the wrong way and will walk in exactly the opposite direction.
Shooting a bearing to a map feature
Place your compass on the map with the direction-of-travel arrow pointing from your current position toward your target. Rotate the bezel until the orienting lines run parallel to the map's north-south grid lines (north lines pointing to the top of the map). Lift the compass, hold it level, and rotate your whole body until red is in the shed. Walk that line.
Declination matters on long routes
Maps are aligned to grid north, but your needle points to magnetic north. In many places these differ by several degrees. For walks under a few kilometres you can ignore this. For serious navigation, look up your local declination and adjust your bezel accordingly.
Walk the bearing
Once you've set your bearing, the challenge is walking it accurately: through trees, around obstacles, in low visibility. The trick is intermediate targets. Look up from the compass, pick a rock or tree that sits exactly on your bearing line, put the compass away, and walk to it. Repeat. Far more accurate than staring at the compass while you walk.
Staying on line around obstacles
When a lake or cliff blocks your path, take a 90° detour: turn exactly 90° left (subtract 90° from your bearing), count your paces, then turn back to your original bearing, walk past the obstacle, then turn 90° right (add 90°) for the same number of paces. You're back on your original line. This is called boxing an obstacle and it's one of the most practical field skills you can own.
Pace counting
Know how many of your double-paces equal 100 metres on flat ground. For most adults it's around 65 to 70. Count left-foot strikes. This gives you rough distance without GPS.
Practice and go further
The best way to build confidence is practising in a park before you need the skill in the field. Set a bearing, walk it for 200 metres without looking up, and see where you land. Then try a triangle course: walk bearing A for 100 paces, add 120° and walk bearing B for 100 paces, add 120° again and walk bearing C. You should arrive back within a few metres of your start. If you do, your technique is solid.
Where to go from here
Orienteering is a sport built around map and compass navigation. Events run at every level from beginner to elite, and the courses are designed to teach exactly this skill under gentle time pressure. Find a local club and try a score event, where you choose your own route between checkpoints. It's the fastest way to go from shaky to confident.
Digital backup, analogue primary
A phone GPS is a fine backup, but batteries die and signals drop. A compass works in any weather, at any altitude, with no charge. Carry both, trust the compass first.