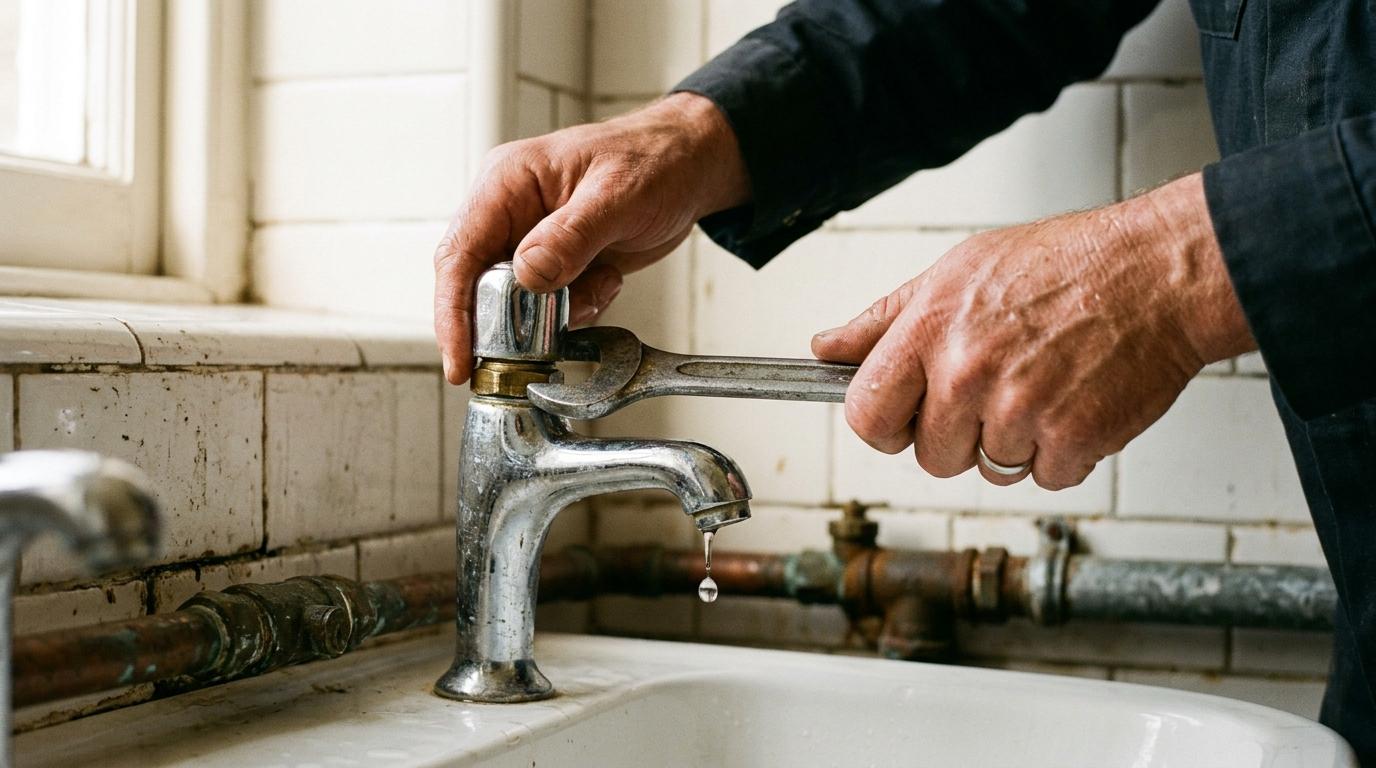
Understand why taps drip
Almost every dripping tap comes down to one thing: a worn washer or O-ring inside the tap body. Every time you turn the tap on, that small rubber disc gets compressed against a metal seat. Over thousands of uses it flattens, hardens, or splits, and water sneaks past.
Two main tap types
Traditional pillar taps have a separate hot and cold handle that you screw open and shut. These use a rubber washer on the end of a brass spindle. Mixer taps with a single lever usually use ceramic disc cartridges instead. Check which you have before buying parts: the fix is slightly different for each.
Quick washer test
If the drip slows when you turn the tap firmly off, it's almost certainly a washer. If it drips regardless, suspect the seat or cartridge.
Gather your tools and turn off the water
You need an adjustable spanner, a flat-head screwdriver, a cross-head screwdriver, and a replacement washer or cartridge. Washer kits cost under two pounds at any hardware shop. Grab an assorted pack so you have the right size.
Isolate the water supply
Find the isolator valve under the sink, a small inline valve on the pipe feeding that tap. Turn it a quarter-turn with a screwdriver until the slot is across the pipe. If there's no isolator, turn off the main stopcock, usually under the kitchen sink or where the supply enters the house. Open the dripping tap fully to drain residual pressure before you start work.
Always drain before opening
Skipping the drain step means pressurised water sprays the moment you loosen the headgear. Keep the tap open until flow stops completely.
Replace the washer or cartridge
Prise off the decorative cap on top of the tap handle. It usually pops off with a flat screwdriver. Remove the screw underneath, then pull the handle off. You'll see the headgear nut (a large hexagonal brass nut). Unscrew it anticlockwise with your adjustable spanner, then lift the whole spindle out.
Fitting the new washer
At the base of the spindle you'll find the old washer held by a small nut or a press fit. Lever it off, note the size, and press or screw the new washer on firmly. For ceramic cartridge mixers, unscrew the cartridge retaining nut, pull the cartridge straight up, and push the new matching cartridge in the same orientation. Reassemble in reverse order (handle, screw, cap) and hand-tighten the headgear nut, then give it a quarter-turn with the spanner. Don't overtighten or you'll crack the seat.
Take the old part to the shop
Bring the worn washer or cartridge when buying a replacement. Hardware staff can match it instantly rather than guessing from a description.
Test and troubleshoot
Turn the isolator or stopcock back on slowly. Open the tap to flush any debris, then close it firmly. Watch the spout for a full minute. A successful fix means silence: no drip at all. If it still drips, the valve seat inside the tap body may be pitted. A seat grinder tool (under ten pounds) lets you resurface it without replacing the whole tap.
When to call a plumber
If the headgear thread is stripped, the tap body is cracked, or water is weeping around the base of the spout rather than from the spout itself, the tap body needs replacing. That's still a straightforward job but involves cutting into supply pipes, so it's worth handing off if you're not confident with push-fit or compression fittings.
A drip costs real money
A tap dripping once per second wastes around 5,500 litres of water a year. Fixing it today pays back the cost of a washer kit within days on a metered supply.