What you need before you roll
Every cyclist gets a puncture eventually. The difference between a minor inconvenience and a long walk home is carrying the right kit. Keep a saddle bag or jersey pocket stocked and you'll be sorted in minutes.
Your puncture kit
You need a spare inner tube (matching your tyre size, printed on the sidewall), tyre levers (two or three plastic ones), and a mini pump or CO2 inflator. A patch kit is a bonus for when you run out of spare tubes.
Know your tyre size
Check the sidewall before you buy tubes: it'll say something like 700x25c or 29x2.1. Keep one tube that matches, plus a backup at home.
Get the wheel off and tyre open
Flip the bike upside down onto the handlebars and seat, or lean it against a wall. If it's the rear wheel, shift to the smallest sprocket first so the chain has slack. Open the quick release lever or unscrew the axle nuts, then lift the wheel free.
Remove the tyre
Let out any remaining air by pressing the valve pin. Hook a tyre lever under the tyre bead (the edge that sits in the rim) and lever it over. Walk a second lever around the rim until one side of the bead is fully off. Pull out the inner tube, starting at the valve.
Find the cause
Run your fingers slowly around the inside of the tyre, feeling for the piece of glass, thorn, or sharp edge that caused the flat. Skip this step and your new tube gets punctured immediately. Check the rim tape too: an exposed spoke hole can cut tubes from the inside.
Glass hides well
Take your time here. Small glass shards are almost invisible but razor sharp. Use a cloth or folded paper if you're worried about your fingers.
Fit the new tube and inflate
Put a tiny bit of air in the new tube, just enough to give it shape. Feed the valve through the valve hole in the rim, then work the tube around inside the tyre. Starting opposite the valve, push the tyre bead back onto the rim with your thumbs.
The last bit of bead
The final stretch of bead near the valve is always tight. Roll it on with your thumbs: push forward, not up. Avoid using a tyre lever here if you can; levers pinch tubes and cause instant flats. Check all the way around that no tube is trapped under the bead before inflating.
Inflate and refit
Pump to your tyre's recommended pressure, shown on the sidewall as a PSI or bar range. Refit the wheel, close the quick release firmly (it should leave a mark on your palm), and flip the bike back over. Give the wheel a spin to confirm it tracks straight.
Check your work at low pressure
Inflate to about 20 PSI first and squeeze the tyre all the way around to confirm the tube isn't pinched. Then pump to full pressure.
Patch a tube to keep as a spare
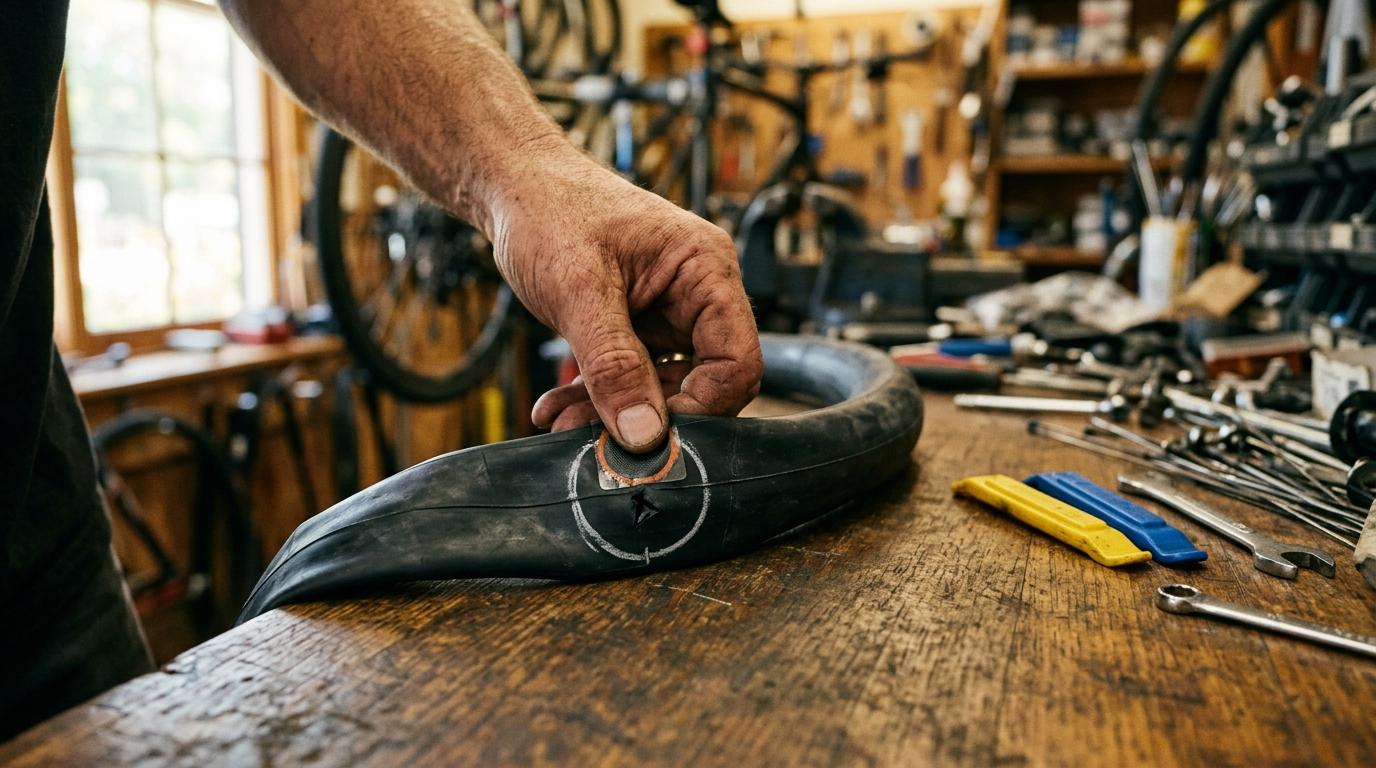
A patched tube is perfectly roadworthy and makes a great backup spare. Fill the punctured tube with air, submerge it in a bowl of water, and watch for bubbles to find the hole. Mark the spot with a pen, dry the area, and rough it up lightly with the sandpaper from your patch kit.
Applying the patch
Spread a thin layer of vulcanising glue over the scuffed area and wait two full minutes: it needs to become tacky, not wet. Peel the foil from the patch, press it firmly onto the glue for 60 seconds, working from the centre outward. Remove the plastic backing film slowly.
Test before you trust it
Inflate the repaired tube fully and leave it for ten minutes. If it holds pressure, fold it neatly, wrap it in the foil backing, and stow it in your saddle bag. Insurance for next time.
Glueless patches are faster but less reliable
Self-adhesive patches work in a pinch for getting home, but a properly glued vulcanised patch lasts the life of the tube.