Pick a fish and set up
Whole fish is cheaper than fillets, fresher than fillets, and the fishmonger will hand it over without comment. The only thing standing between you and that price is ten minutes of work most people have never been shown.
What you need
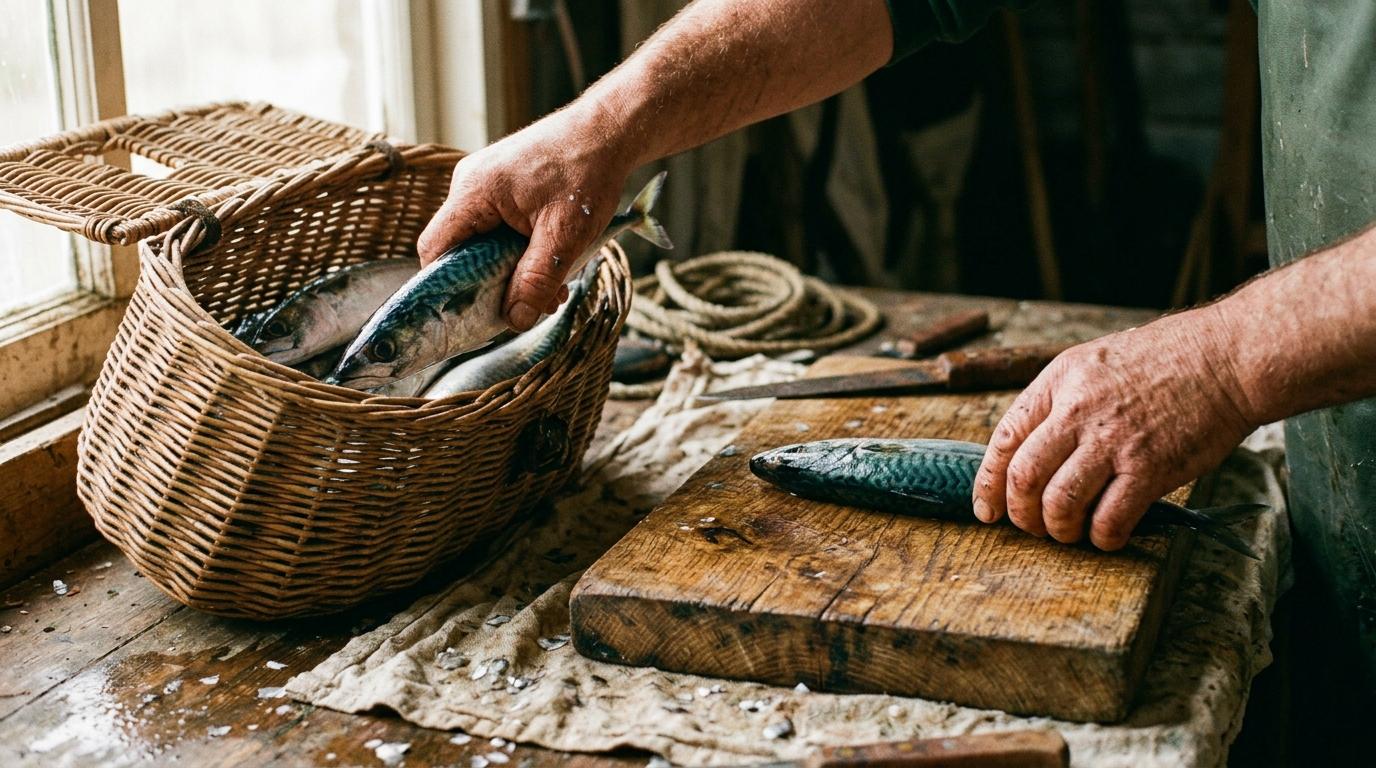
A sharp, flexible knife (a filleting knife is ideal, a small sharp kitchen knife is fine), a chopping board you don't mind smelling of fish for an hour, kitchen paper, and a bin bag or newspaper to work over. A spoon helps with the bloodline. That's the lot.
Start with a round fish
Mackerel, trout, sea bass, and herring are all round fish, and they all gut identically. Mackerel is the best first attempt: cheap, common, and the guts come out in one clean pull. Leave flat fish like plaice for later, they're a different job.
Judge freshness before you buy
The eyes should be clear and domed, not sunken and cloudy. Lift the gill cover: bright red or deep pink is good, brown or grey is not. It should smell of the sea and nothing else. Ammonia means walk away.
Mind the spines
Bass, perch, and bream have genuinely sharp dorsal spines that will go through a fingertip. Lay the fish so the spines point away from your working hand, or snip them off with kitchen scissors first.
Scale it, if you're keeping the skin
Scaling comes first, because it's messy and much easier on an intact fish. Skip it if you're going to skin the fillets, but for whole roasted or pan-fried fish with crisp skin, the scales have to go.
The technique
Hold the fish by the tail. Take the back of your knife (not the edge, you're scraping, not cutting) and work from tail towards head, against the direction the scales lie. Short firm strokes. You'll feel them let go and see them come away.
Contain the mess
Scales fly. They go on walls, in your hair, and behind the toaster. Do it inside a large plastic bag, or in the sink under a slowly running tap, or outside. This is the single tip that makes people willing to do it twice.
Run your thumb from tail to head when you think you're done. Any rough patches still have scales. Pay attention to the belly, the base of the fins, and right behind the head, which is where they hide.
Mackerel needs no scaling
Mackerel, and most small oily fish, have scales so fine you can cook and eat the skin without touching them. One more reason it's the ideal first fish.
Open the belly and take the guts out
This is the part people flinch at, and it takes about forty seconds. The guts are a single connected mass. Get them started and they come away as one piece.
The cut
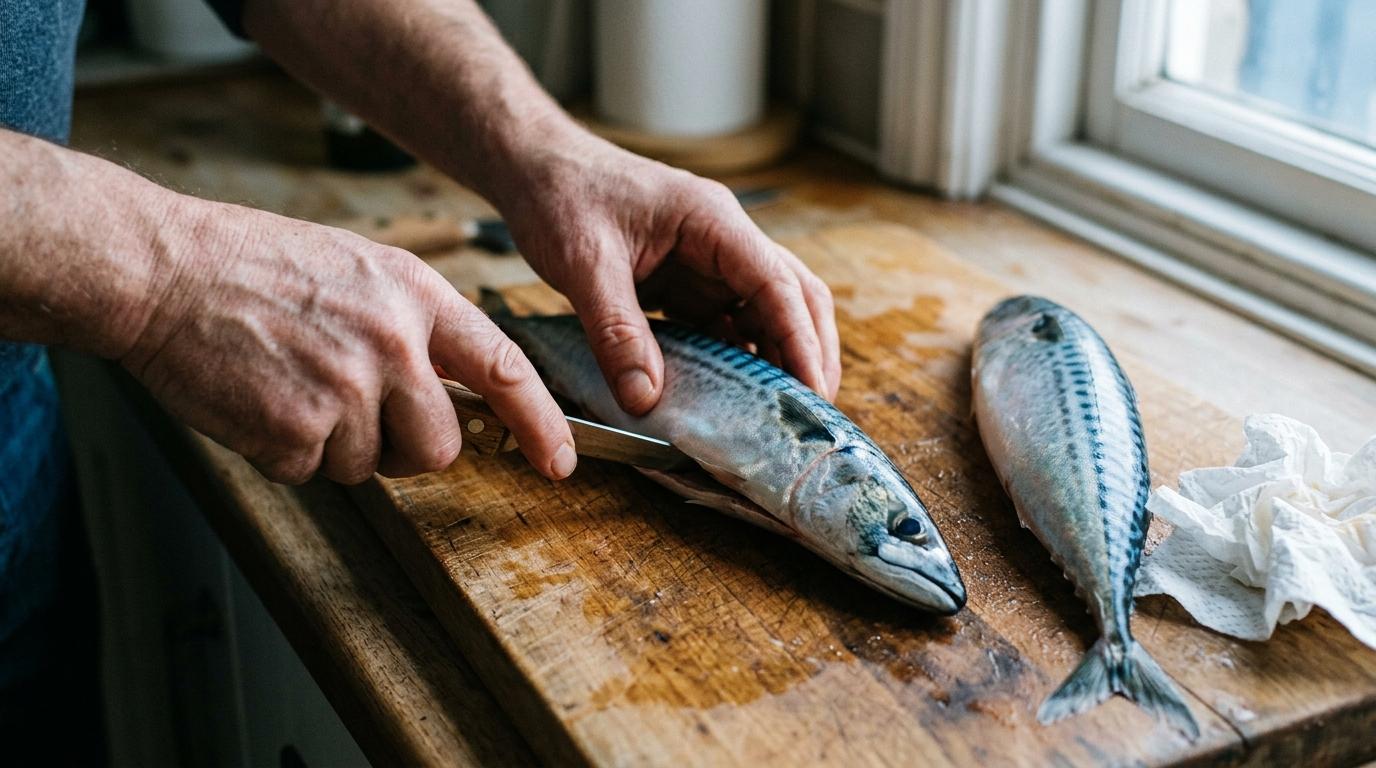
Lay the fish on its side, belly towards you. Find the vent, the small opening near the tail end of the belly. Insert just the tip of the knife there, blade facing forward towards the head, and slit the belly open all the way to the base of the gills.
Keep the cut shallow. You're opening a bag, not carving. Push the knife too deep and you burst the intestine or the gall bladder, and a burst gall bladder makes the flesh around it bitter and inedible.
Pull everything out
Open the belly flaps with your fingers. Reach in at the head end, get your thumb and forefinger around the whole mass where it attaches at the throat, and pull down and back towards the tail. It should come away in one go. Cut it free at the vent end if it's still attached.
The gills
If you're keeping the head on (worth it for roasting, and for stock), the gills must come out. They hold blood, they spoil faster than anything else on the fish, and they taste bitter. Lift the gill cover, cut the arches free top and bottom with your knife tip or scissors, and pull the whole red frill out.
Gut it as soon as you can
If you've caught the fish yourself, gut it on the bank or the boat. The guts are what spoil the flesh, and they start the moment the fish dies. A gutted fish on ice keeps for days; an ungutted one starts going off within hours in warm weather.
The bloodline, the rinse, and what happens next
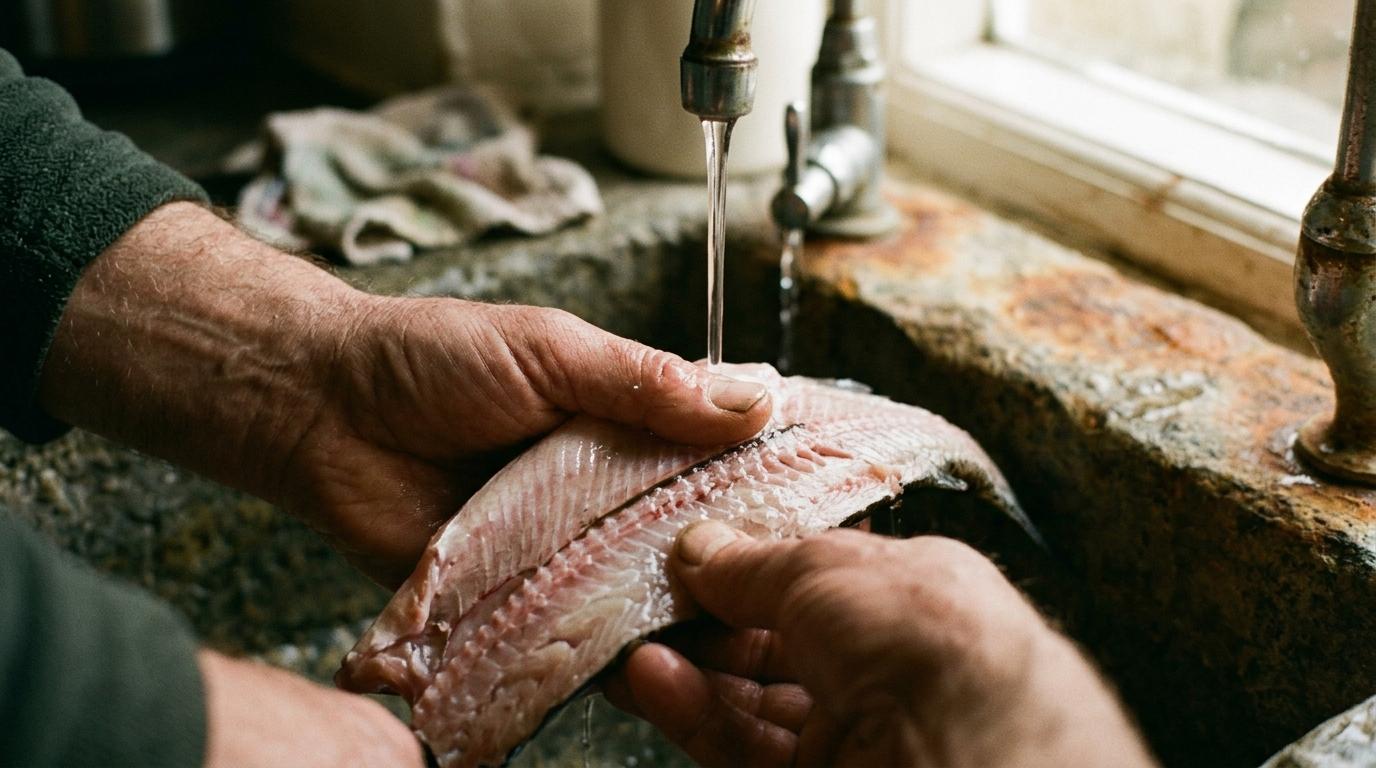
The cavity still has one thing in it. Run your finger along the backbone and you'll feel a dark red-brown line under a thin membrane. That's the bloodline, which is the fish's kidney, and leaving it in is the most common reason home-gutted fish tastes muddy.
Getting it out
Score the membrane along its length with your knife tip, then scrape the bloodline out with the bowl of a teaspoon or your thumbnail, working from head to tail. It comes away as a dark paste. Keep going until the backbone shows white.
Rinse and dry
Rinse the cavity briefly under cold running water, inside and out. Cold, not warm. Don't leave the fish soaking, waterlogged flesh cooks badly and the texture goes soft.
Then pat it properly dry with kitchen paper, inside the cavity as well as outside. Dry skin is the difference between skin that crisps in the pan and skin that steams and sticks. This step matters more than people expect.
Store it right
Cook it the same day if you can. Otherwise keep it in the fridge on a plate, belly cavity facing down so any remaining moisture drains out rather than pooling inside, loosely covered, and eat it within a day. On ice, lay it belly down for the same reason.
Keep the bones
The head (gills removed) and the frame left after filleting make excellent stock, and it's free. Simmer for twenty minutes with an onion, a bay leaf, and a few peppercorns. Any longer and it turns bitter, which is the opposite of how meat stock behaves.
Filleting is the obvious next step
Once gutting feels routine, filleting is the same knife, one more cut: down the backbone from head to tail, then a shallow sweep over the ribs. A whole gutted fish is already the hard part done.