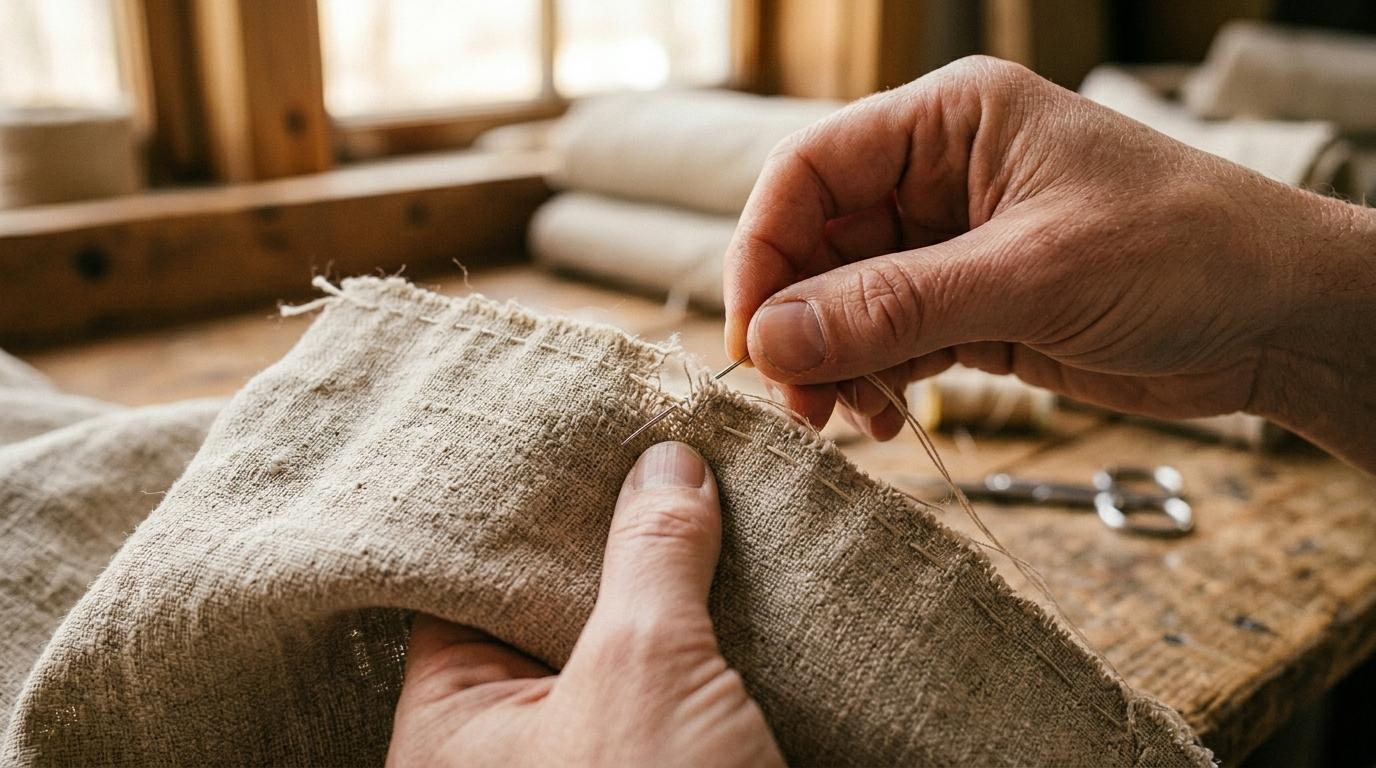
Gather your tools
You need almost nothing to fix a torn seam. A needle, some thread that matches your fabric colour, a pair of scissors, and a straight pin or two to hold things in place.
Choosing the right thread
Match the thread colour as closely as you can: hold the spool against the fabric in natural light. For denim or thick cotton, use all-purpose polyester thread. For delicate fabrics like silk or linen, go for a finer thread weight so it doesn't pucker.
No matching thread?
Use a thread one shade darker than the fabric. Darker reads as a shadow and disappears; lighter catches the eye.
Prepare the seam
Turn the garment inside out so you're working from the wrong side. Press the torn edges together with your fingers and use a pin to hold them aligned. This stops the fabric shifting while you sew.
Threading the needle
Cut about 45 cm of thread: long enough to work comfortably, short enough not to tangle. Thread it through the needle eye, pull it through until both ends are roughly equal, then tie a small double knot at the end.
Finding your start point
Begin about 1 cm before the tear, where the original stitching is still intact. Starting inside solid stitching anchors your repair and stops it unravelling again under stress.
Knot placement
Push your needle through the fabric from the right side first so the knot sits hidden inside the garment, not on the visible surface.
Sew the seam closed
Use a backstitch: it's the strongest hand stitch and mimics a machine stitch closely. Push the needle up through both layers of fabric, then back down about 3 mm behind where it came up. Bring it up again 3 mm ahead of the first entry point. Repeat.
Keeping even tension
Pull each stitch snug but not tight. Over-pulling causes puckering; too loose and the seam gaps under movement. Aim for the same tension the original seam had. Look at the intact stitching nearby as a guide.
Finishing the repair
Sew 1 cm past the end of the tear, into solid original stitching. To finish, make two or three small stitches on the spot: push the needle through the loop before pulling tight on the last one to create a locking knot. Trim the thread close.
Test before you wear it
Gently tug the seam from both sides to check it holds. Better to find a weak spot now than mid-wear.
Press and finish
Turn the garment right side out and press the repaired seam with an iron on the appropriate heat setting. Heat relaxes the fibres and helps the new stitches bed in, making the repair nearly invisible.
When to reinforce further
If the fabric around the tear is fraying or thin, run a second row of backstitches 2–3 mm from the first. On high-stress seams like trouser crotches or underarms, a whip stitch along the raw edge prevents future fraying.
Iron heat matters
Always check the fabric care label before ironing. Polyester and nylon melt at high heat. Use a pressing cloth or keep the iron on a low setting.