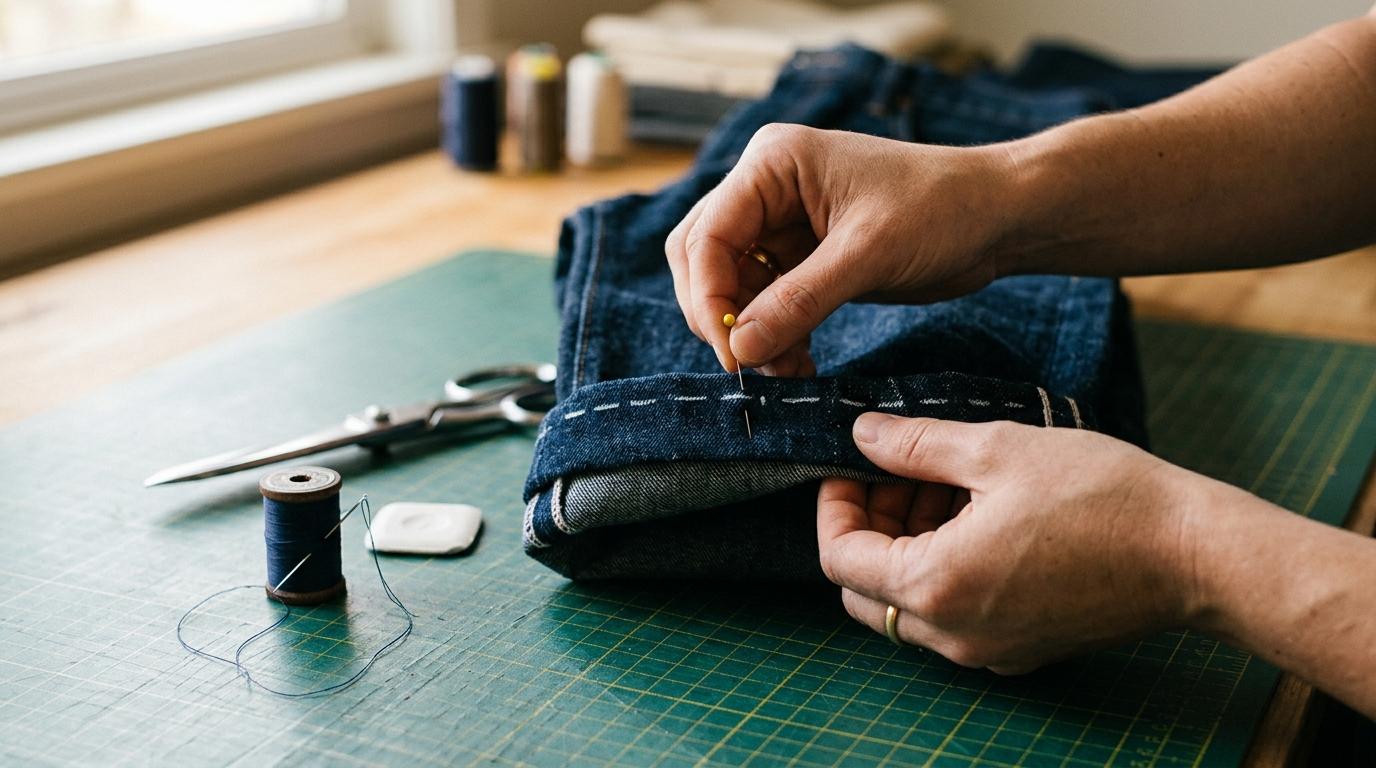
Gather what you need
You need surprisingly little to hem jeans by hand. The right tools make the difference between a hem that holds and one that unravels after three washes.
Your kit
Grab a hand sewing needle (size 16 or 18 for denim), heavy-duty thread in a colour matching your jeans, sharp fabric scissors, a seam ripper, straight pins, tailor's chalk or a washable fabric marker, and a ruler or tape measure.
Thread colour trick
Hold your thread against the jeans in natural light, not indoor lighting. Denim looks different under bulbs and you want a real match.
Mark and cut the new length
Put the jeans on with the shoes you wear them with most. Have someone pin the hem up to your desired length, or fold them yourself and use a mirror. Aim for 1.5 cm (about half an inch) below the fold as your cut line: that extra fabric becomes your seam allowance.
Marking the line
Take the jeans off and lay them flat on a table. Use your ruler and chalk to draw a straight cutting line all the way around the leg, parallel to the original hem. Cut along it with your fabric scissors. Long, confident cuts give a cleaner edge than short snips.
Folding and pinning
Fold the raw edge under by about 0.5 cm, then fold again so the raw edge is hidden inside. This double fold is the key to a clean, durable hem. Pin it in place every 3–4 cm as you go around the leg, easing the fabric so it lies flat without puckering at the side seams.
Check before you commit
Try the jeans on again with the pins in before you sew. It takes two minutes and saves you unpicking a full hem later.
Sew the hem
Thread your needle with about 50 cm of thread and tie a small knot at the end. You'll use the slip stitch, the invisible workhorse of hand hemming, which catches just a thread or two of the outer fabric so the stitching barely shows on the right side.
The slip stitch in practice
Start at a side seam (it hides your knot). Push the needle up through the fold of the hem, then catch just 1–2 threads of the jeans leg directly above. Pull through, then angle the needle back into the fold and travel 5–7 mm along inside the fold before coming out again. Repeat. Keep your tension consistent but not tight: pulled stitches pucker the fabric.
Finishing off
When you reach your starting point, make two or three small backstitches inside the fold to lock the thread, then pass the needle through the fold a few times and snip close. Remove the pins as you go, not after: it keeps everything aligned.
Thimble optional but recommended
Denim is tough on fingertips. A cheap metal thimble on your middle finger lets you push the needle through without wincing.
Press and check your work
Run a warm iron along the hem from the inside. This sets the stitches and flattens the fold so the hem drapes properly rather than rolling. Use a damp cloth between the iron and the denim to avoid shine on dark jeans.
What a good hem looks like
Flip the jeans to the right side. The stitching should be nearly invisible: just faint dots of thread if anything. The hem should lie flat, sit parallel to the floor when worn, and feel the same weight as the rest of the leg. If you see puckers, a light stretch along the hem while it's still warm from the iron usually fixes them.
The original hem trick
If you want to keep the original factory hem (popular with raw-edge styles), search for the fake hem or original hem preservation technique. You unpick the old hem, shorten from above, then reattach the original cuff. One step more complex but worth knowing.