Set up correctly
Most ironing mistakes come from the wrong temperature or a dirty iron plate. Check the fabric care label: cotton and linen need high heat, synthetic blends need lower. A shirt that says "do not iron" on a label often means only the print or trim: the fabric itself is usually fine on low heat.
Fill the iron with water for steam if it has a steam function. Set the temperature for cotton (the highest setting) if the shirt is 100% cotton. For polyester-cotton mixes, use medium heat. If in doubt, test on an inside hem first.
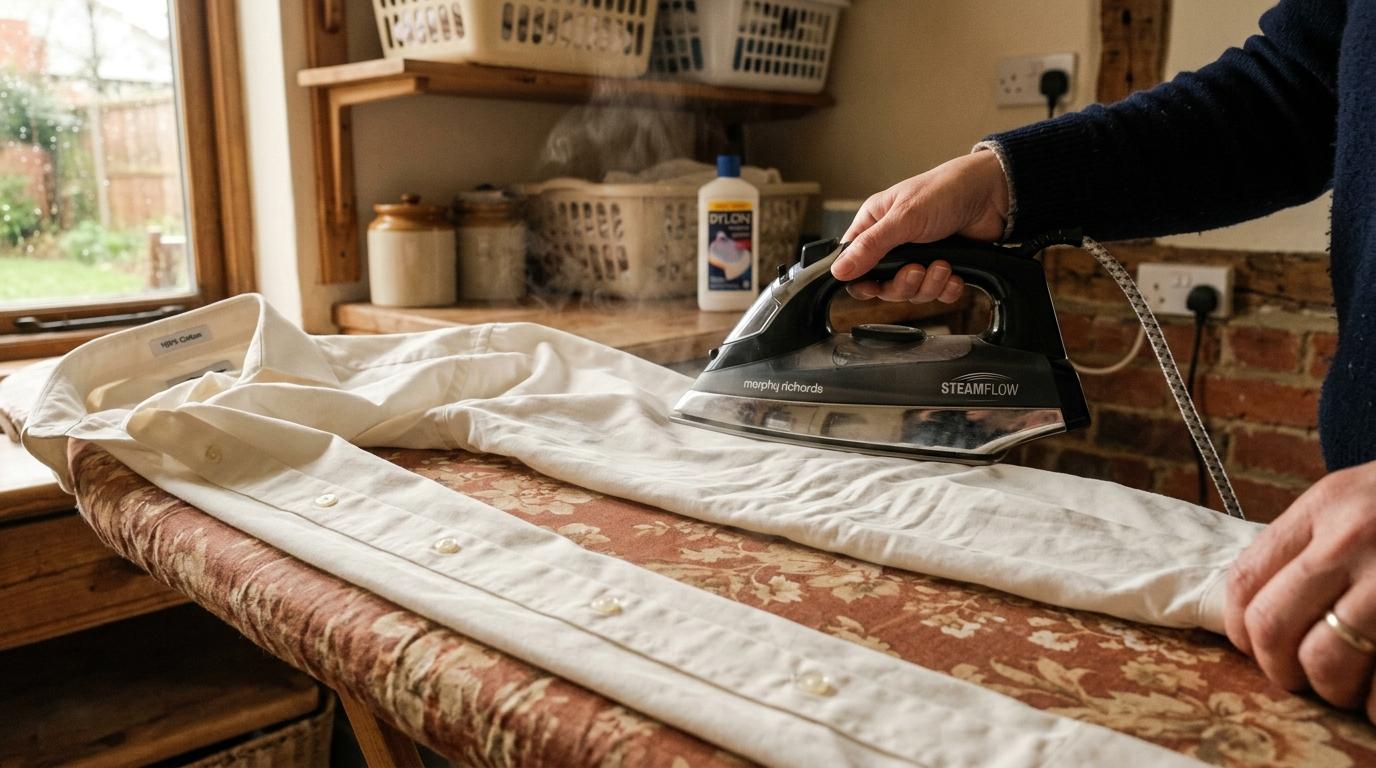
Iron on a firm surface with a cover that grips the fabric slightly. A loose, padded cover lets the shirt move and creates wrinkles as you iron them out. If you don't have an ironing board, a folded thick towel on a hard table works reasonably well for a one-off.
Slightly damp shirts iron much more easily
If the shirt is dry, mist it lightly with water or use the steam function. Slightly damp fabric responds to heat and pressure far better than completely dry fabric. If you're ironing fresh from the washing machine and the shirt is still a little damp, so much the better.
The correct order
Order matters. Work from collar to cuff and iron each area before moving on: re-creasing something you've already ironed is the main cause of extra time.
1. Collar. Iron the underside (inside) of the collar first with the collar laid flat. Then fold the collar down and iron the outside. Pay particular attention to the collar points: use the tip of the iron to press them flat and hold them down for a moment. Crisp collar points make the shirt look sharp; curled ones make even an expensive shirt look cheap.
2. Cuffs. Unbutton the cuffs completely. Lay one cuff flat, iron the inside first, then the outside. Run the iron right to the edge: blunt cuff edges look unironed. Then iron the few centimetres of sleeve above the cuff before moving on.
3. Sleeves. Lay the sleeve flat on the board, aligning the seams at top and bottom. Iron from the shoulder down to the cuff. A crease along the top of the sleeve is optional: some prefer it (more formal), some don't (softer). Repeat for the other sleeve.
4. Back. Slide the shirt over the narrow end of the board. Iron the back in large smooth strokes, avoiding going over buttons or leaving the iron stationary on fabric.
5. Front panels. Iron each front panel, using the tip of the iron to get between the buttons without dragging them. The placket (the strip with the buttons) needs particular attention: run the tip along each side of the button line.
Finishing and storing
Hang the shirt immediately after ironing. Don't fold it back into a drawer unless you intend to wear it very soon. A folded, freshly ironed shirt will need re-ironing around the fold lines. On a hanger, it stays ready for days.
Button the top button only before hanging: this keeps the collar in shape. If the shirt is going in a wardrobe, button all the buttons to stop the front panels swinging open and creasing against other clothes.
The one thing that ruins shirts: leaving the iron stationary on the fabric while it's switched on. Most irons run hot enough to scorch fabric in under thirty seconds at the wrong temperature. Never leave a hot iron face-down on fabric.