Get your paper ready
You need one square sheet of paper. Origami paper is ideal (thin, crisp, and usually coloured on one side), but printer paper cut to a square works fine for practice. Standard size is 15 cm × 15 cm, which gives a crane about the size of your palm.
Cutting a square from printer paper
Fold one corner of an A4 sheet down to the opposite edge so the top aligns with the side. Crease firmly, then tear or cut along the excess strip at the bottom. Unfold and you have a square.
Crisp creases are everything
Press each fold flat with your thumbnail before moving on. Sloppy creases compound: the crane will look rough if you rush the first few folds.
Build the base
Every traditional origami crane starts from a shape called the bird base. You reach it in two stages: first a preliminary base, then a petal fold on each side.
Preliminary base
Place the paper coloured-side down. Fold in half diagonally both ways, unfold each time. Flip it over, then fold in half horizontally and vertically, unfolding each time. You now have a grid of creases. Collapse the paper along those creases so all four corners meet at the bottom. You get a small diamond with two flaps on each side. This is the preliminary base.
Petal fold
Take the top layer only. Fold the two bottom edges into the vertical centre line, then fold the top triangle down and crease. Unfold those three folds. Lift the bottom point of the top layer upward, opening the flap and pressing the sides in along the existing creases. The edges will meet at the centre. This is one petal fold. Flip the whole piece over and repeat on the other side. You now have the bird base: a long diamond with two narrower points at the top and two at the bottom.
Stuck on the petal fold?
It feels strange the first time. Lift from the very tip of the bottom point and let the sides fold inward naturally. Don't force it from the sides.
Shape the crane
From the bird base, a few more folds finish the crane. The two narrow upper points become the head and tail; the two lower points become the wings.
Inside reverse folds for head and tail
Fold the two narrow points outward to about 45 degrees, one on the front layer, one on the back. Crease, then unfold. Now push each point inside itself along those creases so it locks between the layers. One point becomes the head: pinch it near the tip and bend it downward at a slight angle, then press to set the crease. That small bent tip is the beak.
Opening the wings
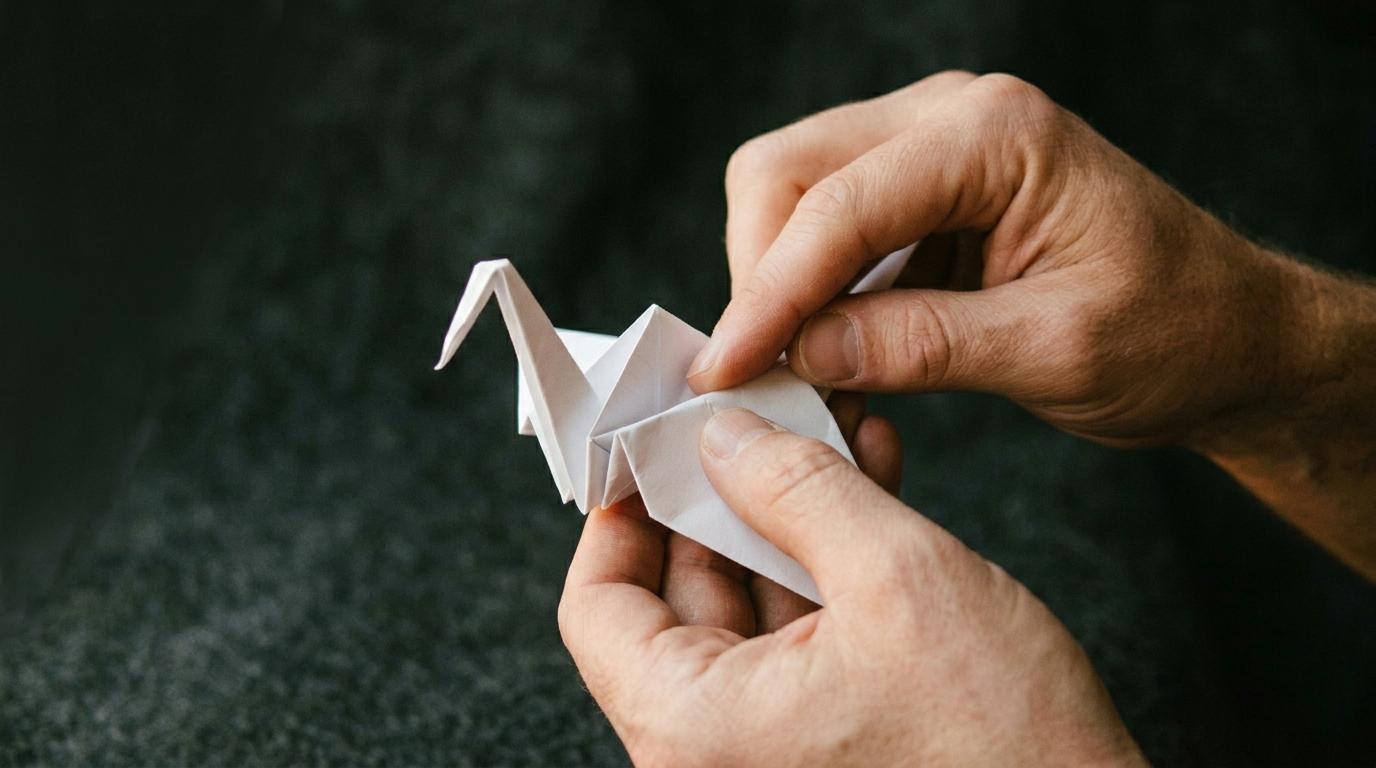
Hold the crane at the base where the body meets the neck and tail. Gently pull the two wing tips apart and the body will puff out into a three-dimensional oval. Ease the wings into a gentle curve rather than pulling them flat. A little air trapped inside makes the crane look alive.
Puffing the body
If the body won't inflate, look for a small hole at the bottom between the wings. Blow a gentle puff of air into it while pulling the wings apart.
Go further
Once the basic crane clicks, a whole world of variations opens up. Folding 1,000 cranes (senbazuru) is a Japanese tradition said to grant a wish. They're strung together and gifted at weddings, hospitals, and memorials. Miniature cranes from 3 cm squares make impressive earrings or ornaments.
Practise and improve
Fold the same crane five times in a row using progressively smaller paper. Muscle memory builds fast, and by the fifth attempt your creases will be noticeably cleaner. From here, the flapping crane (pull the tail and it flaps its wings) is one small modification away.
Best paper for beautiful cranes
Washi or kami paper from a craft shop holds colour and creases far better than printer paper. A pack of 100 sheets in mixed colours costs very little and will last months of practice.