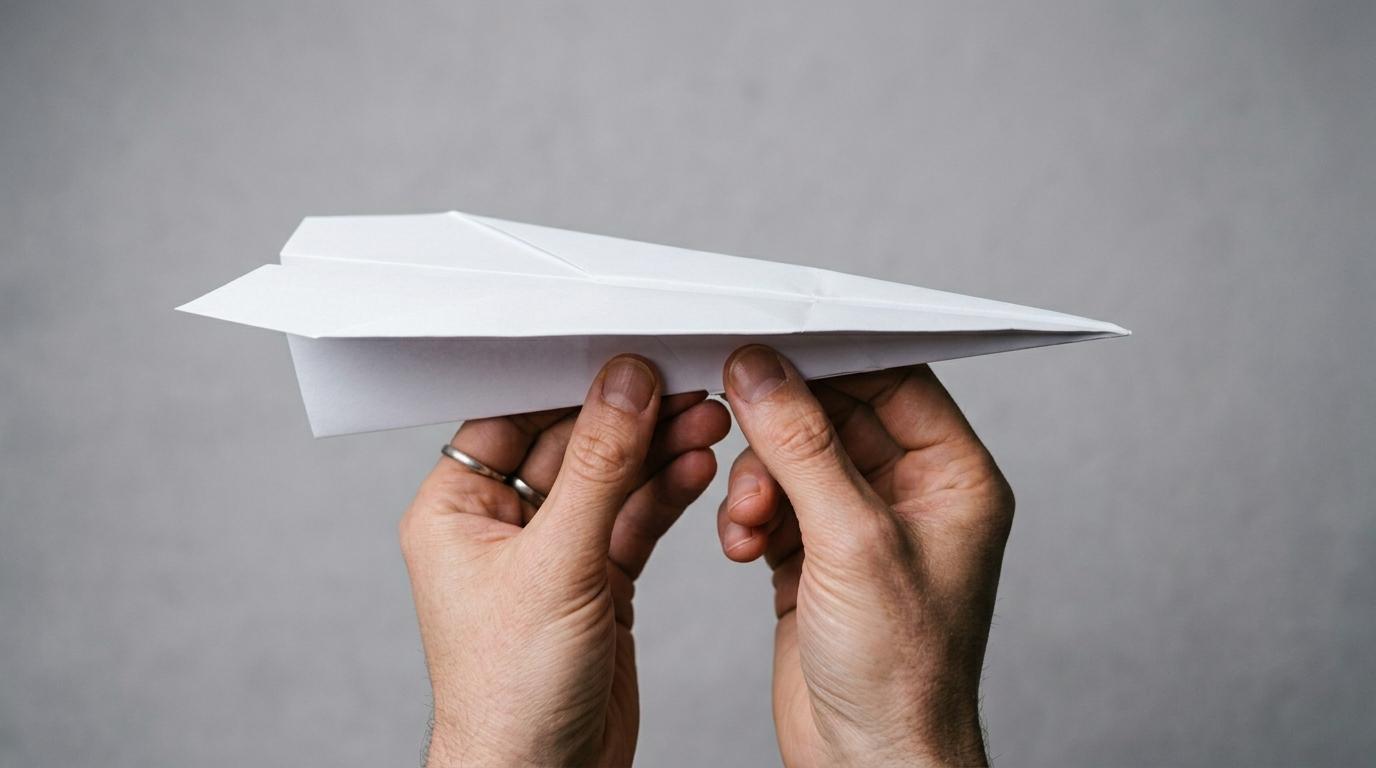
Start with the right sheet
Not all paper is equal. A standard A4 or letter-sized sheet of 80gsm printer paper is the sweet spot: light enough to glide, stiff enough to hold its crease. Thicker paper makes a heavy nose that dives; too thin and the wings buckle mid-flight.
Before you fold anything
Lay the sheet flat on a hard surface, portrait orientation. Check the corners are true right angles: a warped or torn edge will send your dart sideways no matter how precise the folds. Smooth any existing creases with your thumbnail.
Sharp creases are everything
Run your thumbnail firmly along every fold immediately after making it. A soft crease is the number one reason darts wobble and drop early.
Fold the classic dart shape
Fold the sheet in half lengthways, crease firmly, then open it back flat. This centre line is your reference axis: every fold you make needs to align with it symmetrically, or the dart will veer left or right.
Forming the nose
Fold the top-right corner down so its edge lines up exactly with the centre crease. Repeat on the top-left side. You now have a pointed triangle at the top. Press both folds hard against the table. The nose is where most of the dart's weight sits, so any sloppiness here costs you distance and accuracy.
Creating the wings
Fold the right slanted edge inward again to meet the centre line, then mirror it on the left. Flip the whole dart over and fold it in half along the centre axis so the two wing panels face outward. Hold the folded body and pull each wing out to roughly 45 degrees: flat wings stall, steep wings dive. Horizontal is your target when the dart is held at launch angle.
The symmetry test
Hold the dart up by its body and look straight down the nose. Both wings should look identical. If one droops, gently pinch and lift it back into position before you throw.
Throw it properly
Grip the dart between thumb and index finger about a third of the way back from the nose. This is the centre of gravity zone. Too far forward and the nose tips down on release; too far back and the tail drops and the dart flips.
The release
Raise your arm to just above shoulder height, elbow bent. Launch forward with a smooth, controlled push: think of a firm handshake motion rather than a baseball throw. Aim the nose about 10 degrees above horizontal. A hard spin-throw wastes energy as wobble; a smooth push keeps the dart stable and lets it glide the full distance.
Troubleshooting in the field
If the dart dives immediately, bend the trailing edge of each wing up by a millimetre. This is called adding up-elevator. If it climbs then stalls, bend both trailing edges down slightly. Adjust one wing at a time in tiny increments until it tracks dead straight.
Tiny adjustments, big difference
A two-millimetre bend on the wing trailing edge changes the flight path considerably. Start small. You can always add more.
Go further and keep learning
Once your basic dart flies consistently, experiment with nose weight: a tiny fold of tape on the tip adds mass and punches through air resistance for longer indoor throws. You can also try the same fold sequence with slightly heavier paper for outdoor use where wind resistance matters more.
What to explore next
The dart is one of dozens of proven designs. The Nakamura Lock and the Suzanne are both distance specialists worth learning once your folding precision is dialled in. Paper aeroplane competitions (including the Red Bull Paper Wings world championship) use standardised A4 sheets and reward exactly the skills you've just practised.