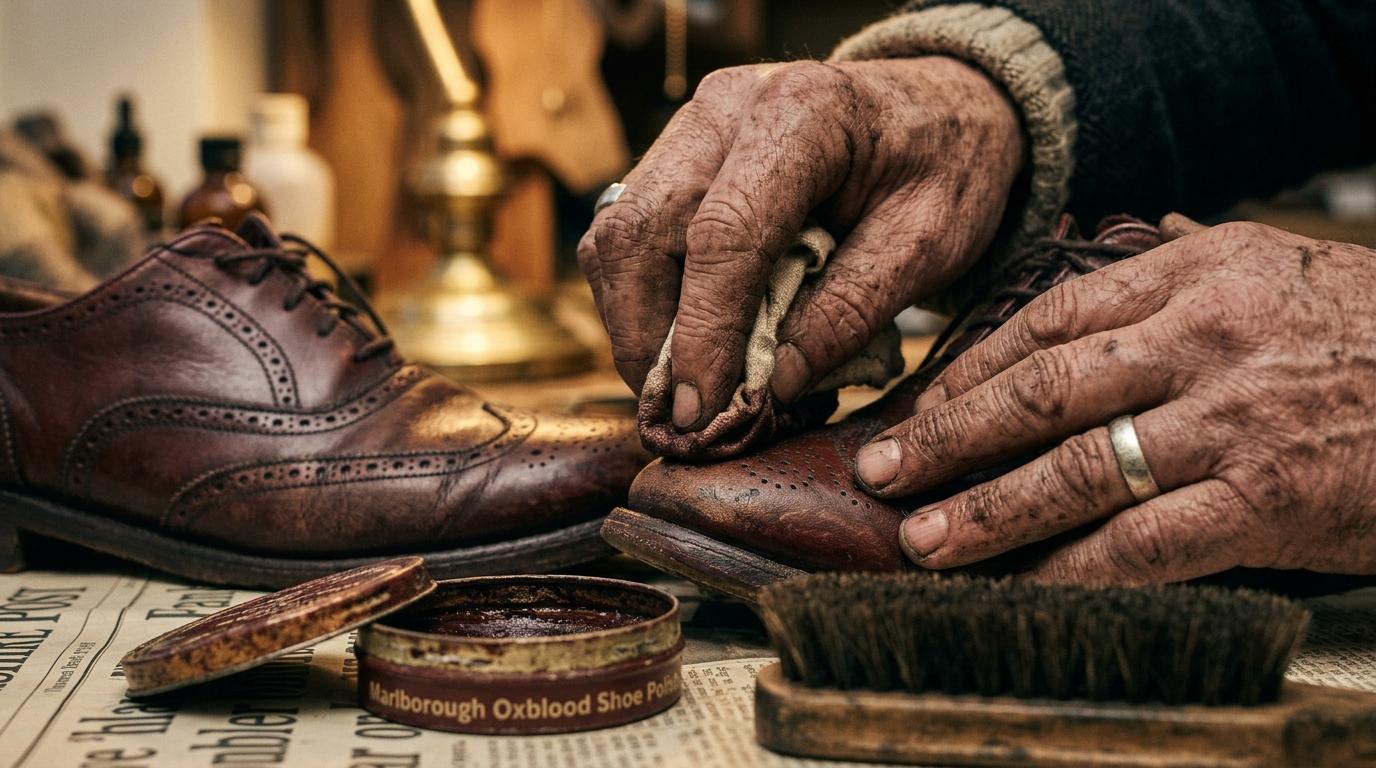
What you need
Four things: a cleaning cloth (an old cotton t-shirt cut up is ideal), a dauber brush or soft brush for applying polish, a buffing brush for bringing up the shine, and the polish itself. Shoe cream or wax polish in the correct colour, or neutral, which works on any colour and won't alter the shade.
For an interview, aim for a high shine. That means wax polish rather than shoe cream: wax buffs to a glossier finish. Shoe cream conditions the leather better and suits everyday maintenance, but wax is what produces a visible shine.
You also need shoe trees: wooden inserts that hold the shoe's shape while you work and while it dries. You can manage without them, but the upper creases as you handle the shoe and is harder to polish evenly. A rolled-up magazine stuffed inside is a reasonable substitute.
Clean first
Remove the laces. Old shoe polish, dirt, and dried leather conditioner build up on the surface and need to come off before fresh polish will adhere properly. Wipe the shoe down with a slightly damp cloth to remove surface dust and dirt. For heavier grime or old polish build-up, use a dedicated leather cleaner or a small amount of saddle soap on a damp cloth. Work it in with circular motions, then wipe clean and leave to dry for a few minutes.
Pay attention to the welt (the stitched seam around the bottom of the shoe where upper meets sole) and the creases across the toe box. Dirt accumulates here and it's the most visible area on a scuffed shoe.
Apply and buff
Apply a small amount of polish (less than you think you need) to the dauber or applicator brush. Work it into the leather with circular motions, covering the entire upper including the heel counter and toe box. Apply in thin layers; a thick layer doesn't absorb better and is harder to buff.
Leave to dry for 5 minutes. The polish should have dulled slightly and feel slightly tacky. Now buff vigorously with the buffing brush in rapid back-and-forth strokes. You'll see the shine develop quickly. Focus on the toe cap and the quarter panels: these are what people see first.
For a higher shine on the toe cap specifically, try spit polishing: a tiny amount of polish on a cloth, a drop of water on the toe, and small tight circles with the cloth. Build up very thin layers with drying time between each. After five or six layers you get a mirror finish that looks like patent leather. Not necessary for most occasions, but impressive for formal events.
Edges and soles
A shoe looks completely different when the edge of the sole is clean and dark. Apply a thin line of sole edge dressing (available from any cobbler or shoe care shop) around the welt. Takes two minutes and lifts the entire appearance of the shoe.
Replace laces and maintain
Replace the laces cleanly: pull them evenly so the bow sits centred on the shoe. A straight lace pattern looks more formal than a cross-laced pattern for dress shoes. If the laces are frayed or discoloured, replace them: they're inexpensive and make a disproportionate difference.
For ongoing maintenance: wipe shoes down after each wear with a dry cloth to remove dust before it becomes ground-in dirt. Polish every week to two weeks if worn regularly. Rotate between at least two pairs if you wear leather shoes daily. Leather needs at least 24 hours to dry out properly between wears, and rotating pairs triples their lifespan.