Gather your kit
You need three things: a needle, thread, and the button itself. If the button's gone, check the inside hem: many manufacturers stitch a spare there.
Choosing your thread
Match the thread colour to your garment, not the button. Use doubled thread for strength: cut about 50 cm, thread it through the needle, then pull both ends even so you're working with two strands together.
No matching thread?
Use thread from an inconspicuous seam on the same garment. Perfect colour match, and it costs nothing.
Anchor the thread
Find where the button was: you'll usually see a faint circle of thread marks or a small knot of old thread. Push your needle up through the fabric from the back, then back down close to the same point, leaving a small loop. Pass the needle through that loop and pull tight. This creates a locking anchor that won't pull through.
Why this step matters
Skipping the anchor is why buttons fall off again within weeks. The anchor spreads the load across several fabric threads instead of relying on a single knot.
Check the fabric first
If the fabric has frayed where the button was, reinforce it with a small square of iron-on interfacing on the back before you start. Sewing into damaged fabric just gives you another lost button.
Sew the button on
Place the button over your anchor point. Push the needle up through one hole, across the front, and down through the opposite hole. Repeat six to eight times per pair of holes. For a four-hole button, do two pairs in a cross or parallel pattern, whichever matches the other buttons on the garment.
Leave a shank gap
As you sew, hold the button about 2 mm above the fabric rather than pressing it flat. This gap is the shank: it creates room for the buttonhole fabric to sit when fastened. Without it, the button pulls and eventually tears free again.
Wrap the shank
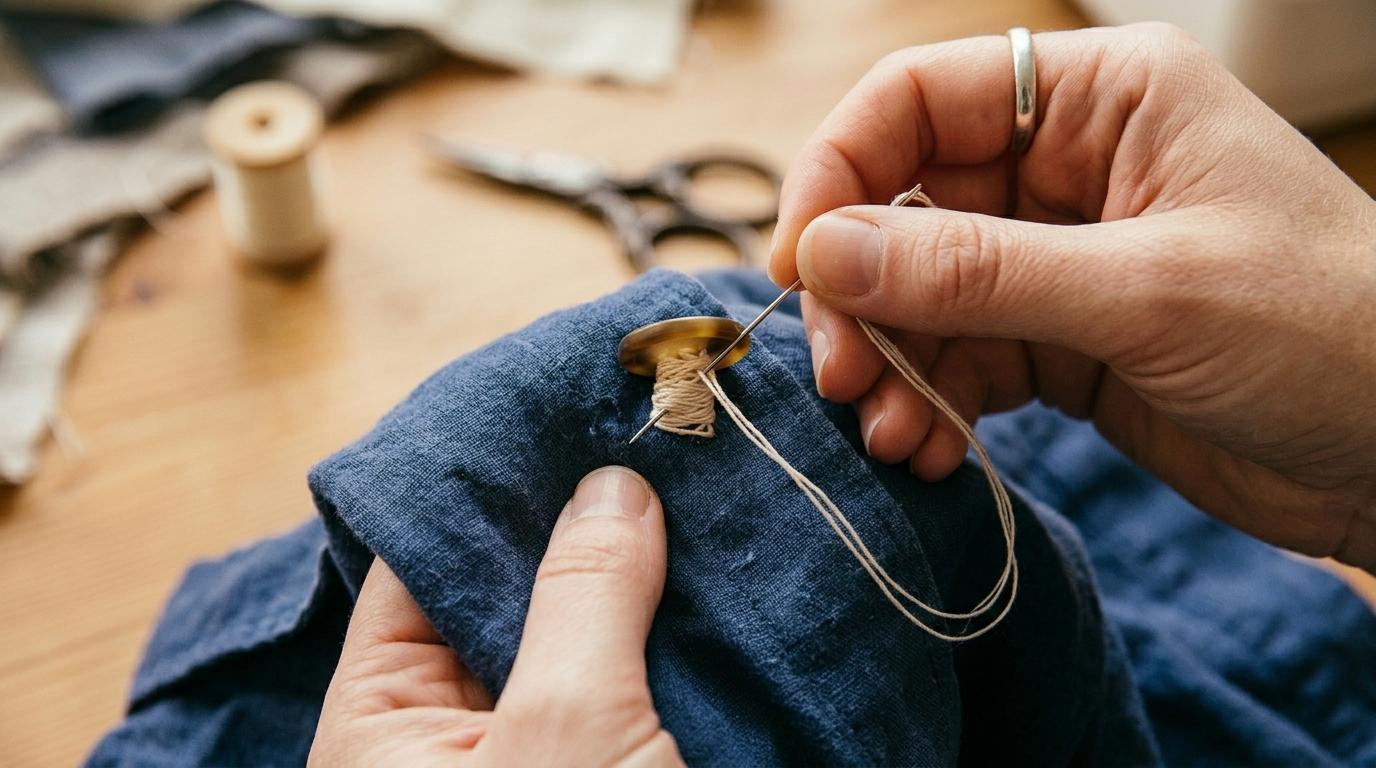
Once your passes are done, bring the needle up through the fabric but not through a button hole. Wind the thread around the stitches between button and fabric five or six times to form a tight column. This reinforces the shank and locks everything in place.
Test the tension
Tug the button firmly in all directions. It should feel solid and not rotate freely. If it shifts, add a few more wrapping turns.
Finish and resources
Push the needle back through to the wrong side. Make two or three small stitches through just the backing fabric (not through to the front), pulling each one through a loop to create a chain of locking stitches. Trim the thread close to the last knot. Your button is now on more securely than it probably ever was.
Practice makes it quick
The first button takes ten minutes. By the third you'll do it in under five. Keep a small repair kit (needle, a few thread colours, spare buttons) in a tin and you'll never retire a garment over a lost button again.
Shirt buttons vs coat buttons
Coat and jacket buttons take far more stress, so double your stitch count and wrap the shank extra firmly. Shirt buttons are lighter work and six passes per hole pair is plenty.