What you need
Two rectangles of fabric (roughly 22cm × 10cm each), a length of elastic (about 35cm), a needle and thread or a sewing machine, scissors, and pins. That's it.
Choosing fabric
The front can be anything: cotton, linen, a scrap of something you like. The back (the side touching your face) should be soft: cotton jersey, fleece, or a layer of thin wadding between two cotton layers for extra light-blocking. Avoid synthetics directly against your face.
Recycle before you buy
An old T-shirt, pillowcase, or piece of flannel pyjamas is perfect. You only need two small rectangles. This is a scrap project.
Cut and shape
Draw a mask shape on paper first: roughly 22cm wide and 9–10cm tall, curved gently at top and bottom, with a small dip in the centre top to sit over your nose bridge. A traditional eye mask looks a bit like a wide figure-8. Cut this template out, pin it to your fabric, and cut two identical pieces.
Seam allowance
Add 1cm all around your template shape before cutting: this is your seam allowance, the fabric that gets sewn into the seam. If your template is the finished size, add 1cm when cutting.
Sew it together
- Place your two fabric pieces right-sides together (the good sides facing each other, like a sandwich).
- Tuck the elastic in at one side edge, loop pointing inward (toward the centre of the sandwich), ends sticking out at the edge. Pin it in place.
- Sew around the outside with a 1cm seam, leaving a 4–5cm gap at the bottom for turning. Backstitch at the start and end of the elastic ends to secure them.
- Clip the curves: small V-shaped notches cut into the seam allowance around all the curved edges (don't cut into the stitching). This lets the curves lie flat when turned.
- Turn right-side out through the gap. Use a pencil to push the curves out neatly.
- Press flat with an iron. Fold in the raw edges at your gap and pin closed.
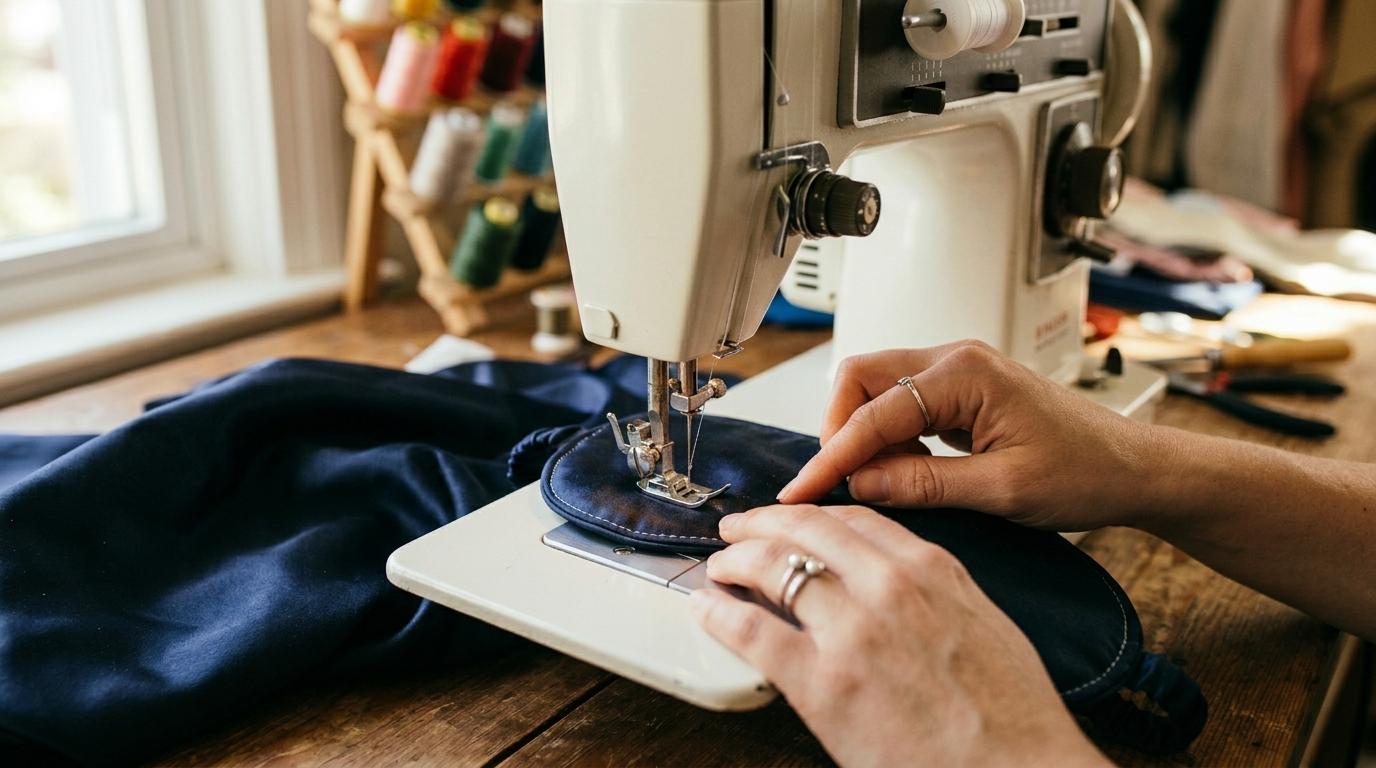
- Topstitch around the whole edge, about 3mm from the edge. This closes the gap and gives the mask a neat finish.
Adjusting the elastic
Try the mask on before you finalise the elastic length. It should sit snugly without pulling or leaving marks. Too tight? Unpick the side seam slightly and add a few centimetres. Too loose? Take it in.
Make two
You'll have the process down by the end of the first one. A second one takes 20 minutes and makes a good gift: it looks far more effort than it was.