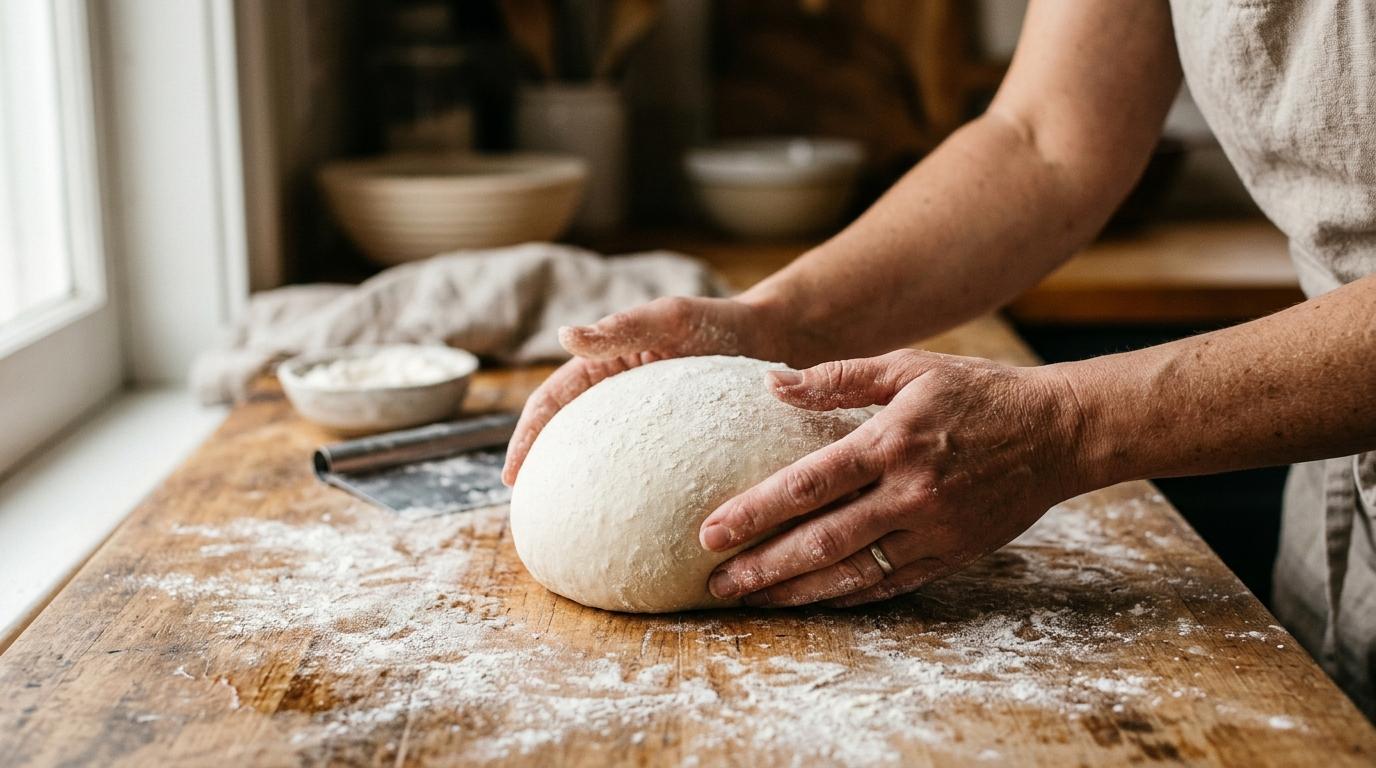
What shaping does
Shaping does more than make the dough look round. It builds surface tension: a taut outer skin that traps gas during the final rise and gives your boule the strength to spring upward in the oven instead of spreading sideways.
Without good tension, even a perfectly fermented dough bakes up flat and dense. With it, you get a high dome, an open crumb, and a crust that shatters when you knock it.
What you need before you start
Your dough should have finished its bulk fermentation: puffy, airy, noticeably larger. Have a lightly floured bench, a bench scraper, and a proofing basket (banneton) or a bowl lined with a well-floured tea towel ready.
Flour the basket, not the dough
Use rice flour or a 50/50 mix of rice and plain flour in your banneton. It releases far better than plain flour alone and won't form a gummy layer on the crust.
Pre-shape: building the first layer of tension
Turn your dough gently onto an unfloured surface: bare wood or stainless steel gives you the friction you need. Use your bench scraper to fold the edges into the centre, working around the dough like a clock face. Flip it seam-side down.
Now drag the dough toward you with the scraper while pushing lightly inward with your other hand. It should roll into a rough ball and grip the bench slightly, tightening the skin. Leave it uncovered for 20–30 minutes. This rest relaxes the gluten and makes the final shape easier to nail.
Reading the dough
After the bench rest, the pre-shaped round should be slightly spread but still hold a dome. If it's completely flat and slack, your dough may be over-fermented. If it won't move at all, give it a few more minutes to relax.
Skip flour on the bench
An unfloured surface creates the drag that builds tension. Add flour only if the dough is sticking and tearing, not just sticking and moving.
Final shape: the letter fold and tuck
Flip the rested round onto a lightly floured surface, seam-side up. Gently stretch it into a rough rectangle. Don't degas it, just nudge it open. Fold the top third down, then fold the sides in like a letter. Roll the bottom edge toward you tightly, sealing the seam with each roll.
You should now have a tight cylinder. Rotate it 90 degrees and repeat the roll toward you, hands cupped around the sides to tuck the bottom under and create a taut, smooth dome on top. Drag it across the bench once or twice to tighten the seam underneath.
Placing in the basket
Drop the shaped boule seam-side up into your floured banneton. The seam faces up here because it will face down when you flip it onto your baking surface. It'll open and bloom as the score you make just before baking.
The poke test
Press a floured finger about 1cm into the dough after its final proof. If it springs back slowly and mostly fills in, it's ready. Instant spring means under-proofed. No spring at all means over-proofed.
Scoring, baking, and what to watch for
Cold dough scores more cleanly. If you've cold-proofed overnight in the fridge, go straight from fridge to hot oven. Don't let it warm up first. Flip the dough onto parchment, score decisively with a lame or sharp serrated knife at a 30–45 degree angle, and lower it into a preheated Dutch oven at 250°C (480°F).
Bake covered for 20 minutes to trap steam, then uncovered for 20–25 minutes until the crust is a deep mahogany. Internal temperature should reach 96–98°C (205–210°F). Resist cutting it for at least an hour: the crumb is still setting as it cools.
Troubleshooting common shaping problems
A boule that spreads sideways usually means weak surface tension or over-fermentation. One that barely opens at the score is often under-proofed or scored too shallowly. If the crumb is gummy, it needed more time in the oven or more cooling time before slicing.
A cold Dutch oven will ruin your crust
Always preheat the Dutch oven inside the oven for at least 45 minutes before baking. A cold pot won't generate the burst of steam your dough needs to spring properly.