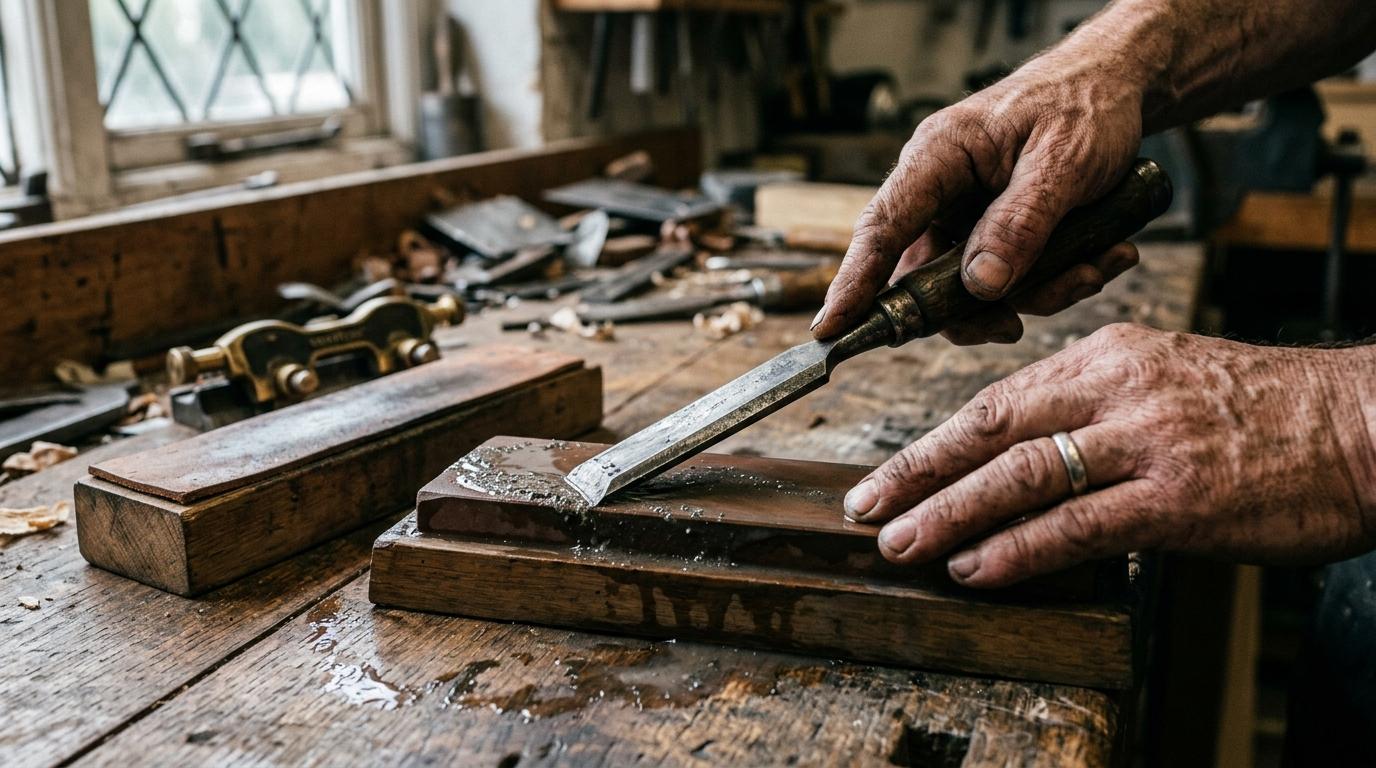
Flatten the back first
Every sharpening job starts with the back (flat side) of the chisel, not the bevel. The back must be perfectly flat and polished, because the cutting edge is formed by the intersection of back and bevel. If the back is hollow, pitted, or scratched, no amount of honing the bevel will give you a keen edge.
How to do it
Place the chisel flat on your coarsest stone (around 220–400 grit) with the entire back face resting on the surface. Hold it firmly and move it in circles or figure-eights, keeping the back in full contact. Don't tilt: any tilt rounds the edge. Check progress: you need a consistent scratch pattern across the full width of the back, right up to the cutting edge. Work through finer grits (800, then 2000+) until the back is mirror-polished at least 10 mm behind the edge.
Only do this once per chisel
Once the back is flat, you never need to rework it. Future sharpenings only touch the bevel. Do it thoroughly the first time.
Set the bevel angle
Most bench chisels come ground to 25° from the factory. You hone at 30°, a slightly steeper angle called a secondary bevel or micro-bevel. You're only honing a tiny strip right at the cutting edge, not the whole bevel face. It's faster, easier to maintain, and produces a strong edge for most workshop work.
Finding 30° by feel
Rest the bevel flat on the stone, then raise the handle by about the width of two fingers. That's close to 30°. A honing guide (a small clamp-on roller jig, around £10) removes all guesswork: set the chisel extension, lock it in, and the geometry is fixed. Guides aren't essential but are worth it while you're learning.
Hollow-ground chisels
Premium chisels often have a hollow-ground primary bevel (concave face). This makes finding the honing angle easier: only the heel and toe of the bevel touch the stone, and you feel the position as a stable rock.
Hone through grits
With your angle set, push the chisel forward across the stone (edge-leading), applying light downward pressure with two fingers on the blade. Ten strokes on 800 grit, then check: you should see a fine wire burr forming on the back, a thin curl of steel raised by the stone. That's your sign you've reached the edge. Once you feel the burr along the full width, move to 2000 grit, then 4000+ for finishing. Fewer strokes at each finer grit.
Removing the burr
After your finest grit, lay the chisel flat on the stone (back down) and make two or three very light strokes to knock the burr off. Then one final stroke on the bevel to align the edge. Don't alternate back-and-forth many times: this folds the burr rather than removing it.
Marker pen trick
Colour the bevel with a permanent marker before honing. After a few strokes, check: if marker remains only at heel or only at toe, your angle is off. If the full strip is clean, you're consistent.
Strop and test
Stropping removes the last traces of burr and polishes the edge. Pull the chisel backward across a piece of leather (a strop) or the back of a strip of cardboard, keeping it flat on the surface. Ten backward strokes on the bevel, two on the back. The edge should now shave arm hair cleanly and slice end grain without tearing.
The paper test
Hold a piece of printer paper vertically and slice down through it with the chisel. A sharp chisel cuts cleanly with no tearing or dragging. Tearing means the edge is still rough: go back to your finest stone. Dragging means burr remains: more strops. A sharp chisel makes a clean zip sound through paper.
Sharpen little and often
A quick strop every 10–15 minutes of use keeps an edge keen far longer than letting it go dull and having to regrind. Keep the strop on the bench within reach.