What you need and why it matters
Soldering looks intimidating but it rewards patience and preparation over speed. A clean joint is shiny, smooth, and cone-shaped: a reliable electrical and mechanical bond. A cold joint looks dull and lumpy, fails intermittently, and is the leading cause of electronics faults that are nearly impossible to diagnose later.
Your kit
You need a soldering iron (25–40W for hobby work), 60/40 rosin-core solder (a good beginner choice), a brass wire cleaner or damp sponge, and a helping-hands or PCB holder. Flux paste is optional but makes difficult joints far easier.
Temperature matters
Set your iron to around 350°C for standard leaded solder. Too hot and you'll lift PCB pads; too cool and solder won't flow, just ball up.
Heat the joint, not the solder
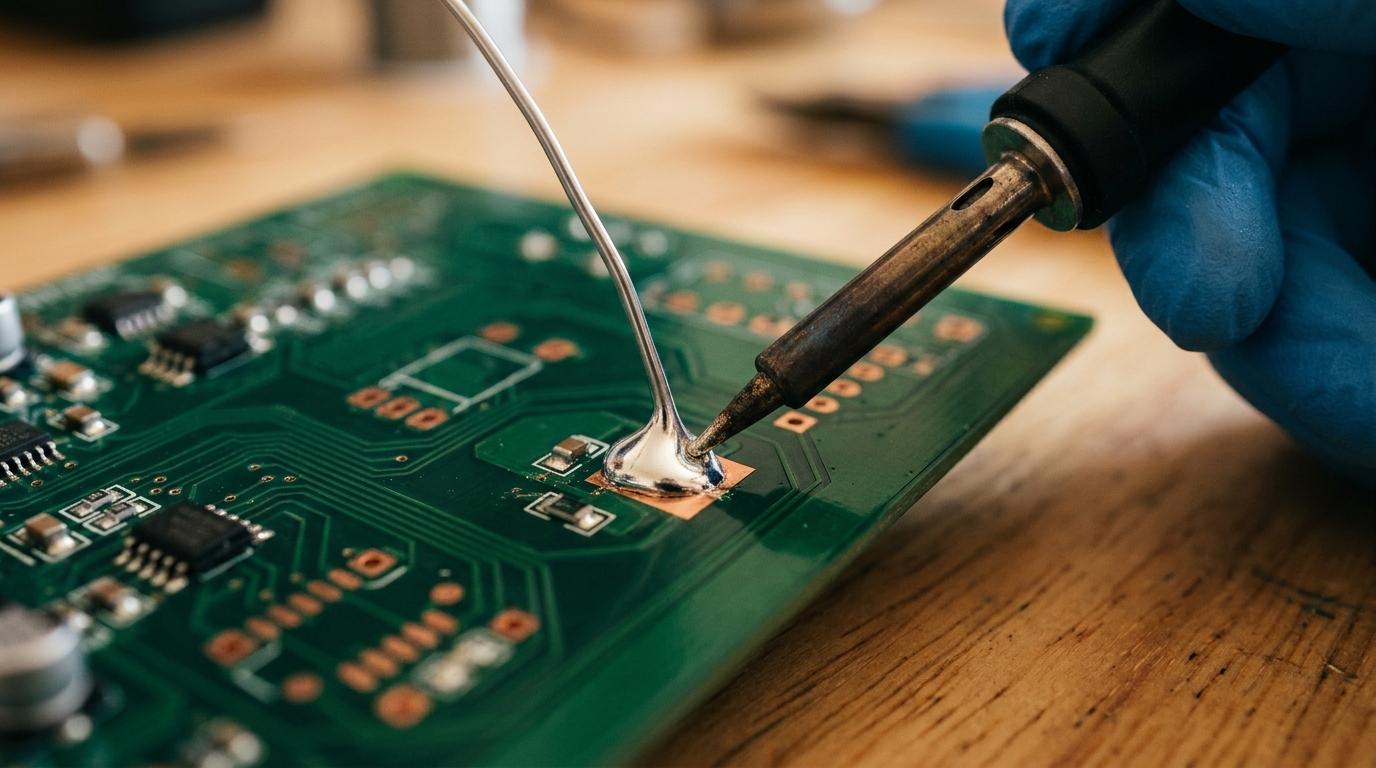
This is the single rule most beginners get wrong. Place the tip of your iron so it touches both the component lead and the PCB pad at the same time. Hold it there for one to two seconds to let the metal heat up. Only then do you feed solder into the joint, not onto the iron tip.
Why this works
When the metal is hot enough, solder flows into the joint by capillary action and bonds metallurgically with both surfaces. If you melt solder onto the iron first and drop it onto a cold pad, you get a cold joint: solder that sits on top rather than bonding to the metal underneath.
Don't move it too soon
Hold the component still for two to three seconds after removing the iron. Breathing on the joint or nudging the wire while it solidifies creates a fracture you can't see, and a fault you'll spend hours chasing.
Read the joint and fix mistakes
Once the solder is solid, hold the board under good light and examine each joint. A good joint is bright and shiny with a smooth concave fillet that wets onto both pad and lead. A cold joint is grey, grainy, or blobby. Reheat it and let fresh solder flow.
Too much solder
A solder bridge between two pads is a short circuit waiting to happen. Use solder wick (a braided copper strip) pressed flat onto the bridge with your iron to draw the excess away. Flux a stubborn bridge first and it'll clear in seconds.
Too little solder
If the joint looks thin or the lead isn't wetted all the way around, reheat and feed in a small amount of fresh solder. The new flux in the fresh solder usually helps the old material flow properly too.
Clean your tip constantly
Wipe the iron tip on brass wool before and after every joint. A clean, tinned tip transfers heat efficiently. A black, oxidised tip doesn't. That's why beginners struggle even with a good iron.
Practice joints and next steps
The fastest way to build confidence is deliberate repetition on scrap material. Buy a cheap practice PCB kit: a blinking LED kit costs a few pounds and gives you twenty to thirty joints to work through. By the end your muscle memory will handle temperature, timing, and solder quantity without thinking about it.
Where to go from here
Once through-hole components feel natural, try surface-mount soldering using drag soldering or hot air. The principles are identical: heat the metal, not the solder. The scale shrinks sharply, so add a fine-tip iron and good magnification.
Lead-free solder
Lead-free solder (SAC305 alloy) is required for commercial work and runs hotter, around 380–400°C. It's slightly less forgiving for beginners, so learn the technique on 60/40 first, then switch when you're comfortable.