Choose the right compost
Seeds need a fine-textured, low-nutrient compost to germinate well. Use seed and cutting compost rather than general-purpose: it has a finer structure that lets roots penetrate easily, and lower nutrient levels that encourage roots to forage outward. Standard multi-purpose compost works, but may contain large wood chips or perlite lumps that stop small seeds making contact with the surface.
Module trays
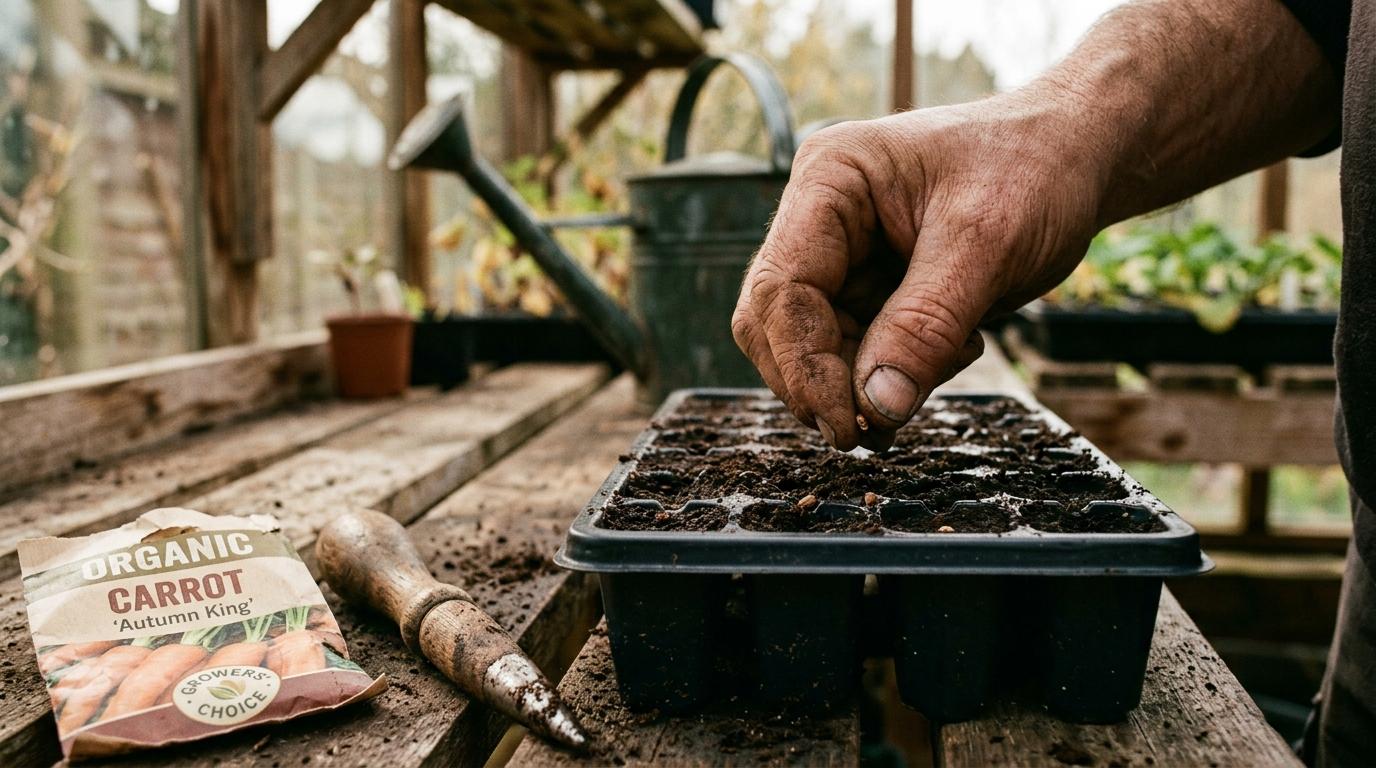
A module tray (also called a plug tray or cell tray) has individual cells, usually 40–84 per tray. Each seed gets its own cell, so roots don't tangle and transplanting is easy: pop the whole plug out with minimal disturbance. Use 40-cell trays for large seeds (courgettes, squash, beans) and 84-cell for smaller ones (tomatoes, peppers, salad). A set of trays and a propagation lid costs around £10–15 and lasts for years.
Reuse last year's trays
Wash old module trays in dilute washing-up liquid and rinse well before reuse. This removes disease spores from the previous season.
Fill and firm the cells
Fill the module tray slightly overfull with compost, then drag a straight edge across the top to level it. Firm each cell by pressing the tray down onto a hard surface two or three times. The compost will settle slightly. Add a little more if cells look underfilled. Don't compact aggressively; you want firm but not dense. Dense compost restricts drainage and root growth.
Pre-wet the compost
Before sowing, water the filled tray thoroughly and let it drain for 10–15 minutes. Dry compost wicks moisture away from seeds before they can germinate. Pre-wetting means the environment is stable when seeds go in, and you avoid disturbing freshly sown tiny seeds with a watering can.
Sow at the right depth and label immediately
Most seeds go in at a depth roughly equal to their own diameter: tiny seeds like tomatoes and salad go 5 mm deep, medium seeds like leeks and courgettes go 10–15 mm. Make a small dibber hole in each cell with a pencil tip, drop one or two seeds in, then cover and gently firm. For large seeds (beans, squash, sweetcorn) sow one per cell on its side: this stops water pooling in the hollow and rotting the seed.
Label everything, right now
Write the plant name, variety, and sow date on a label and push it into the tray before you move it anywhere. Module trays look identical the moment you put them down. A tray of unlabelled seedlings is useless: you can't know when to transplant, what spacing it needs, or what you're even growing.
Thin to one seedling per cell
If two seeds germinate in one cell, remove the weaker one by snipping it at soil level with scissors. Don't pull: pulling disturbs the roots of the survivor.
Warmth, light, and first watering
Most vegetable seeds germinate fastest at 18–24°C. A heated propagator (around £25–40) maintains this temperature on a windowsill or in an unheated greenhouse. Alternatively, put trays on top of a boiler, in an airing cupboard, or on a warm kitchen shelf. Check daily and move to a bright windowsill the moment germination starts, or seedlings will stretch toward the light and go leggy.
Aftercare
Water from below by placing the tray in a shallow container of water for 10–20 minutes, then lifting it out. This encourages roots to grow downward seeking moisture. Top-watering with a can risks washing seeds out of cells and compacting the surface. Keep the compost damp but not waterlogged: module cells drain freely, so the risk is drying out rather than overwatering. Check daily in warm weather.
Harden off before planting out
Seedlings raised indoors need a week of acclimatisation before going outside. Move them to a sheltered outdoor spot during the day, bring them in at night, then leave them out day and night for a few days before final planting. Skip this and they'll go into shock.