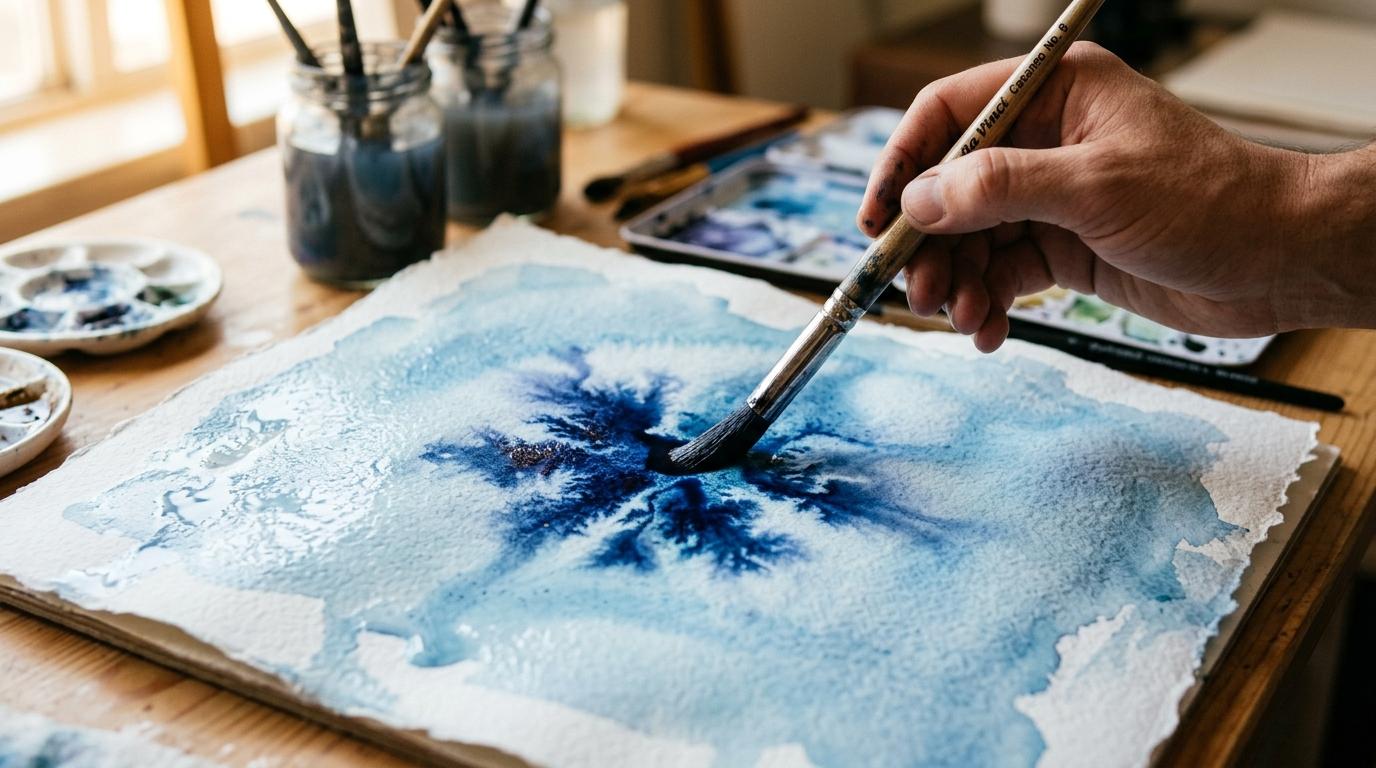
What you need and why wet matters
Wet-on-wet is exactly what it sounds like: you paint onto paper that's already wet. The water already on the surface blooms and dilutes your pigment as it lands, creating soft gradients and unpredictable edges that are impossible to fake any other way.
Gather your supplies
You need watercolour paper (at least 200gsm; anything lighter buckles badly), a broad flat brush or sponge for wetting the surface, a round brush for applying colour, and at least two pigments. Student-grade paints work fine to start.
Paper weight matters
Thin printer paper curls and warps the moment it gets wet. Watercolour paper is sized to absorb moisture without distorting. Even a cheap pad beats regular paper every time.
Wet the paper correctly
Load your flat brush or sponge with clean water and sweep it evenly across the whole area you want to paint. You're after a shiny, even sheen: not pooling puddles, not damp patches. Hold the paper at an angle to check the light catches the surface uniformly.
The sheen test
If you see standing water that slides when you tilt the paper, dab it gently with a dry brush. If the paper looks matte in spots, rewet those areas. The sweet spot is a consistent mirror-like surface. You have roughly two to four minutes before it dries, depending on humidity and room temperature.
Work fast but stay calm
Once the surface starts to dry, stop adding paint. Fighting a partially dry surface leaves hard edges and streaks. Let it dry fully, then rewet and try again. It takes seconds to restart.
Drop in colour and let it move
Mix your first colour to a medium strength: not too watery, not too thick. Touch the tip of your loaded round brush lightly to the wet surface and let go. Watch the pigment spread outward on its own. Resist the urge to scrub or push it around.
Adding a second colour
While the first colour is still wet, load a second colour and drop it nearby. Where the two meet, they'll bleed into each other and mix softly. The closer you place them, the more they merge. Keep your hand relaxed and your brush barely touching the paper.
Controlling the spread
Tilt the paper gently to guide where the pigment flows. More water in your mix means more spread; less water gives you a tighter bloom. Experiment with both. There's no wrong result at this stage, only information.
Dark over light
Drop darker pigment into a lighter wash rather than the reverse. Dark colours bloom outward and create the most striking effects when added last.
Let it dry and go again
The hardest part of wet-on-wet is not touching it while it dries. Leave the paper flat and walk away. Hairdryers can work in a pinch but often push the wet pigment into uneven edges. Natural drying gives you the softest, most even result.
Reading what happened
Once dry, look at the edges, the colour transitions, and any blooms or cauliflowers that formed. These aren't mistakes. They're textures. Note what caused them: too much water, too little pigment, paper that was nearly dry. Each wash teaches you something the next one will use.
Practice exercises
Try a simple sky: wet the whole paper, drop in a pale blue at the top, and let it fade. Then try a sunset: yellow at the horizon bleeding into orange and pink. Both take under five minutes and build the muscle memory fast.
One wash per day
Even one small wash a day for a week will make the technique feel natural. The skill lives in your hands more than your head.