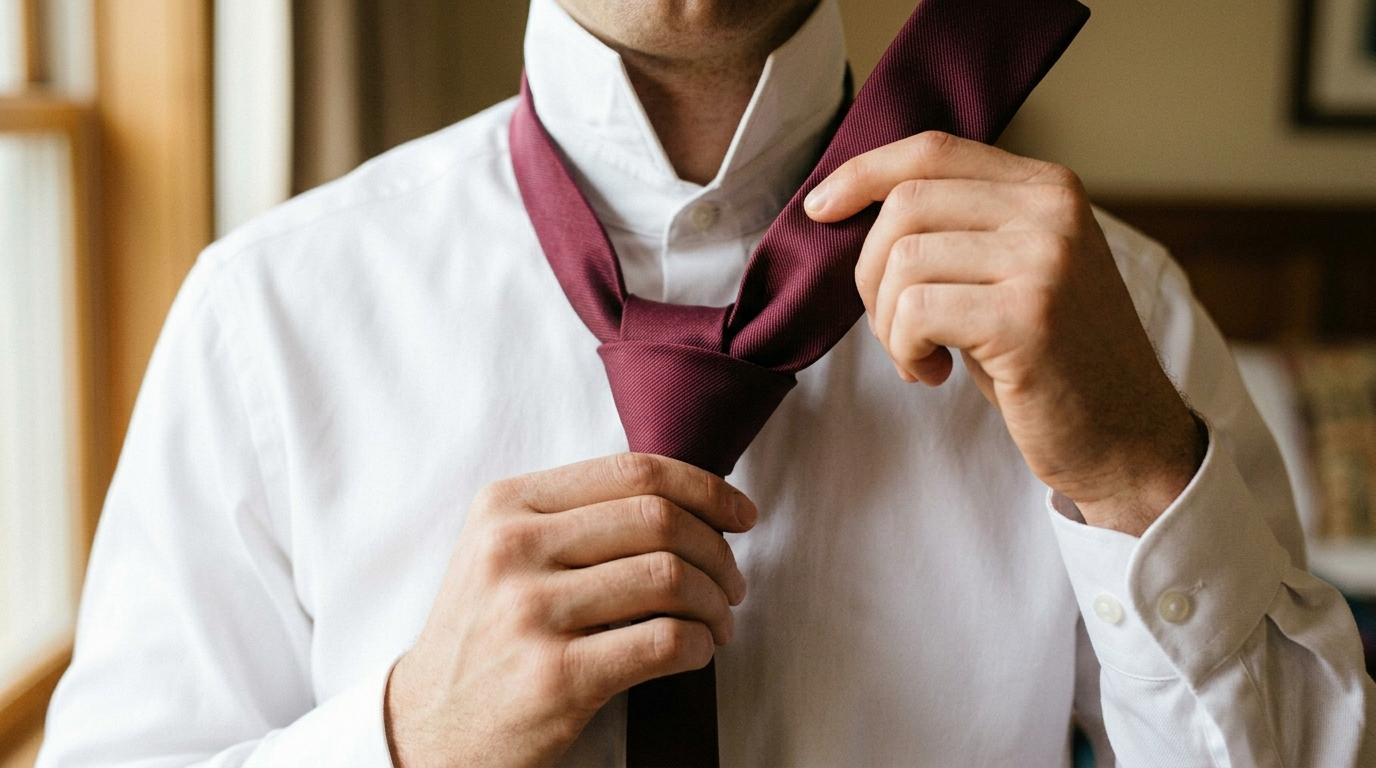
What you need and why Windsor
The full Windsor is the widest, most symmetrical tie knot you can tie. It suits spread-collar shirts perfectly and projects authority without trying too hard. All you need is a tie, a collar mirror, and about five minutes.
Choosing the right tie
Use a standard-length tie (around 57–58 inches). Very thick ties can make the knot bulky, so lighter fabrics like silk or microfibre work best when you're learning. The wide end (blade) should hang on your right, the narrow end on your left.
Starting position
Cross the wide end over the narrow end so the wide end sits about 12 inches lower than where you want the finished knot to sit. This gives you enough length to work with.
Building the knot: first half
With the wide end crossed over the narrow end, bring the wide end up through the neck loop from below, then bring it back down to the left. You've completed the first wrap and should see a horizontal band forming at the front.
Second wrap
Bring the wide end across the front from left to right, then up through the neck loop again from below. Let it fall down to the right. The knot's starting to take shape: a rough triangle with a horizontal band across it.
Keep it snug, not tight
Each time you pull the wide end through, maintain gentle tension. Loose wraps create a lumpy knot. You can always loosen and redo a step. The tie won't remember.
Finishing the knot
Bring the wide end across the front from right to left one final time. You now have a neat horizontal band across the front of the knot. Take the wide end and bring it up through the neck loop from below, then carefully slide it down through that front horizontal band.
Seating and dimpling
Pull the wide end through slowly and hold the knot with your other hand as it tightens. Before it's fully snug, pinch just below the knot and push upward slightly to create a central dimple, the mark of a well-tied Windsor. Slide the knot up to your collar and adjust until it sits snugly in the collar gap.
The dimple trick
Use your thumb and index finger to pinch the tie fabric just below the knot as you tighten. That pinch naturally folds in a dimple. It's the detail that separates a good knot from a great one.
Troubleshooting and resources
If your wide end is too short, start higher next time: the blade should begin around your navel. If the knot looks lopsided, the most common cause is uneven tension on the two side wraps. Untie fully and start fresh rather than trying to adjust a bad knot.
Getting the length right
The finished tip of the wide end should touch the top of your belt buckle. If it's consistently too long or short after adjusting your starting position, you may need a longer or shorter tie. Tall guys often need an extra-long tie (63 inches) to get the Windsor right.
Avoid re-tightening over and over
Repeatedly sliding the knot up and down damages the silk fibres. If it's wrong, loosen the knot fully, let the tie breathe for a moment, then start again.