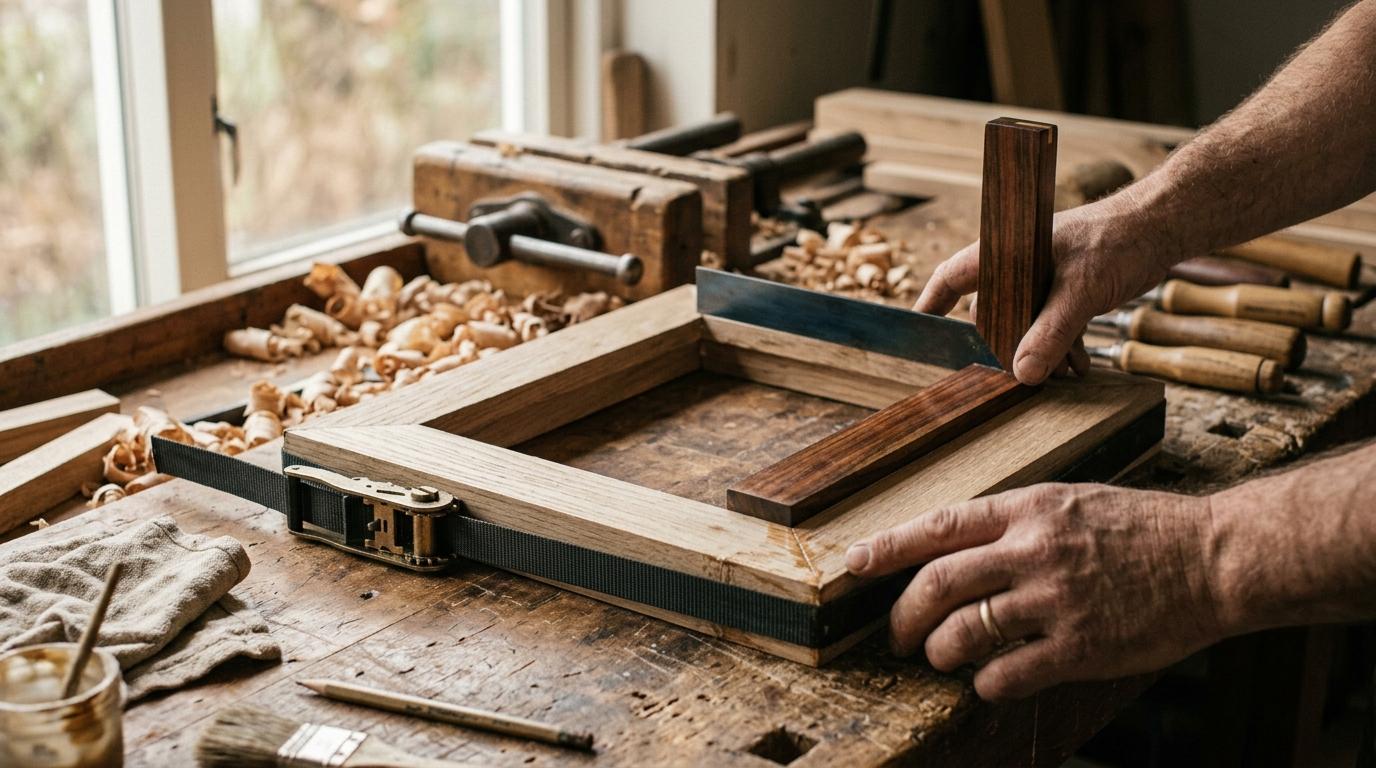
Tools and materials
Mitre box and tenon saw
£15–25 for the setThe foundation of accurate frame-making. A mitre box guides your saw at exactly 45°. Without it, corners won't close. A box with fixed metal guides (not plastic) and a 25cm tenon saw is all you need for frames up to about 60cm.
Affiliate link. We may earn a small commission.
Corner clamps (set of 4)
£12–20 for a set of 4Hold your mitred corners at exactly 90° while the glue dries. Without these, you'll be fighting the corners with tape and frustration. A set of four lets you glue all four corners at once.
Affiliate link. We may earn a small commission.
Wood (hardwood rebated moulding or square section)
£8–30 depending on wood species and frame sizeFor a float frame, 25–40mm square or rectangular PAR (planed all round) hardwood works perfectly. Oak, ash, and walnut are all available from timber merchants and many DIY superstores. Choose something with a straight grain.
Affiliate link. We may earn a small commission.
PVA woodworking glue
£5–8Stronger than the wood itself when dry. Use proper woodworking PVA (not general-purpose), allow full overnight cure before stressing the joints.
Affiliate link. We may earn a small commission.
Making a picture frame is one of the most satisfying first woodwork projects: the material cost is low, the process teaches you the two most important skills in woodworking (accurate measuring and clean cutting), and you end up with something that will hang on your wall for decades.
Float frame vs rebated frame
A canvas painting sits on a stretcher, a simple internal wooden frame the canvas is stapled around. The outer "display" frame can be built two ways:
A rebated frame has a groove routed into the back inner edge that the canvas slips into. The frame sits flush against the face of the canvas. This is the traditional approach; it requires a router or rebate plane, making it slightly more advanced.
A float frame is simpler and currently more popular for contemporary art: a plain rectangular frame built slightly larger than the canvas, so the canvas sits inside with a small gap around it. The canvas appears to "float" inside the frame. No routing required: just mitred square or rectangular section. This guide focuses on the float frame.
How much wood to buy
Measure your canvas (width and height). Add the depth of your frame section to each side (if the frame is 30mm wide, add 60mm to both width and height to get the outer frame dimensions). Add 10% for saw cuts and any mistakes. Then add up all four sides of the outer dimension: that's your linear length of timber. Buy a little extra: short lengths cut less economically.
Wood species
Pine is cheap and available everywhere but soft and prone to dents. Oak is harder, takes stain beautifully, and looks excellent with minimal finish. Ash is lighter in colour and slightly cheaper than oak. Walnut is expensive but stunning. Ramin (often sold as "hardwood moulding") is the traditional cheap option; it stains acceptably if you're painting the frame. For a first frame, pine is fine to practise on.
Cutting the mitres
Understanding the cut
Each corner of a picture frame is a 45° mitre joint: two 45° cuts that meet to form a perfect 90° corner. The critical thing to understand: the length you measure is the inside edge of the frame, not the outside. If your canvas is 40cm wide, the inside measurement of the two horizontal frame pieces is 40cm (plus the float gap, typically 3–5mm per side). Mark this from the short point of each mitre.
Setting up the mitre box
Clamp or hold the mitre box securely to your workbench. Position the timber in the box firmly against the back fence. For a picture frame you need alternating mitre directions: one end cuts left, the other cuts right. The short (inside) edge of the cut should be the measurement you've marked.
The cut sequence
- Cut the first 45° on one end of a long piece of timber.
- Measure from the short point of that cut to where the next short point should be.
- Mark clearly, then cut the opposite 45°.
- Repeat for all four pieces: two at canvas width + float gap, two at canvas height + float gap.
- Dry-fit all four corners before gluing. They should close tightly with no gaps.
The most common mistakes
Measuring from the long point rather than the short point: your frame will be too big and the corners won't match. Always measure inside edge to inside edge.
Not clamping the mitre box: the box shifts mid-cut and the angle drifts. A shifted cut means a gap in the corner. Clamp everything before you start.
Cutting too fast: let the saw do the work. A tenon saw cuts on the push stroke. Start with a light pull stroke to establish the kerf, then use slow full-length strokes.
Sanding before assembly
Sand all four pieces before gluing: it's much harder to sand flat faces after assembly. Work through 80 grit (to remove any saw marks), then 120, then 180. Always sand with the grain. Finish the faces that will show; the backs matter less.
Joining and finishing
Fit and hang
Measure and buy wood
Day 1 morningCalculate your linear length, buy timber and consumables. Get 10% extra for waste.
Sand all pieces before cutting
Day 1120 then 180 grit on all faces. Much easier now than after assembly.
Cut all four mitres
Day 1Dry-fit before gluing. Both diagonals equal means the frame is square.
Glue and clamp overnight
Day 1 eveningPVA on both mitre faces, corner clamps at 90°, leave 12 hours minimum.
Reinforce and finish
Day 2V-nails or screws from the back. Then Danish oil or paint, at least two coats.
Fit the canvas and hang
Day 2Sit the canvas inside the float frame. Secure with small offcuts or frame points. Attach D-ring hangers to the back and hang with picture wire.
Community
Reader tips
No tips yet. Be the first to share what worked for you.
Share a tip
Sign in to share what worked for you.
Same category
What to learn next
Joinery from Scratch
Hand tools, wood selection, essential joints. Build a solid oak shelf on your first weekend.
Whittling: Knife, Wood, Spoon
Learn green wood carving with a sloyd knife: safe grips, free wood, stropping, and your first butter knife and eating spoon. UK gear, prices, and knife law.