The M-check: inspecting to a system
The single thing separating a workshop mechanic from a capable home mechanic is not skill with a spanner. It is that the workshop mechanic checks the same things, in the same order, every time, so nothing gets skipped when they are tired, busy, or certain the bike is fine. That system is the M-check, and it is the backbone of Cytech technical one.
Why the shape
Start at the front hub. Up the forks to the bars and stem. Down the down tube to the bottom bracket and chainset. Up the seat tube to the saddle and post. Down the seat stays to the rear hub. Trace that on a bike and your hands draw an M. There is nothing clever about it. The point is that a fixed route has no gaps, and a mechanic following one will find the loose stem bolt they would otherwise have walked past.
What you are testing at each point
Torque wrench, 2–24 Nm range
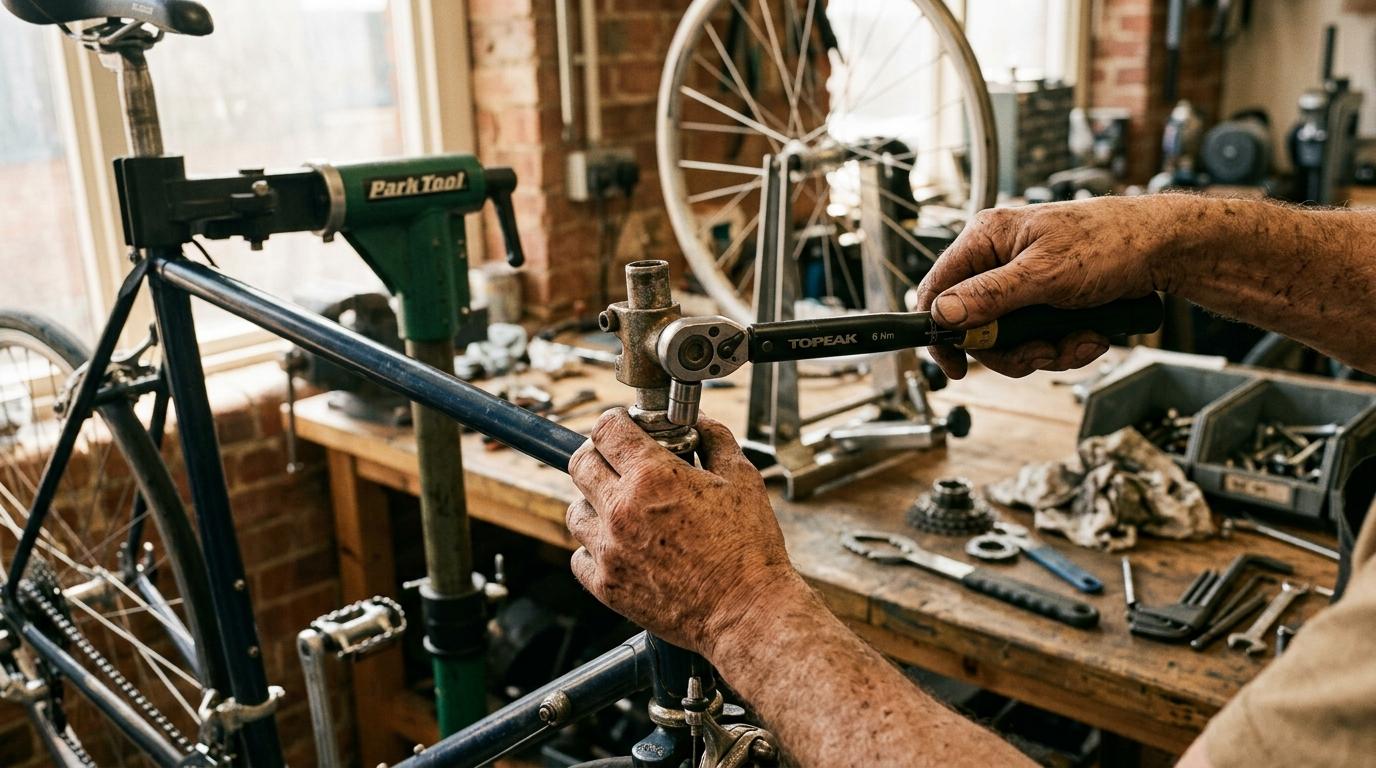
£30–70The tool that makes the difference between guessing and knowing. Most bicycle fasteners live between 5 and 15 Nm, and both under- and over-tightening are failure modes: a loose stem bolt and a crushed carbon post are equally dangerous. A click-type wrench in this range covers nearly everything on a modern bike.
Affiliate link. We may earn a small commission.
Chain wear indicator
£8–20A few pounds, and it tells you whether a £30 chain is about to cost you a £120 cassette. Measures chain elongation as a percentage; you check it at every service and replace on the number, not on a hunch.
Affiliate link. We may earn a small commission.
The check is a conversation, not just an inspection
In a workshop the M-check produces a job sheet: what is safe, what needs doing now, and what will need doing soon. Being able to explain to an owner why their chain needs replacing this month, and what it costs them if they wait, is part of what the qualification is testing. The mechanics people trust are the ones who explain.
Wheels and bearings
Wheels are where bicycle mechanics stops being intuitive. A wheel is a pre-tensioned structure: the rim is held in compression by fifty-odd spokes all pulling inward at once, and truing it means adjusting that balance without destroying it.
The two kinds of untrue
Bearings
Hubs, headsets and bottom brackets all come down to the same question: is there play, and is there roughness? Play is detected by rocking the component perpendicular to its axis; roughness by turning it slowly with the load off. Cup-and-cone hubs are adjustable and serviceable: you can strip, regrease and reset the cone tension. Cartridge bearings are pressed units, generally replaced rather than serviced. Knowing which you are looking at, and adjusting a cone to the point where play has just disappeared but the bearing still turns freely, is a Cytech-assessed skill.
Half a turn at a time, and always come back to where you started
The commonest way to ruin a wheel is a big correction. Work in quarter or half turns of the nipple, spin, look, repeat, and keep track of where the valve hole is so you always know your reference point. Truing is dozens of tiny decisions, not one big one.
Transmission and brakes
Chain wear, and why it is the expensive one
A chain does not stretch. The metal does not lengthen. What wears is the pin and bush at every link, and the accumulated slop makes the chain's effective pitch longer than the sprocket teeth it runs on. A worn chain then grinds each tooth into a matching worn profile. Replace at around 0.75% elongation on a modern narrow drivetrain and the cassette usually survives; leave it past 1% and you are generally buying a cassette too, and possibly chainrings. This is the single most cost-effective measurement in a workshop.
Indexing, in the right order
Bad shifting is usually diagnosed backwards. The order that works: check the hanger alignment first, because a bent derailleur hanger makes every subsequent adjustment wrong; then the limit screws, which define how far the mech can travel at each extreme; then cable tension, which sets where it lands in between; then the B-tension, which sets the gap between the guide pulley and the largest sprocket. Adjusting cable tension to fix what is actually a bent hanger is the classic wasted hour.
Brakes
Torque, workshop practice, and Cytech
Working to a figure
Steel and aluminium bend before they break, which is what "tight enough" feels like in the hand. Carbon composite does not: it holds, then the fibres crush, and the damage is often invisible until the part fails under load. That is why carbon components carry a printed torque figure and why a torque wrench stops being optional the moment carbon is involved. The same discipline applies everywhere: most bicycle fasteners want somewhere between 5 and 15 Nm, and a stem bolt at 5 Nm when it wanted 8 is as much a safety issue as one wound up to 20.
The habits that make a workshop
Assembly compounds matter: anti-seize on titanium and between dissimilar metals, threadlock where a fastener is prone to loosening, carbon assembly paste (grip paste, not grease) where a carbon interface needs to hold without extra torque. Grease every thread you can. And keep the bike, the bench and your hands clean, because contamination is the enemy of every braking system on the bike.
You're here: workshop standards
This courseThe M-check as a system. Wheel truing, dish and spoke tension. Bearing play versus roughness. Chain wear measurement, indexing in the right order, rim and disc brake service. Torque and assembly compounds.
Cytech technical one
Self-study or short courseThe entry level of the UK's recognised bicycle technician scheme, run by Activate Cycle Academy and approved providers. Covers safe working, inspection and routine maintenance: the level for a confident home mechanic or someone entering the trade. Available by online theory route or in person.
Cytech technical two
Multi-week, assessedThe professional workshop standard, and the one bike shops actually recruit on. Assessed practical work across wheel building, hydraulic systems, drivetrain and full builds. This is the qualification that gets you employed as a mechanic.
Cytech technical three and specialisms
After experienceAdvanced and specialist accreditation: suspension service, electronic groupsets, e-bike systems. E-bike work in particular is where the trade is short of qualified people.
Best resources
- Park Tool: procedure-by-procedure, and quietly the best mechanic training on YouTube
- GCN Tech: modern groupsets and setup
Worth owning
Community
Reader tips
No tips yet. Be the first to share what worked for you.
Share a tip
Sign in to share what worked for you.