The tools you need
The bike maintenance tool industry sells an enormous quantity of specialist tools you'll never use. The following is what you need to service a standard road or hybrid bicycle.
Tyre levers (set of 3)
£3–6 for a setFor removing a tyre from the rim to fix a puncture. Plastic levers (Pedros or Park Tool) avoid scratching aluminium rims. Metal levers are for stubborn tyres but risk damage. Always carry two levers on a ride.
Affiliate link. We may earn a small commission.
Allen key set (2mm–10mm) and a 15mm open spanner
£8–15 for a quality folding multi-tool (Topeak or Crank Brothers)Virtually every bolt on a modern bicycle is hex (Allen). You need the full range from 2mm (brake calliper bolts) to 8mm (stem and handlebar bolts). The 15mm spanner is for bolt-on wheel nuts if you have non-quick-release wheels.
Affiliate link. We may earn a small commission.
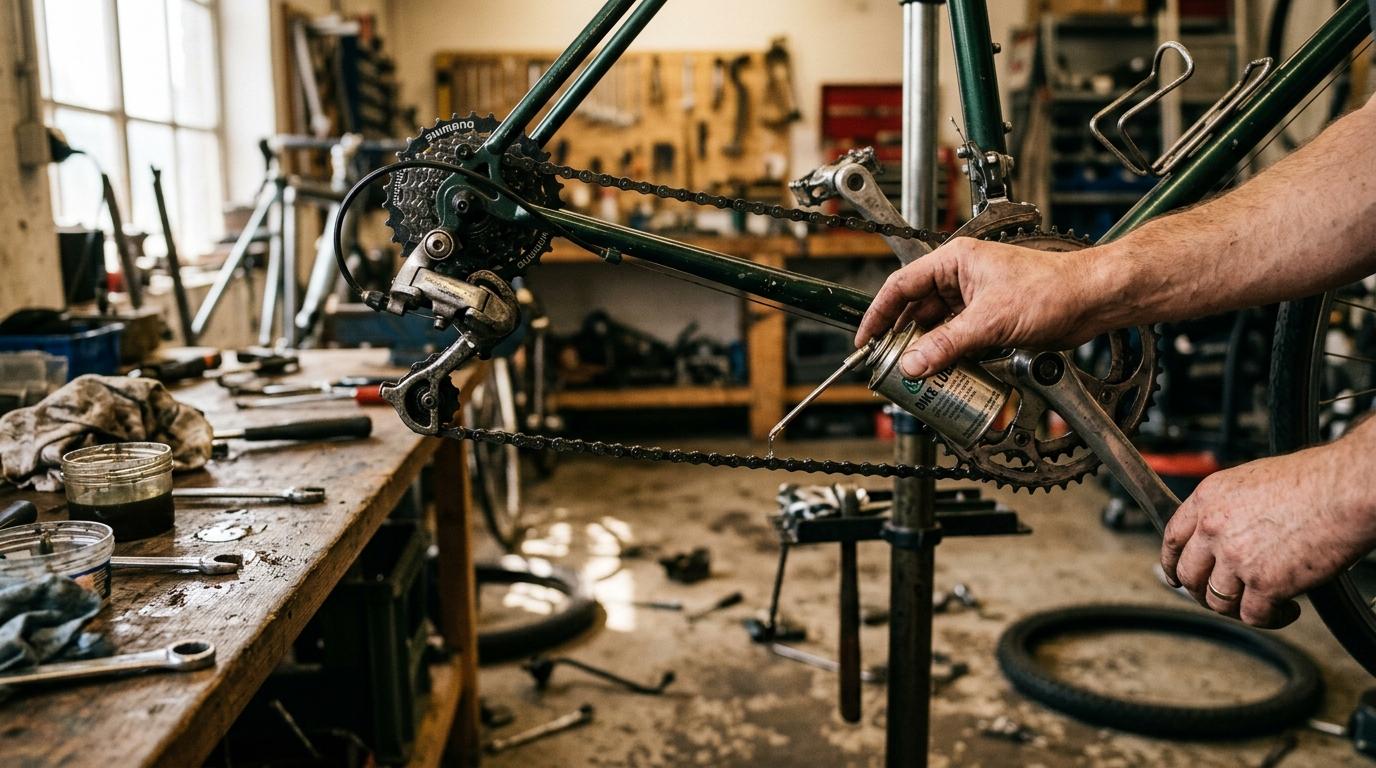
Chain lubricant and degreaser
£6–12 for bothA clean, lubricated chain is the most important maintenance task for drivetrain longevity. Wet lube for rain and mud (stays on longer), dry lube for dry conditions (less grime accumulation). Degreaser to clean the chain before relubing.
Affiliate link. We may earn a small commission.
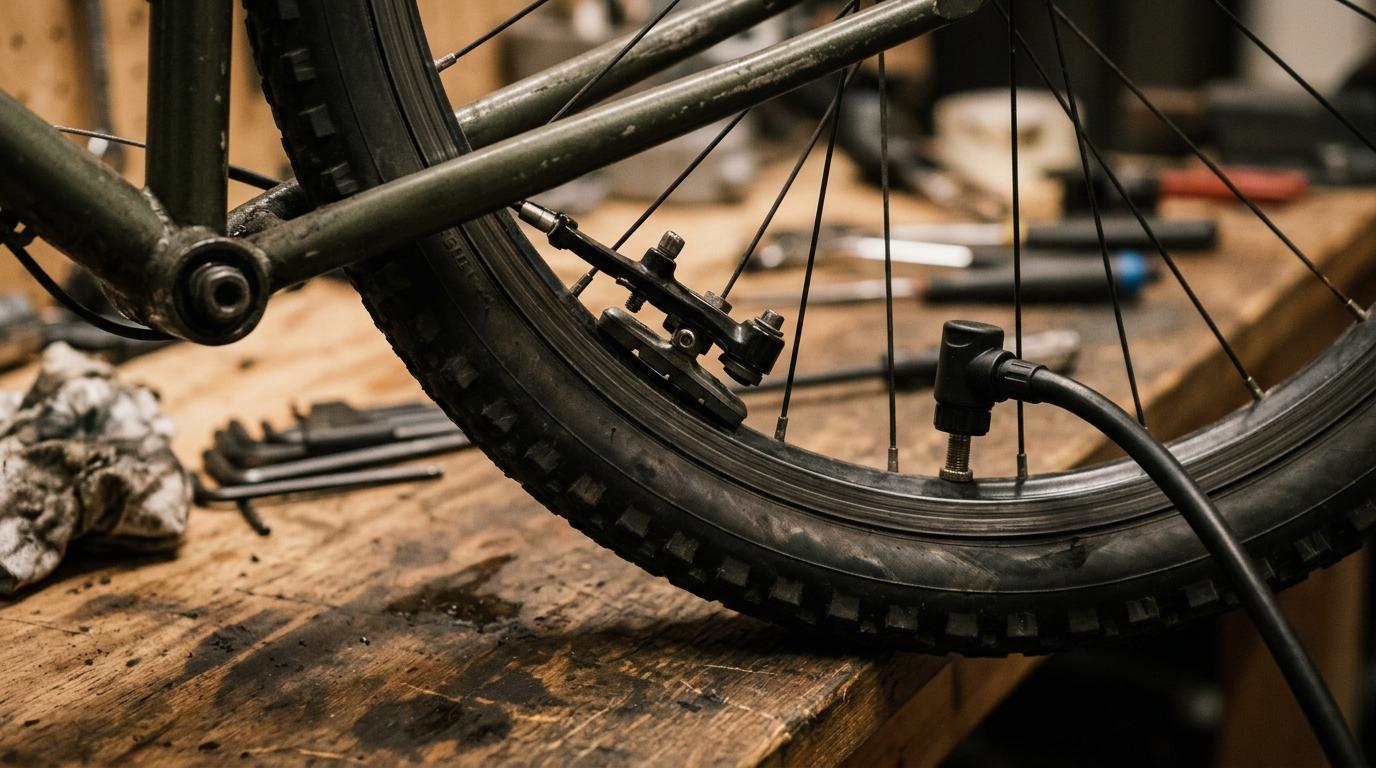
Track pump with pressure gauge
£20–40 for a reliable floor pump (Topeak Joe Blow is the standard recommendation)Proper tyre pressure is the most commonly neglected maintenance task and the most impactful: correct pressure prevents pinch punctures, reduces rolling resistance, and protects rims. A floor pump is much easier than a hand pump and gets tyres to correct pressure quickly.
Affiliate link. We may earn a small commission.
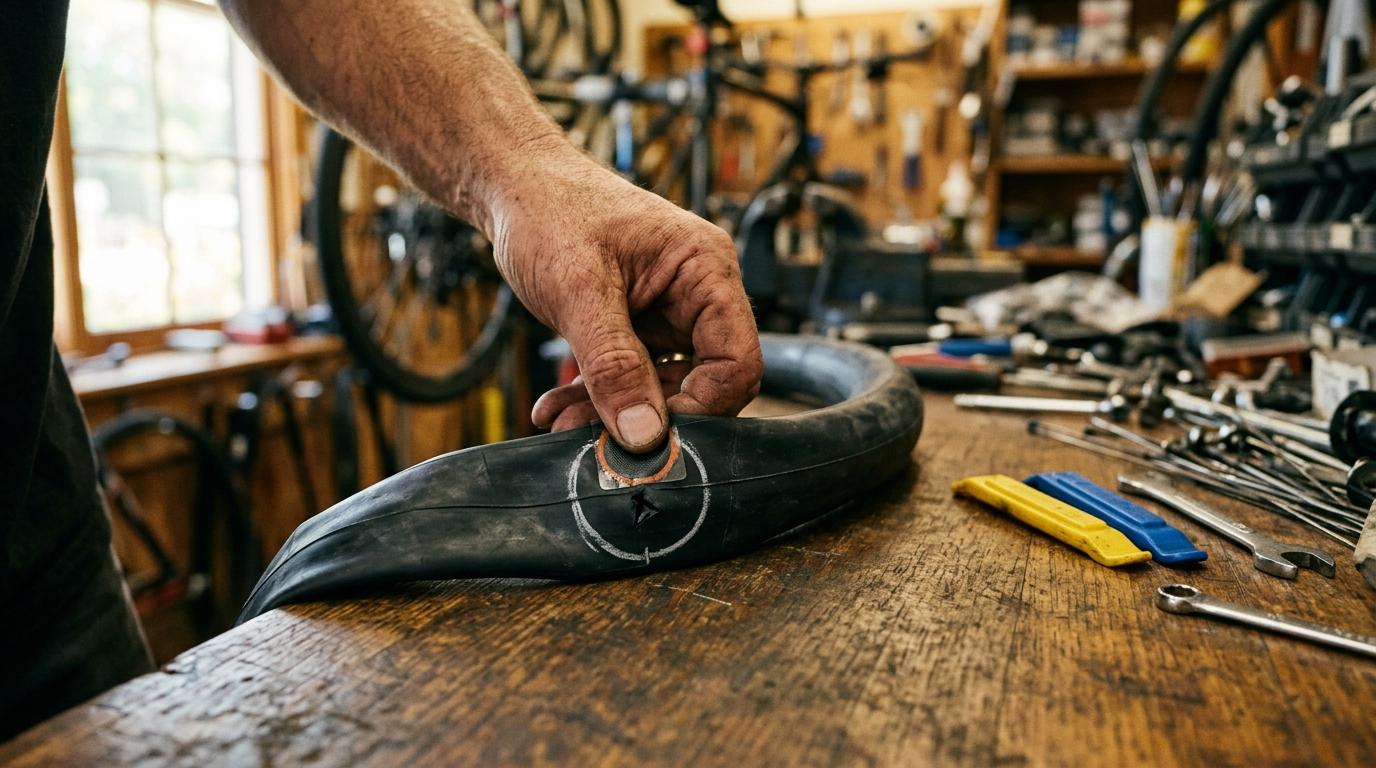
Puncture repair kit and spare inner tube
£5–10 for patches; £5–8 per spare tubeThe spare tube is for roadside repairs. Swap the tube, patch the flat one at home. Glue-based patch kits (Rema Tip Top) are more reliable than self-adhesive patches for permanent repairs. Always carry one tube and the levers when you ride.
Affiliate link. We may earn a small commission.
The one purchase that makes everything easier
A repair stand (or even just a hook to hang the bike) makes home maintenance far easier. Working with the bike on the floor is awkward and slow. A basic repair stand (£30–60) holds the bike at working height and lets you spin the wheels freely. Park Tool, Feedback Sports, and Topeak make reliable entry-level options.
Understanding how a bicycle works
The drivetrain
The drivetrain converts your pedalling effort into forward motion. The chain connects the front chainring(s) (attached to the cranks/pedals) to the rear cassette (a stack of sprockets on the rear wheel). Shifting gears moves the chain between sprockets. Smaller sprockets at the rear and larger chainrings at the front make it harder to pedal but faster; larger rear sprockets and smaller chainrings make it easier. The derailleurs (front and rear) are the mechanisms that move the chain between these sprockets when you shift.
The braking system
Modern bikes use one of two systems: rim brakes (calliper or V-brake) which clamp pads against the wheel rim, or disc brakes which clamp a rotor attached to the hub. Rim brakes are simpler and more user-serviceable. Disc brakes offer better stopping power in wet conditions. Rim brake adjustment is covered in this course; hydraulic disc brakes require specialist knowledge and are usually best serviced professionally.
Tyre pressure: the most impactful five minutes in cycling
Check tyre pressure before every ride. Tyres lose pressure naturally through the rubber (typically 10–15 PSI per week). Riding under-pressure increases rolling resistance, makes steering vague, and significantly increases puncture risk (pinch flats, where the inner tube is pinched between rim and road, only happen when the tyre is under-inflated).
Find the recommended pressure on the tyre sidewall (usually printed as a range, e.g. "70–110 PSI"). Set pressure to the middle of that range. Heavier riders should go toward the upper end; lighter riders toward the lower.
Fix a puncture: the core skill
A puncture is the most common mechanical failure. Being able to fix it roadside is the one skill every cyclist must have. This same process works at home or on the road.
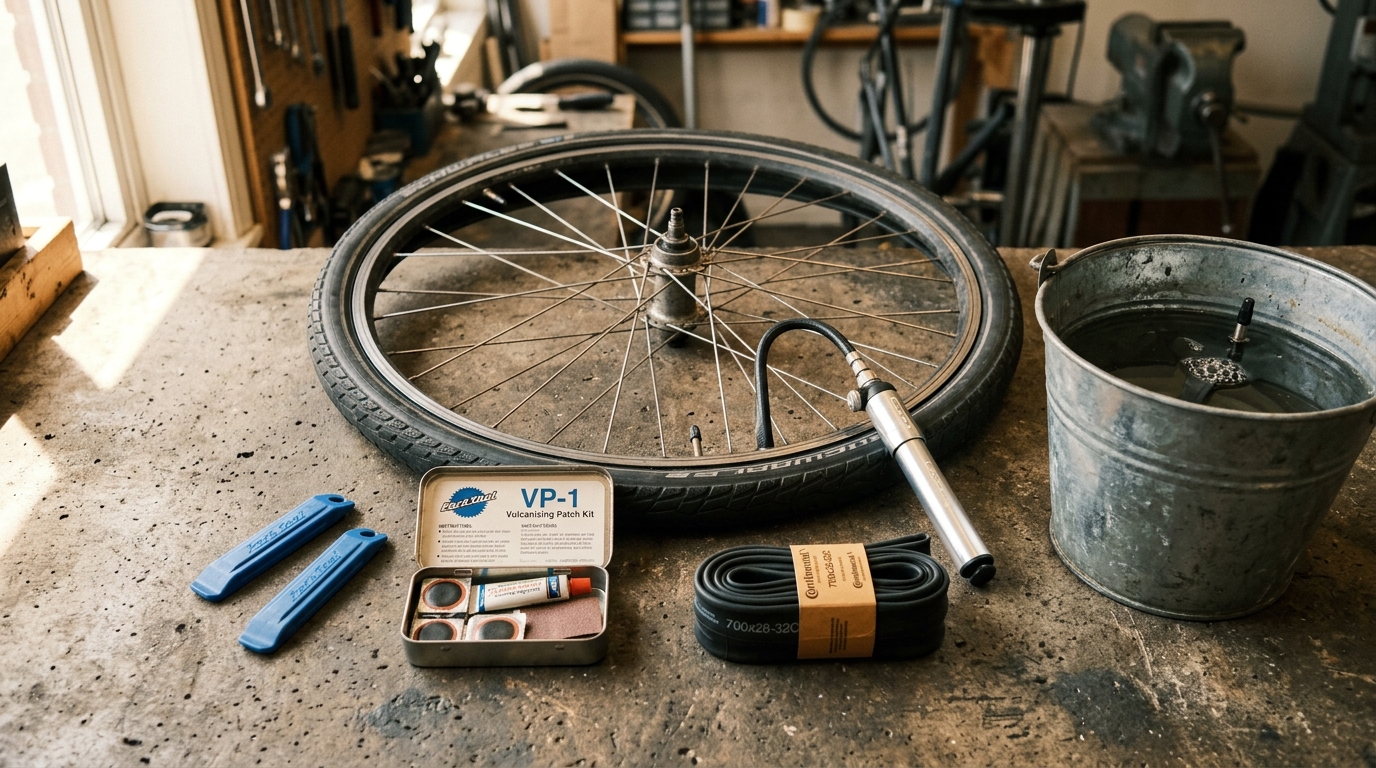
Gather your tools: tyre levers, a spare inner tube or patch kit, a pump, and a small bucket of water if available. Shift to the smallest sprocket before removing a rear wheel. This creates slack in the chain and makes removal easier.
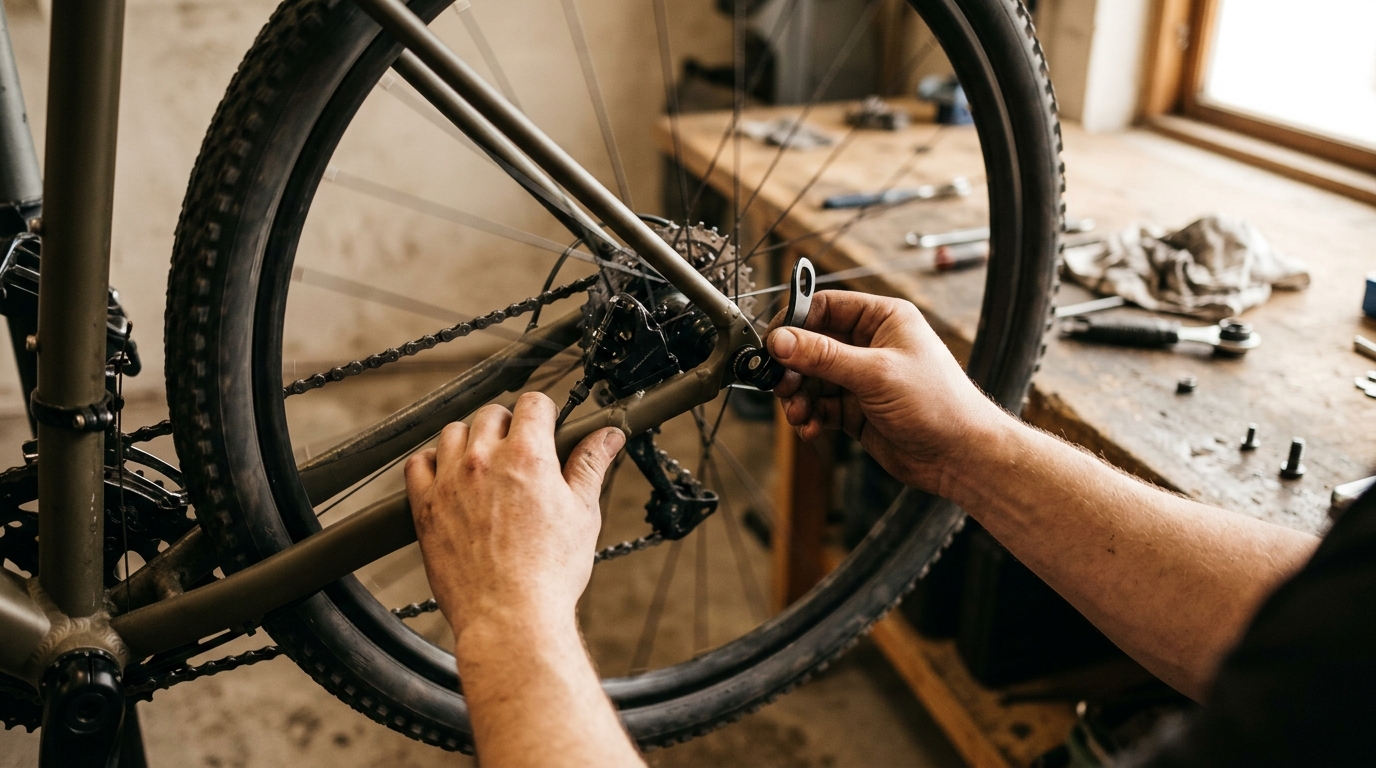
Remove the wheel: Open the quick release or undo the axle bolt. For rear wheels, push the derailleur back to free the chain. Lift the wheel clear of the frame.
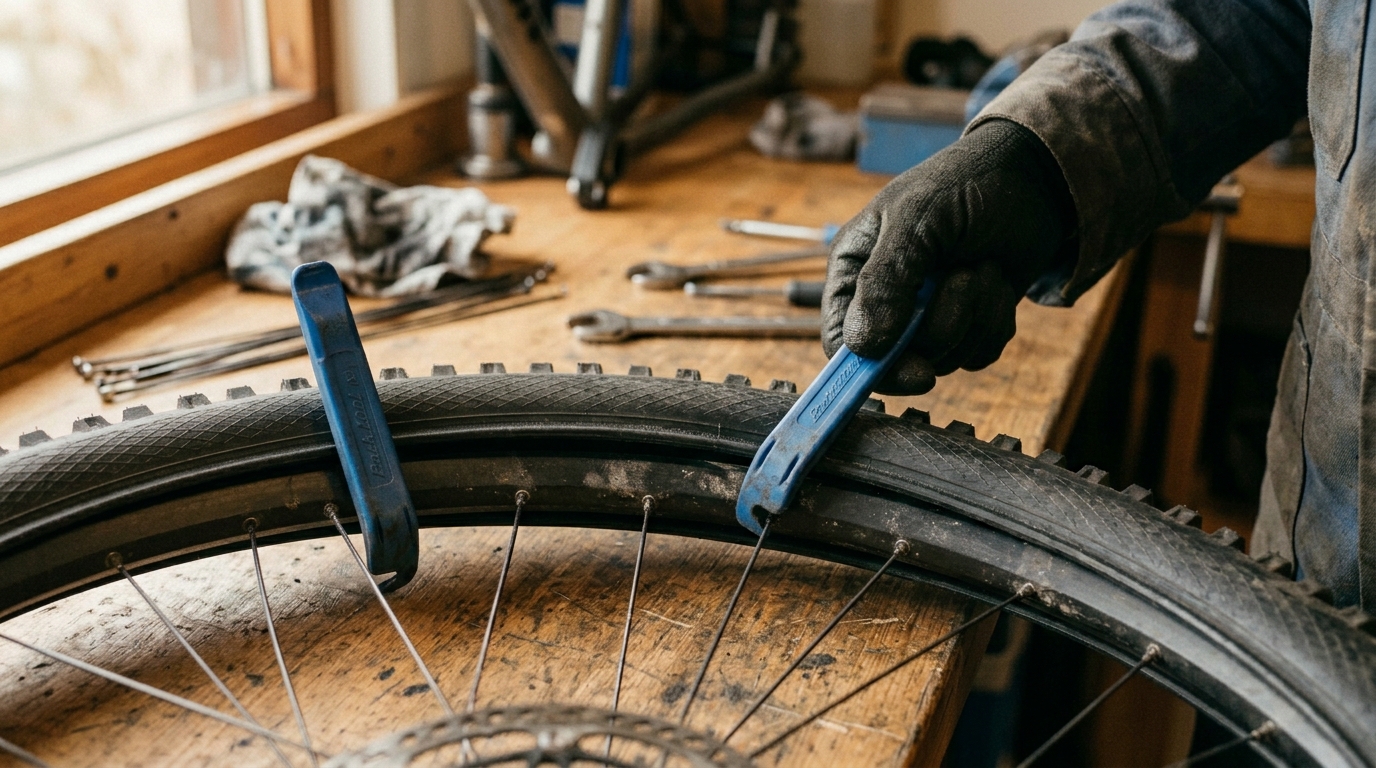
Remove the tyre: Hook a lever under the tyre bead opposite the valve and lever it over the rim edge. Hook it to a spoke. Use a second lever 10cm away. Work the rest off by hand.
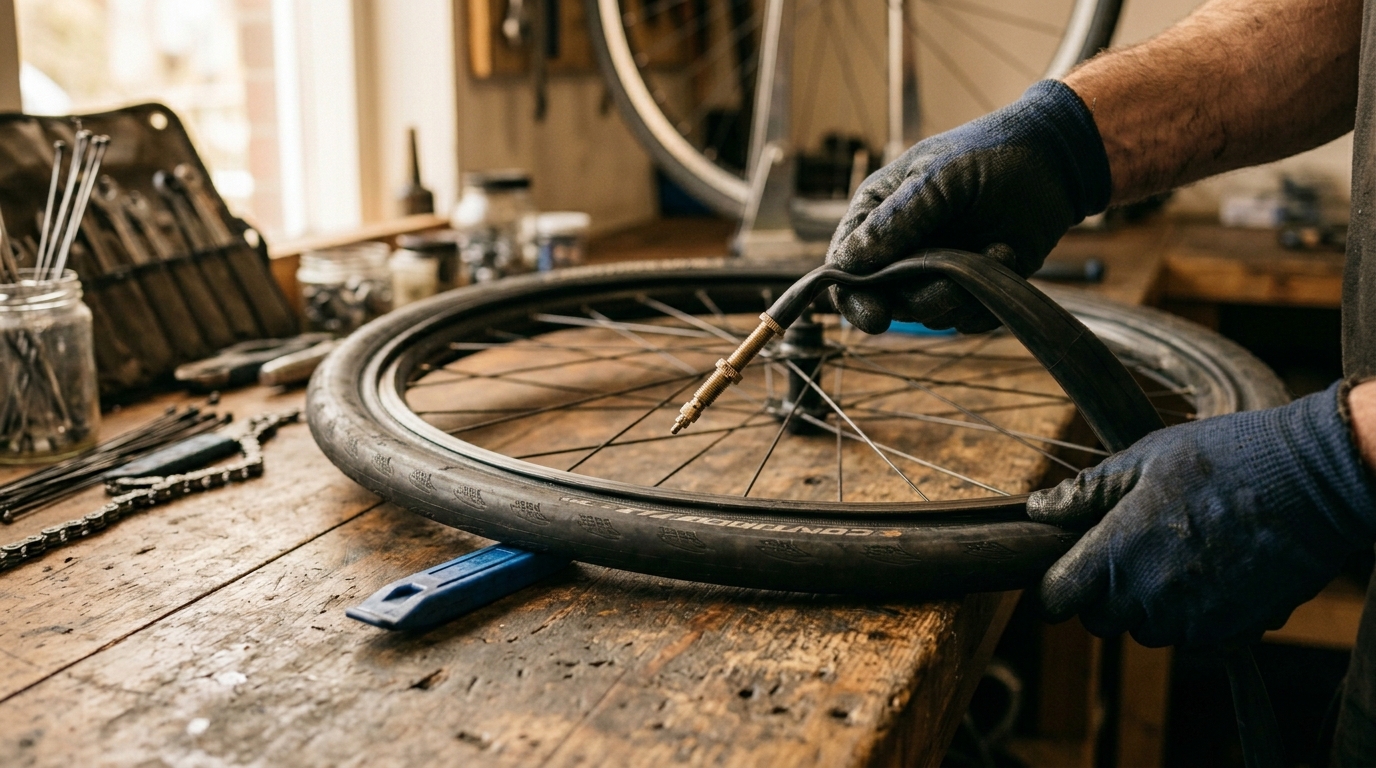
Remove the tube: Pull the inner tube out from inside the tyre, starting away from the valve. Feed the valve through the rim hole last.
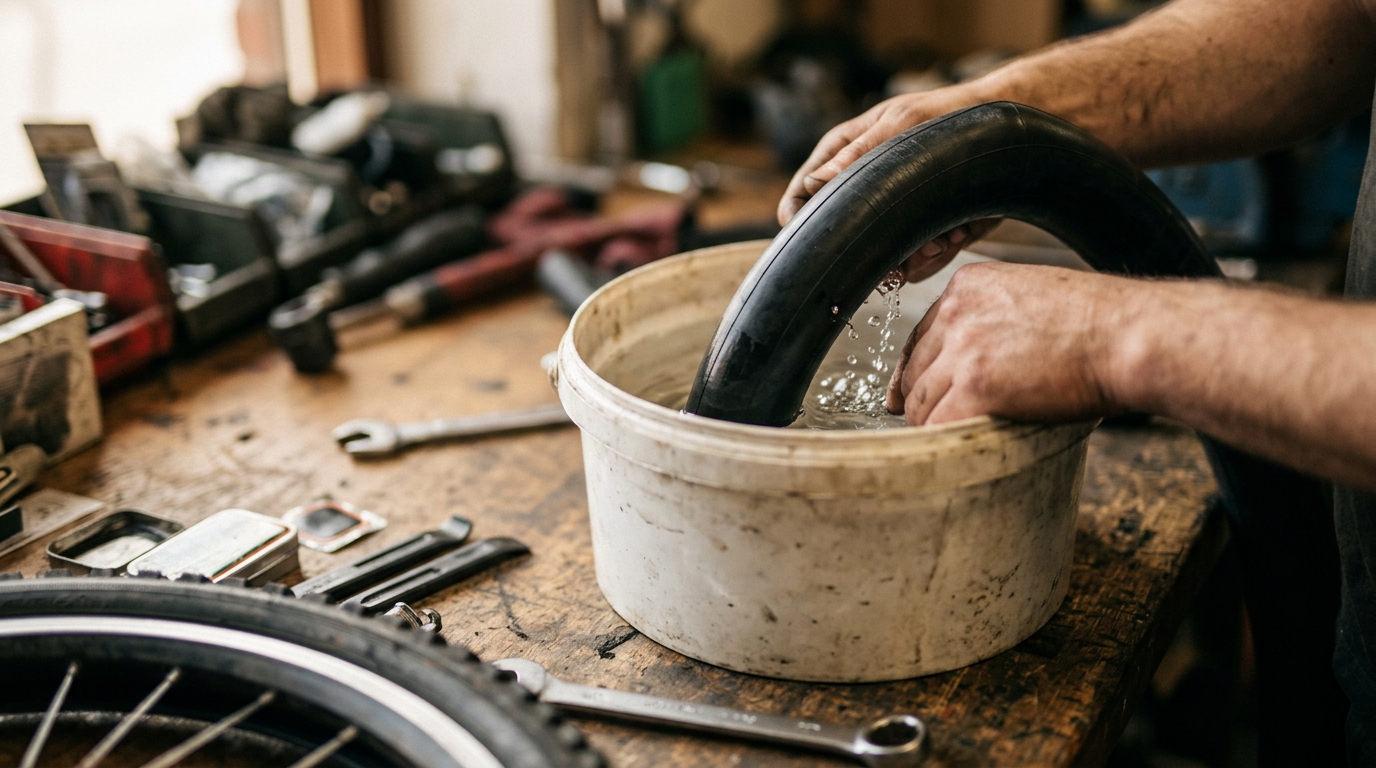
Find the puncture: Inflate slightly and submerge in water. Bubbles mark the hole exactly. Or listen for the hiss and feel on your cheek. Mark the hole with a pen.
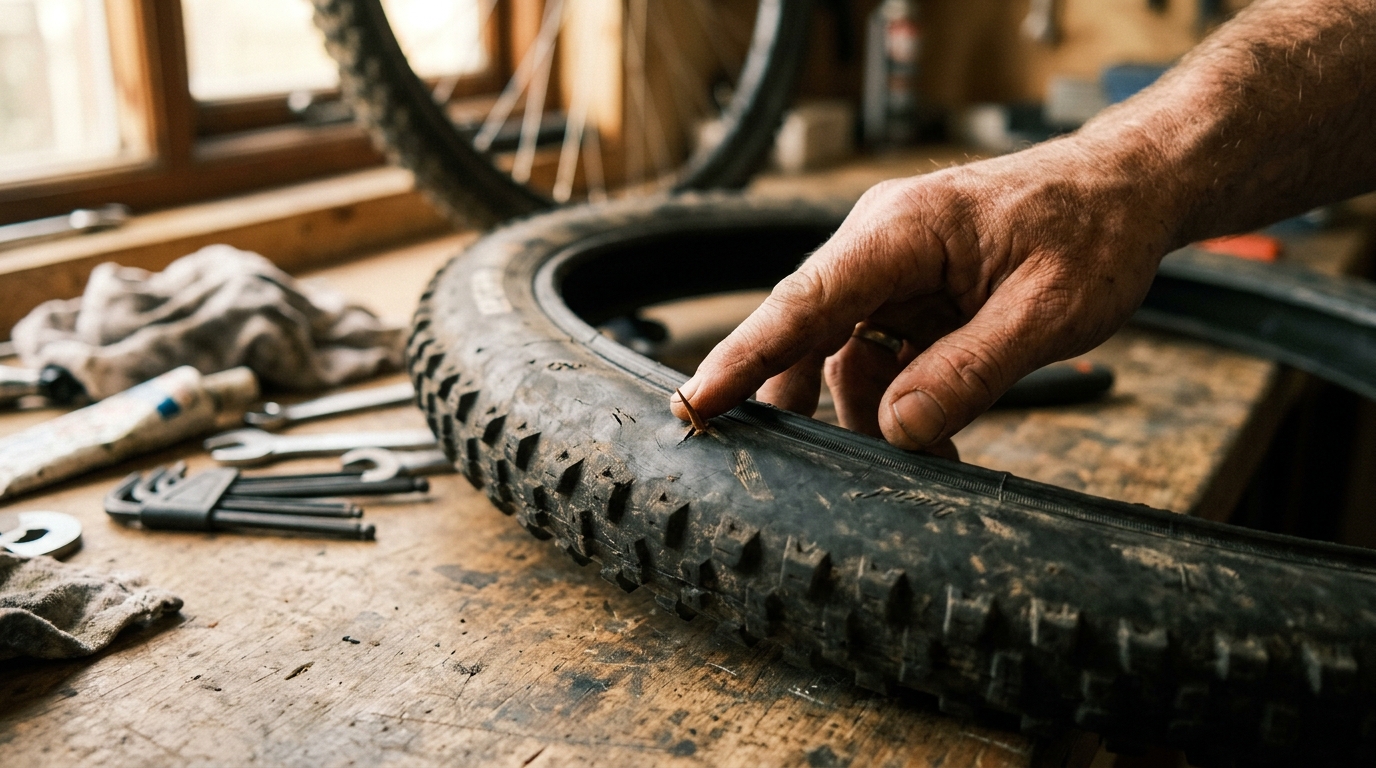
Find the cause: Run your fingertips carefully around the inside of the tyre to locate the thorn, glass, or wire. Remove it. If you skip this step, the new tube punctures immediately.
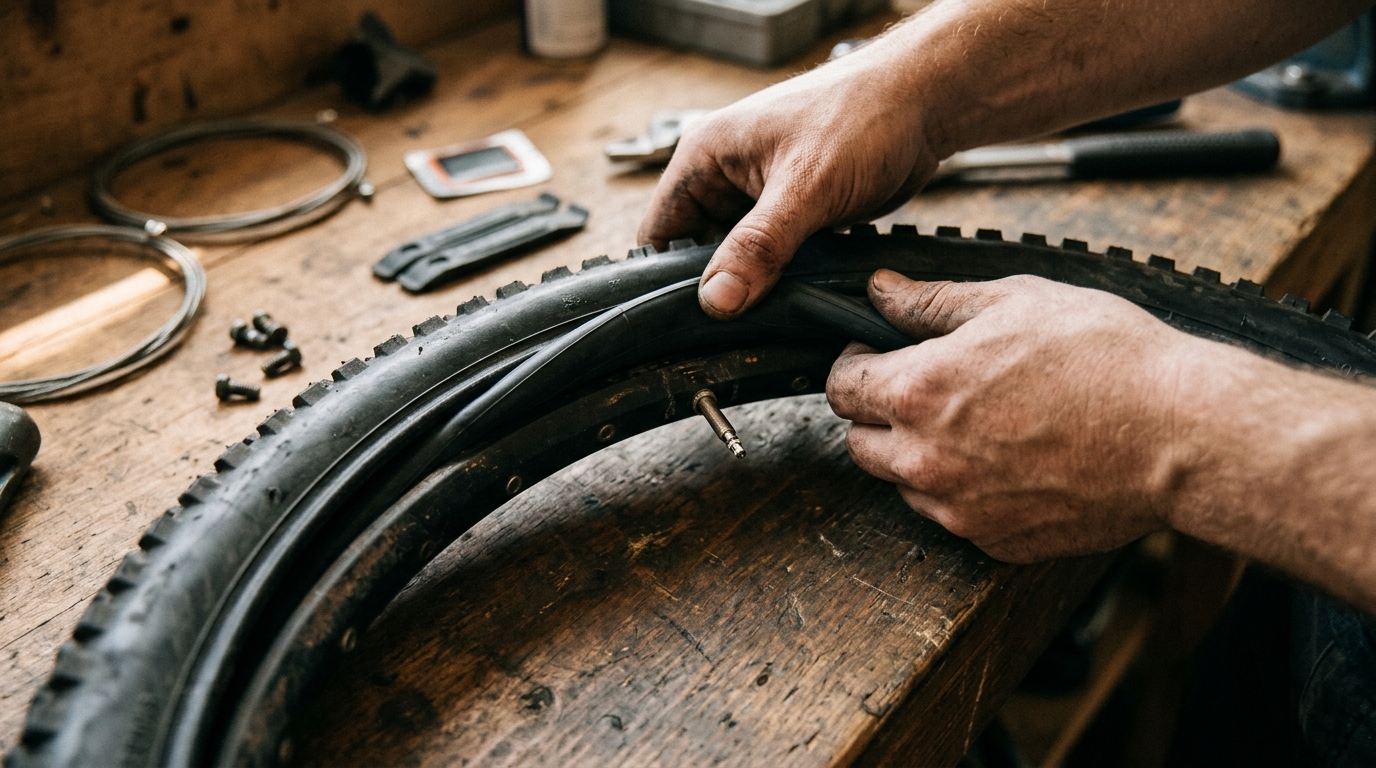
Fit the new tube: Inflate just enough to give it shape. Push the valve through the rim hole. Tuck the tube evenly into the tyre all the way around.
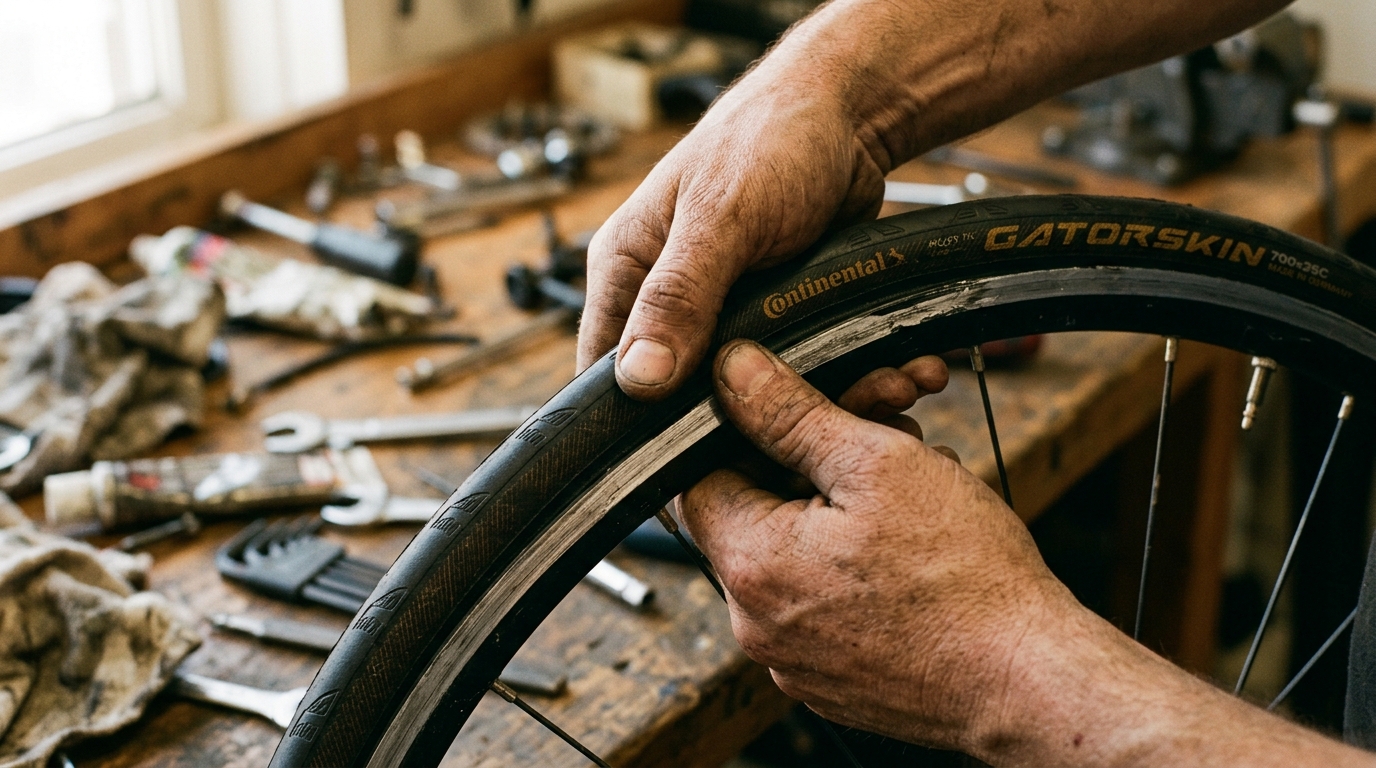
Refit the tyre: Starting at the valve, push the bead back onto the rim with your thumbs. Work around the wheel. The last section is tight. Push with both thumbs simultaneously. Avoid levers: they pinch the tube.
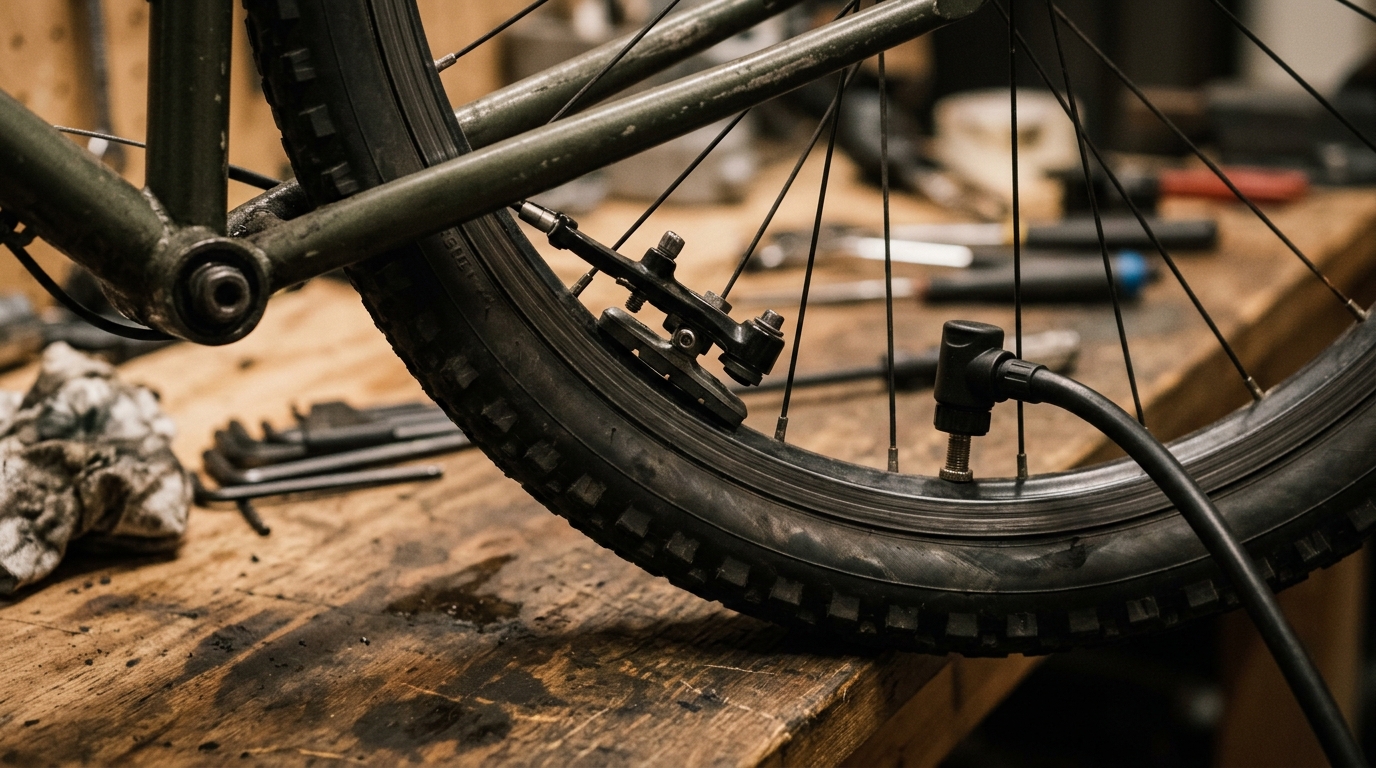
Inflate and refit: Inflate to half pressure, check the bead is seated evenly with no bulges. Inflate to full pressure. Refit the wheel, close the quick release, check brakes clear the tyre.
Prevent pinch flats
The most common puncture type for road and hybrid cyclists is the pinch flat (snake bite), two small holes where the inner tube is pinched against the rim on impact. This only happens when the tyre is significantly under-inflated. Check pressure weekly and you'll eliminate this puncture type.
Your pathway to mastery
Beginner: you're here
Week 1–4Puncture repair, tyre pressure, chain lubrication. Brake pad check and basic cable tension adjustment. The ability to get yourself home from a ride.
Developing
Month 2–6Gear indexing (adjusting derailleurs so every gear shift is crisp). Brake calliper alignment. Replacing brake pads. Replacing a chain. Wheel truing (straightening a buckled wheel).
Confident
Year 1Bottom bracket service. Headset service. Bar tape wrapping. Replacing cables and housing. Building up a bike from components. Replacing a cassette and chainring.
Skilled
Year 2+Hydraulic disc brake bleeding. Frame building knowledge. Advanced wheel building. Complete bike overhauls. Helping others, contributing to local cycling community.
Best resources
- Wahoo (gear tracking, maintenance reminders)
- Park Tool's BBT (bottom bracket thread identifier)
Community
Reader tips
No tips yet. Be the first to share what worked for you.
Share a tip
Sign in to share what worked for you.
Same category
What to learn next
Bicycle Touring
Plan and complete your first bicycle tour. Kit selection, route planning, pacing, camping or accommodation, mechanical basics, and how to manage a loaded bike.
Foraging: Hedgerow Harvest
Late summer foraging in the British hedgerow: elderberries, blackberries, sloe, hawthorn, hazelnuts, and field mushrooms. Learn to identify, harvest, and use what grows wild.

Running: Starting from Zero
Run your first 5K from a standing start. A simple, realistic programme for people who aren't sure they're runners. It turns out most people are.
Side quests