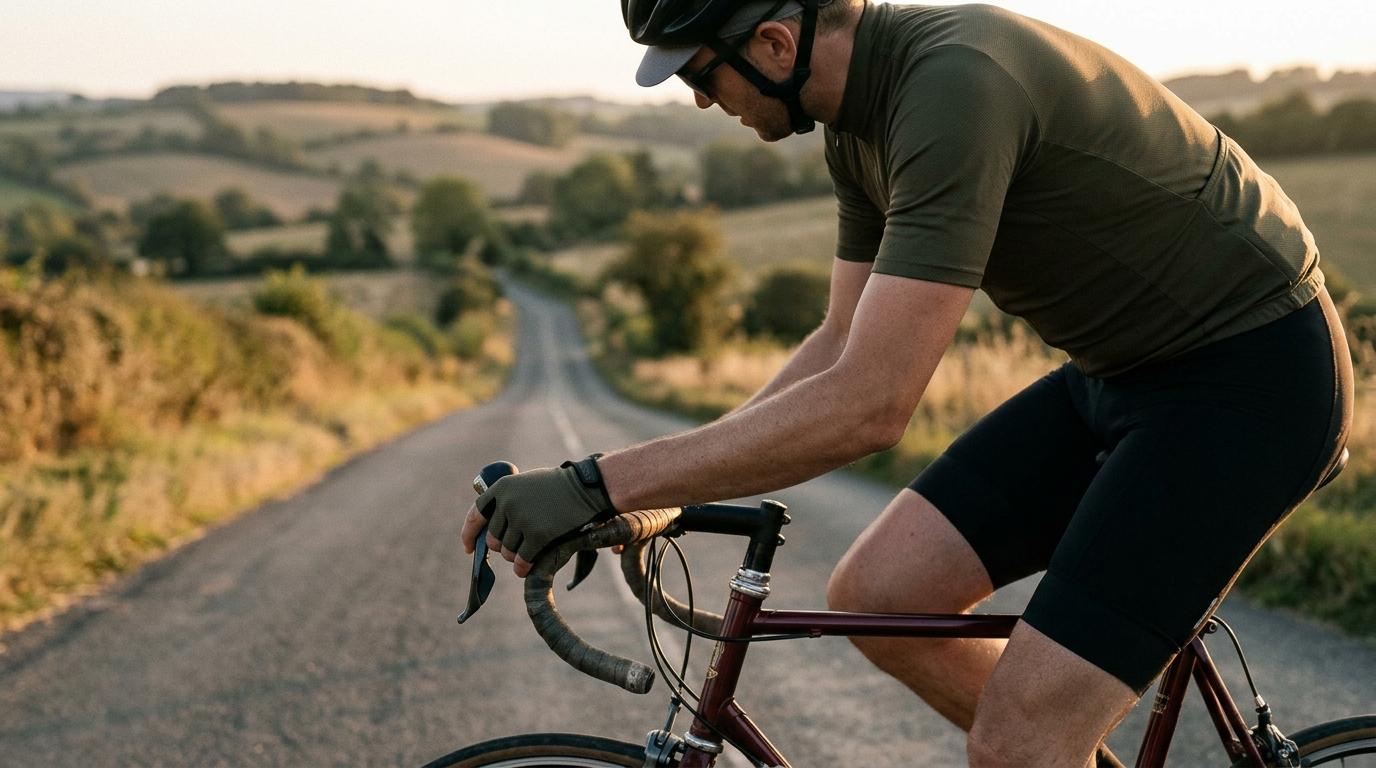
Choosing your first route
Any bike you can ride comfortably will work for a first tour. The perfect touring bike is the one you already own. The most important variable is the route: keep it achievable, interesting, and flexible enough to cut short if needed.
Distance: 40–80km for a first overnight
This puts you at your destination in 3–5 hours at touring pace (15–20km/h), leaving afternoon time to settle, explore, and eat. Longer than this becomes a suffer-fest on a loaded bike if you're not accustomed to the weight. You can always go further next time. The goal of a first tour is to arrive happy.
Route type: quiet roads and cycling paths
Avoid A-roads. UK cycle routes (National Cycle Network, Sustrans, and OS-mapped bridleways) are mapped at cycle.travel and Komoot for free. GPX files can be downloaded and loaded onto a cycling computer or a phone mount. Local cycling clubs often publish recommended touring routes, worth searching by county.
Accommodation: B&B, hostel, or wild camping
£30–60 for a hostel bunk; £10–15 for a campsite pitchFor a first tour, booking a B&B or hostel means no tent weight and a guaranteed hot shower. Wild camping is legal in Scotland; in England and Wales it exists in a legal grey area, so ask permission where possible. Campsites are predictable and often cyclist-friendly. The Cycling UK 'Warm Showers' network connects touring cyclists with hosts who offer a bed and a meal.
Planning tools
Free (Komoot) to £14.99/month (Komoot Subscription with offline maps)Komoot and Cycle.travel both plan routes on quiet roads automatically and show elevation profiles (the hills are your biggest variable). Download the route as a GPX file. Load it onto Google Maps, Komoot on your phone, or a Garmin cycling computer. Know the route before you set off: stopping to navigate every 20 minutes breaks your rhythm.
Kit and bike setup: load light, ride far
What to carry
A loaded touring bike handles very differently from an unladen one. Every kilogram you add raises the effort and lowers your control on descents. Aim for a working kit, not a complete one.
Panniers or a bikepacking setup
£30–90 for a rear pannier pairRear panniers (saddlebag racks) are the traditional touring setup: stable, high capacity, and the bags come off easily at your destination. Bikepacking bags (frame bag, handlebar roll, seat pack) fit more bikes without a rack and sit lower. For a first overnight, a single rear pannier or a large saddle pack is enough. Ortlieb makes the most reliable waterproof panniers. Altura and Apidura are solid mid-range alternatives.
Affiliate link. We may earn a small commission.
Puncture repair kit (non-negotiable)
£10–20Carry two inner tubes (not just patches), two tyre levers, a mini pump or CO2 inflator, and a patch kit for emergencies. Know how to change a tube before you leave. Practise at home. On tour, stopping for a puncture is expected. Not knowing how to fix it alone is a problem.
Affiliate link. We may earn a small commission.
Clothing
Varies widely (use what you own first)Merino wool base layers dry fast, resist odour, and regulate temperature better than synthetic alternatives for multi-day tours. Padded cycling shorts (or bibs) are worth it for any distance over 30km. Rain jacket and leg warmers for British weather. One spare set of off-bike clothes for the evening. Pack in a dry bag.
Affiliate link. We may earn a small commission.
Bike setup
Pacing, riding, and handling problems
Touring pace isn't race pace. A loaded bike demands a different relationship with effort. These seven reference points cover the actual experience of a touring day.
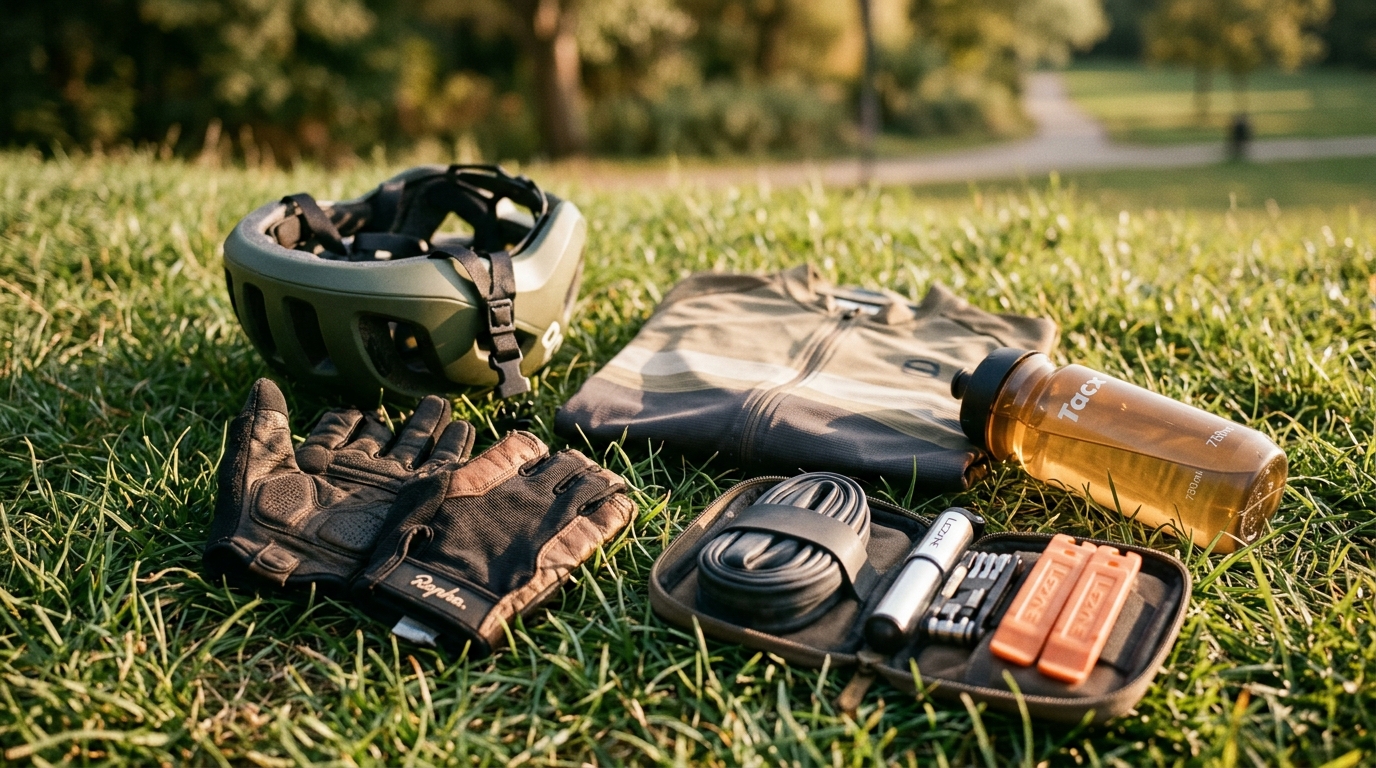
Kit check before setting off: Water bottles filled. Phone charged. Puncture kit in the bag. Route downloaded and loaded. Breakfast eaten. Saddle height confirmed. Leave an hour earlier than you think you need to, as days expand pleasantly when there's no panic about arrival time.
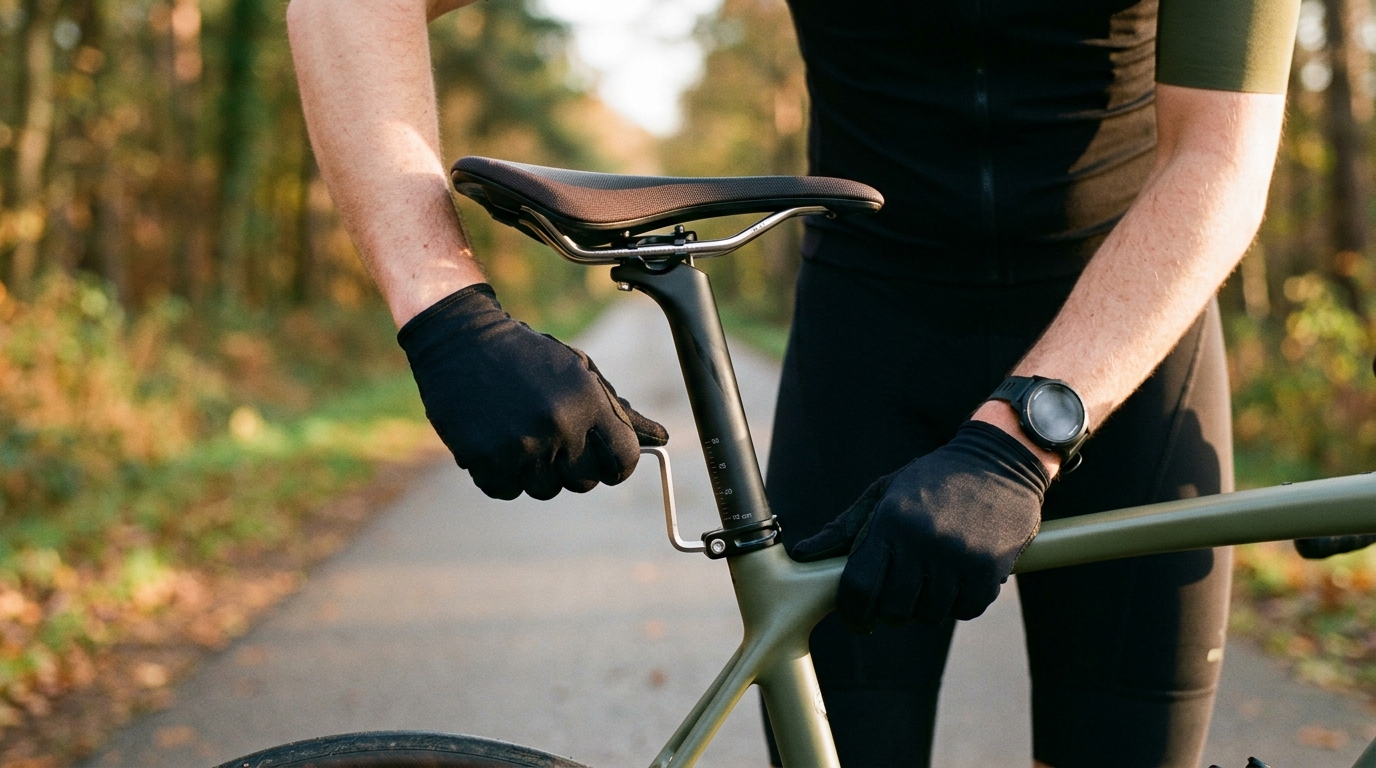
Saddle height on departure: Check with panniers loaded: the extra weight shifts things slightly. The saddle should still allow a very slight bend in the knee at the bottom of the pedal stroke. Adjust before you're 30km in and your knees are complaining.
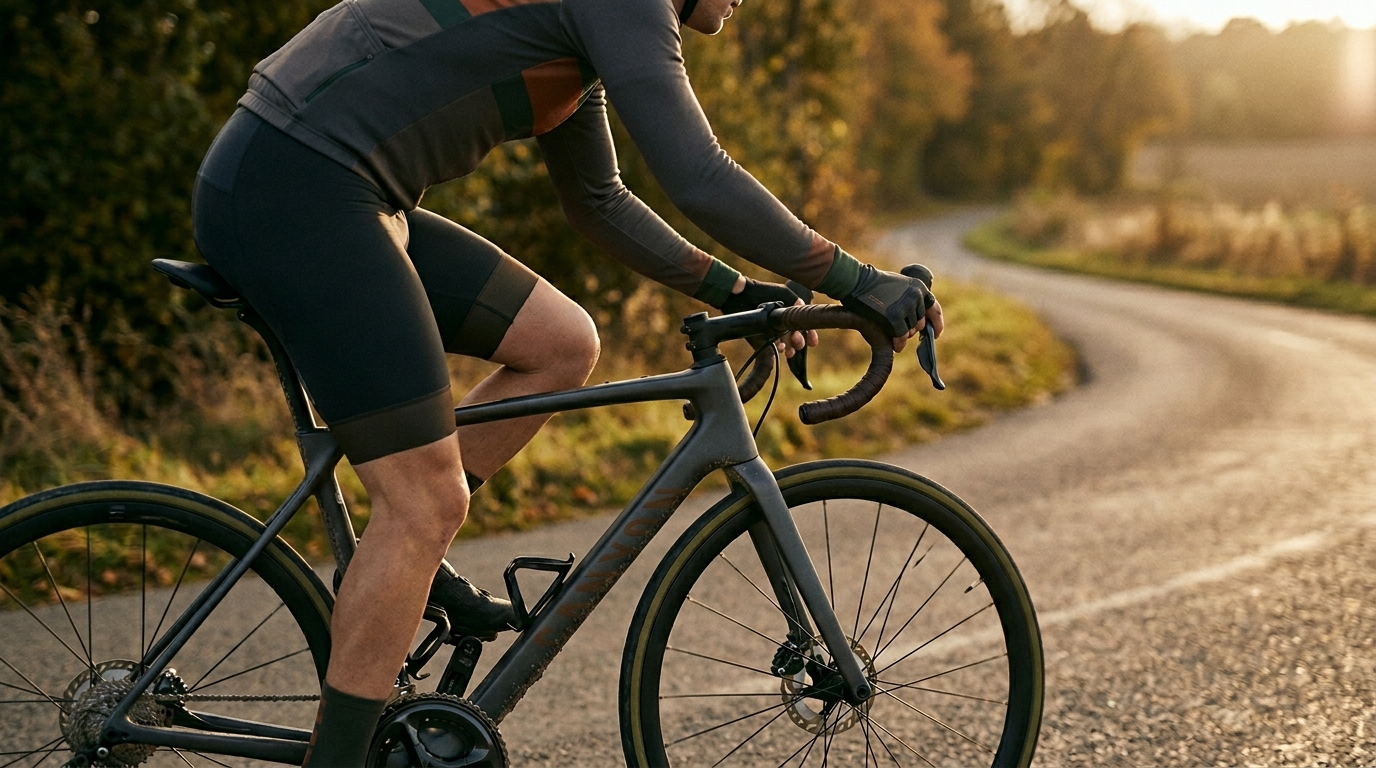
Riding position with a loaded bike: A loaded bike needs more active steering than an unladen one: it's slower to respond and more stable at speed. Descend hills with hands covering the brakes. On corners, weight goes to the outside pedal. Keep the load distributed and never let panniers hit the ground on sharp turns.
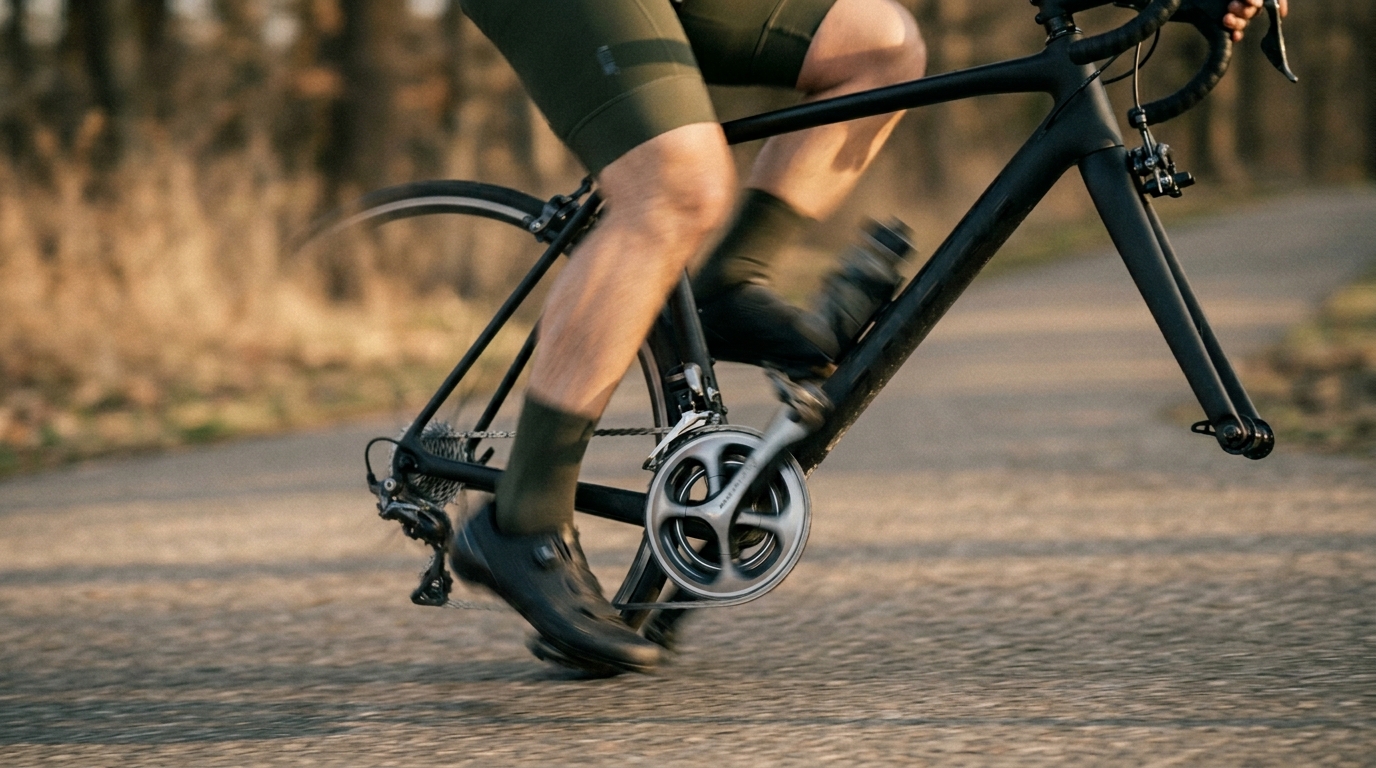
Cadence over power: Spin a smaller gear at a higher cadence (80–100 RPM) rather than pushing a big gear slowly. It's more efficient, easier on the knees, and sustainable across a full touring day. On climbs, shift early: before you need to, not when you're already struggling.
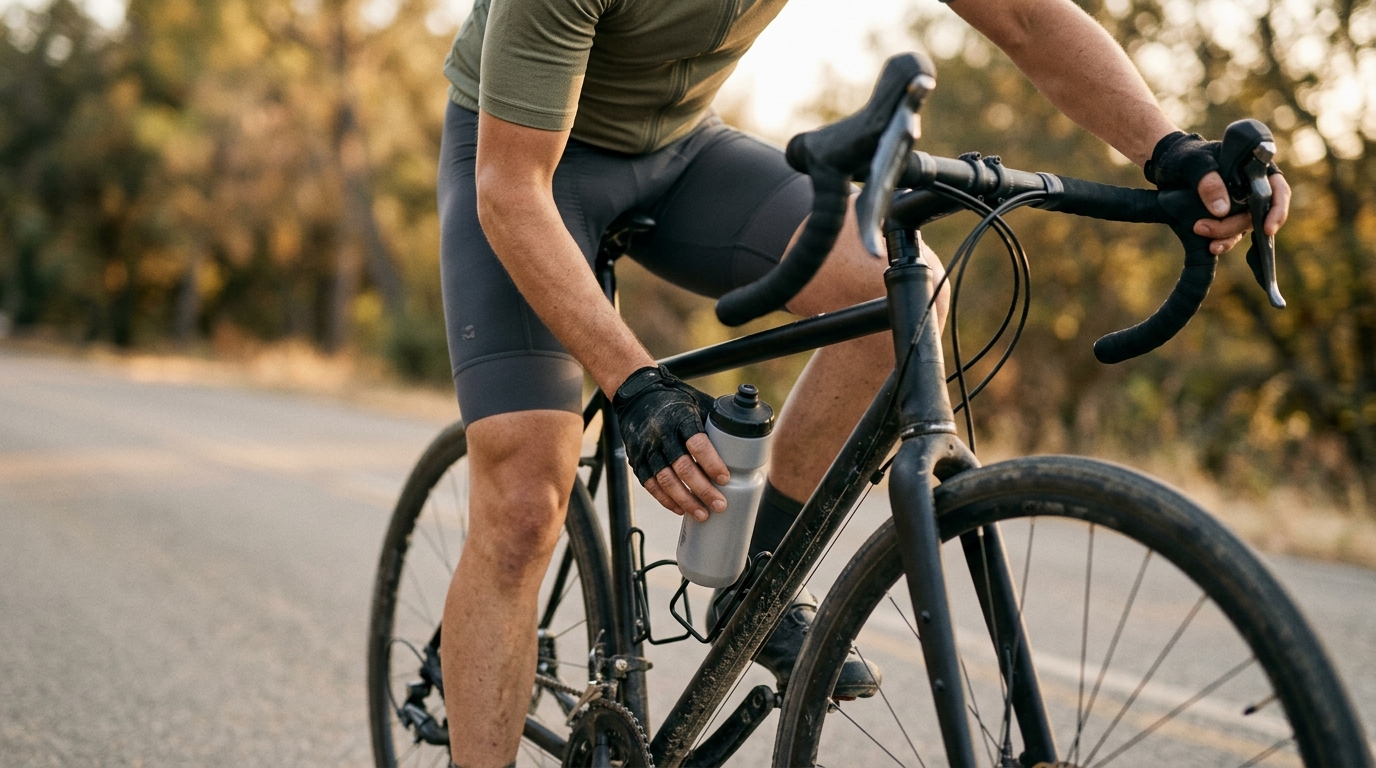
Drink before you're thirsty: By the time you feel thirst, you're already slightly dehydrated. A 500ml bottle per hour in moderate temperatures; more on hot days or steep terrain. Eat before you're hungry too. Energy bonking on a loaded bike is a miserable experience. Carry snacks that open one-handed.
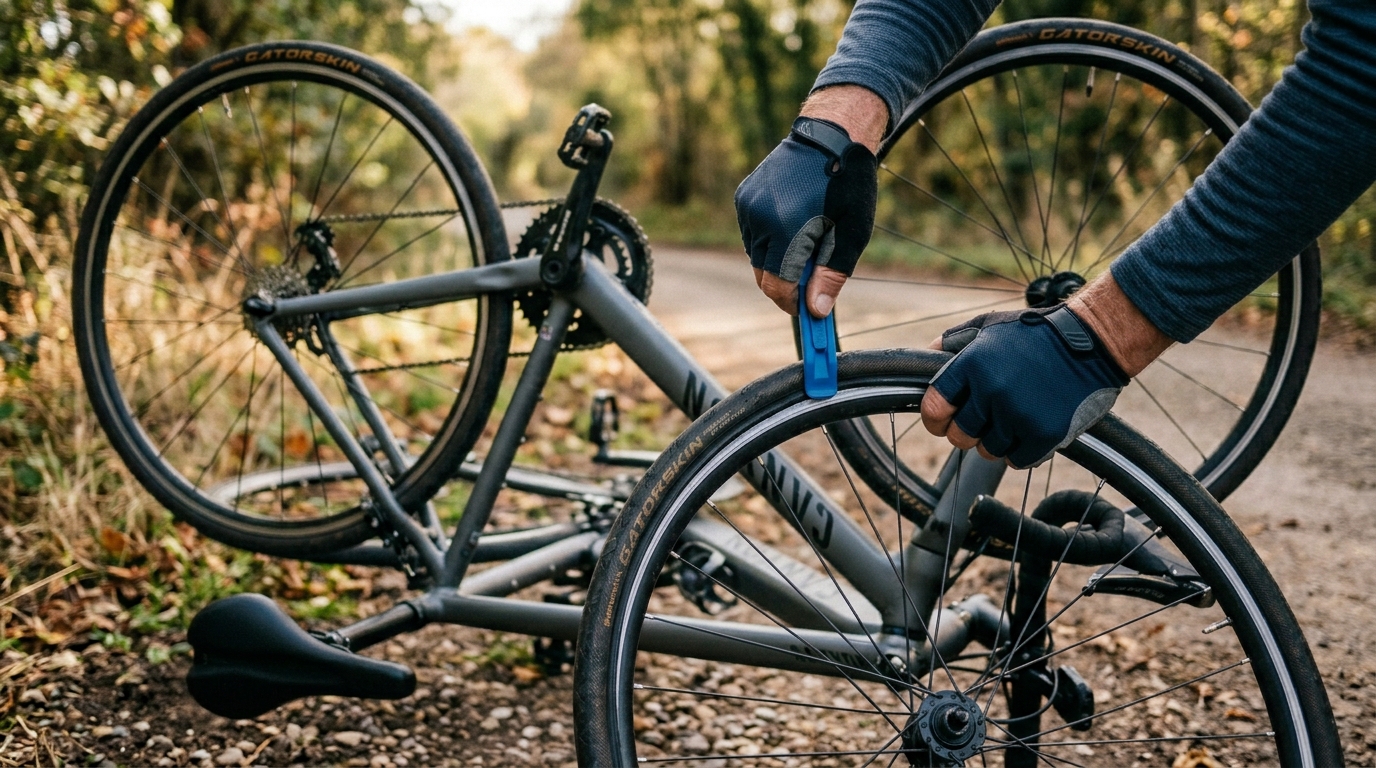
Roadside puncture: Remove the wheel. Tyre off with two tyre levers. Find the puncture by inflating the tube slightly and listening, or submerging in water if you have it. Check the tyre inside for the cause (glass, thorn) and remove it before fitting the new tube. Reinstall, inflate, replace wheel. Total time with practice: 10 minutes.
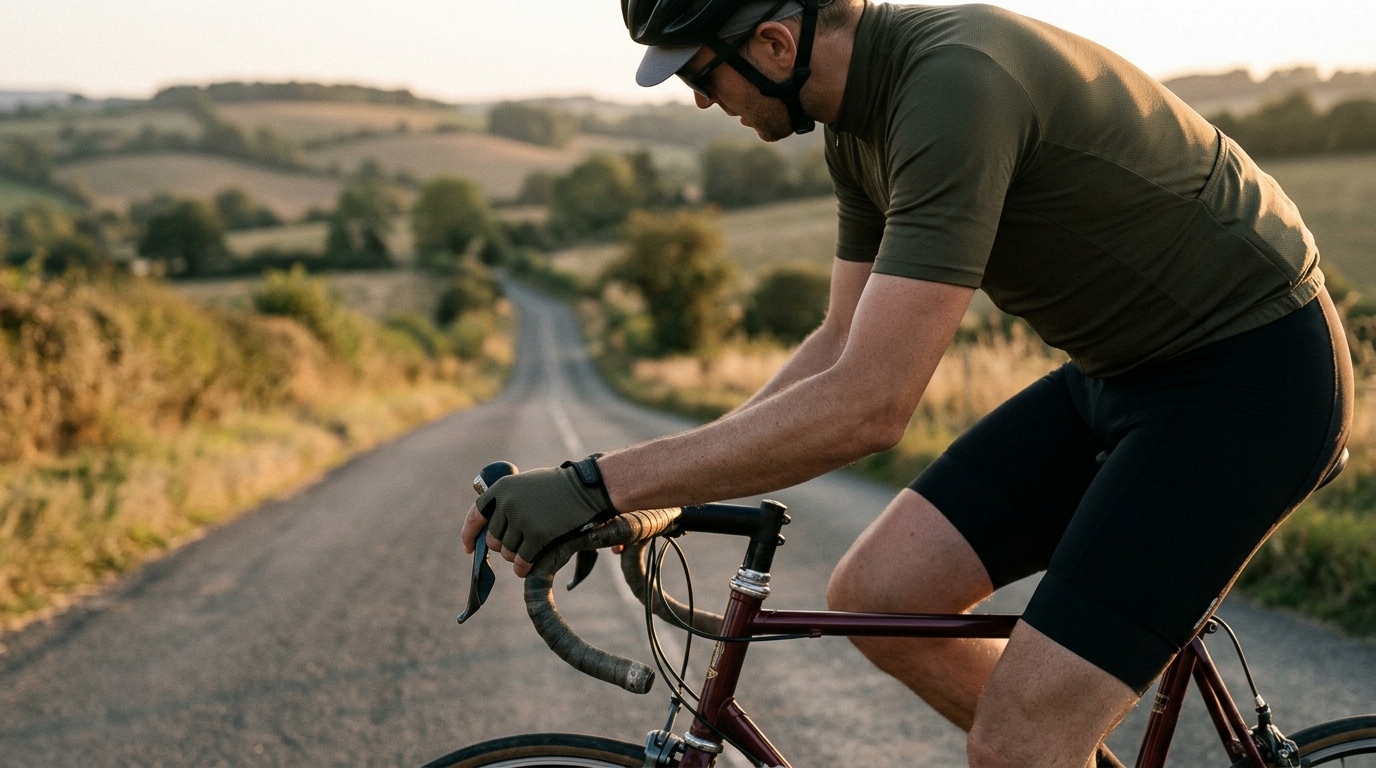
The summit moment: Touring hills feel different from training hills. The view at the top is earned. The descent ahead is earned. Everything you're carrying is real. Most touring cyclists find their sense of distance permanently shifts after a first tour. Places that seemed far become reachable under their own power.
The 10am rule
If you're not on the road by 10am, your afternoon becomes rushed. Pack the night before. Lay out everything you need for morning. Eat a proper breakfast. The first hour of a touring day determines its entire character.
Your first overnight and pathway to mastery
One night away is enough to understand what you've signed up for. Most people who do a first tour immediately start planning a longer one. The shift in how you relate to distance is that fast.
Beginner (you're here)
First tourA single overnight tour completed under your own power. You know what you pack too much of and what you forgot. You know what touring pace feels like. The next one is already easier.
Developing
Year 1Weekend tours of 100–200km. Multi-night unsupported. Wild camping (Scotland first). Navigation by GPX and map without phone signal. Mechanical confidence.
Confident
Year 2Week-long tours. Crossing a country border. Long-distance UK routes (Coast to Coast, Land's End to John o'Groats segments, Way of the Roses). Self-sufficient camping. Basic route-planning from scratch.
Skilled
Year 3+European touring. The EuroVelo network. Fully unsupported expeditions. Bikepacking off-road (Cairngorms Loop, Ribble Cycleway). Teaching or guiding others. Touring as the primary way of seeing somewhere new.
Best resources
- The Cycling Duo (accessible UK touring vlogs)
- James Hayden (ultra-distance racing and touring)
- Cycling UK (official UK cycling charity, touring guides)
- Radavist (bikepacking culture and photography)
Community
Reader tips
No tips yet. Be the first to share what worked for you.
Share a tip
Sign in to share what worked for you.
Same category
What to learn next
Bicycle Maintenance
Fix a puncture, adjust brakes, clean and lube a drivetrain. The core maintenance skills every cyclist needs. No bike shop required.
Foraging: Hedgerow Harvest
Late summer foraging in the British hedgerow: elderberries, blackberries, sloe, hawthorn, hazelnuts, and field mushrooms. Learn to identify, harvest, and use what grows wild.
Running: Starting from Zero
Run your first 5K from a standing start. A simple, realistic programme for people who aren't sure they're runners. It turns out most people are.