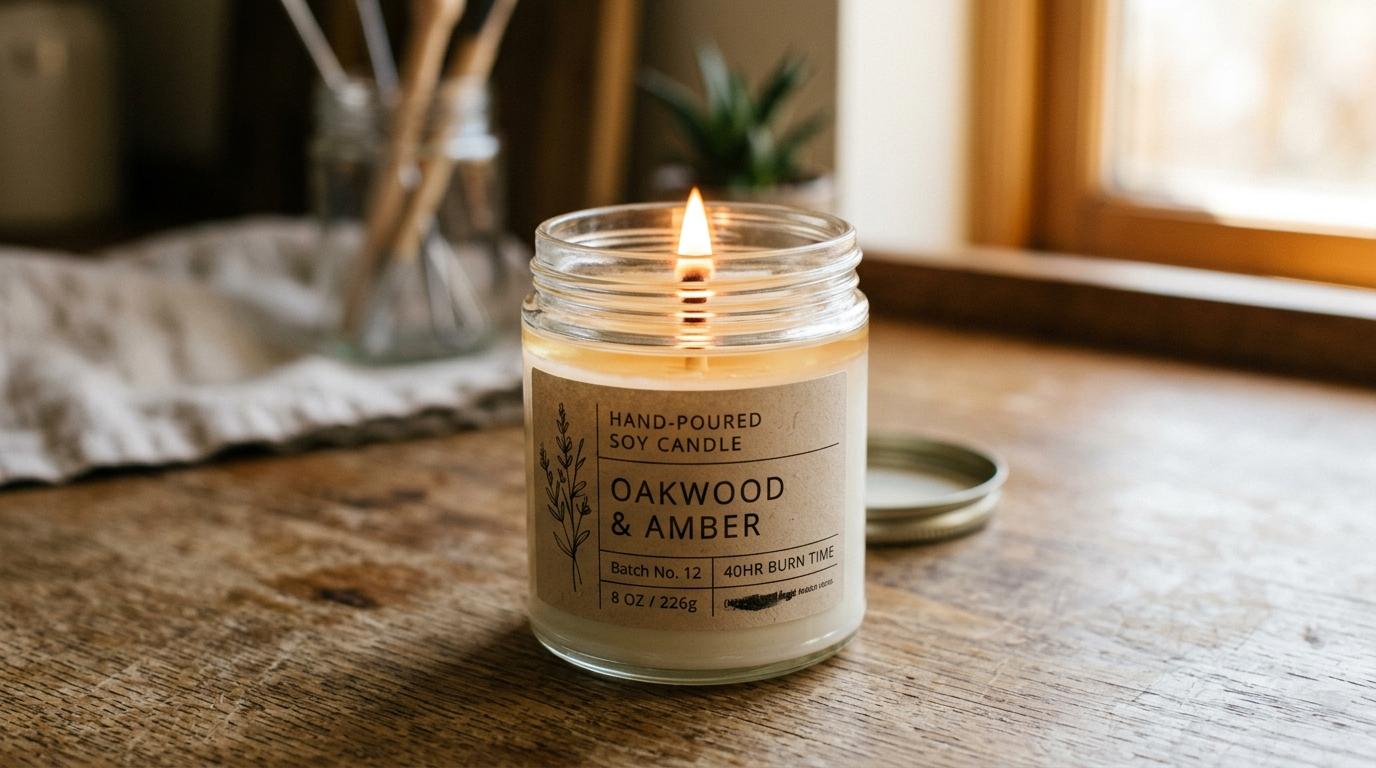
What you need to get started
Container candle making is the easiest place to start: no mould needed, fewer variables, and the result is immediately usable. The core investment is wax; everything else is inexpensive or already in your kitchen.
Soy wax flakes (container grade)
£8–15 for 500g (makes 4–6 small candles)Soy wax is cleaner-burning, longer-lasting, and easier to work with than paraffin (the standard commercial candle wax). Container-grade soy wax (e.g. Golden Brands 464 or NatureWax C-3) has a slightly lower melt point, stays liquid longer during pouring, and adheres better to glass than pillar grades. Available from Cosy Owl, The Candle Making Supplies, or Brambleberry.
Affiliate link. We may earn a small commission.
Pre-tabbed cotton wicks
£3–6 for a pack of 20Pre-tabbed wicks have a metal tab at the base and are already cut to length. Cotton wicks for soy wax: use ECO or CD series wicks. The right wick size depends on the container diameter. Too small and the candle drowns in its own melt pool; too large and it smokes and burns too fast. A wick sizing guide is provided in Step 02.
Affiliate link. We may earn a small commission.
Fragrance oil (candle-specific)
£3–7 for 25ml (enough for several batches)Fragrance oils formulated for candle use are different from essential oils and perfume oils. They're designed to survive the high temperatures of wax and release fragrance correctly on burn. Use candle fragrance oil at 8–10% of the wax weight (the fragrance load), the standard safe and effective range.
Affiliate link. We may earn a small commission.
Glass containers (jars or vessels)
£0 (repurpose what you have) to £15 for purpose-made glass jarsJam jars, clean tin cans, ceramic cups, glass tumblers: any heat-resistant container with no visible cracks works. The container must be clean, dry, and at room temperature before pouring. The mouth should be wide enough to allow the melt pool to reach the edges.
Affiliate link. We may earn a small commission.
A pouring jug and a thermometer
£5–15 for bothA metal or heat-safe plastic jug for melting and pouring wax. A thermometer to monitor temperature: pour temperature is critical for soy wax (pour at 55–65°C for most soy waxes). A sugar thermometer, a cooking thermometer, or an infrared thermometer all work.
Affiliate link. We may earn a small commission.
The science of a good candle: melt pool, wick size & fragrance throw
The melt pool
The melt pool is the disc of liquid wax that forms around a burning wick. A good melt pool reaches the edges of the container within 2–3 hours of burning (on the first burn). If it doesn't reach the edges, you get tunnelling: a tunnel forms down the centre and the outer wax never burns. Tunnelling is usually a wick problem.
Wick sizing
Container diameter 5–6cm
ECO 4 or CD 10 are reliable starting wicks for this size. Test: light the candle, check the melt pool after 2 hours. Does it reach the edges? If yes, the wick is correct. If not, size up on your next test.
Container diameter 7–8cm
ECO 8 or CD 18 are appropriate starting points. Larger containers need more heat to reach the edges.
Container diameter 9–10cm
ECO 12 or CD 24. Very large containers often need two wicks positioned symmetrically.
Always test your wick
There's no substitute for a burn test. Every combination of wax, container, and fragrance oil behaves slightly differently. Make a test candle, burn it for 3–4 hours in 2-hour increments, and observe: melt pool size, flame height (should be 2–3cm), soot production (none is correct), and how the candle smells when burning (hot throw). Adjust wick size based on what you observe.
Fragrance throw
Fragrance throw describes how strongly the candle scents the room, both when burning (hot throw) and unlit (cold throw). Throw is affected by:
Make your first batch
Three container candles. 150g wax per candle (a standard medium-sized jar). Total: 450g wax, 36–45g fragrance oil.
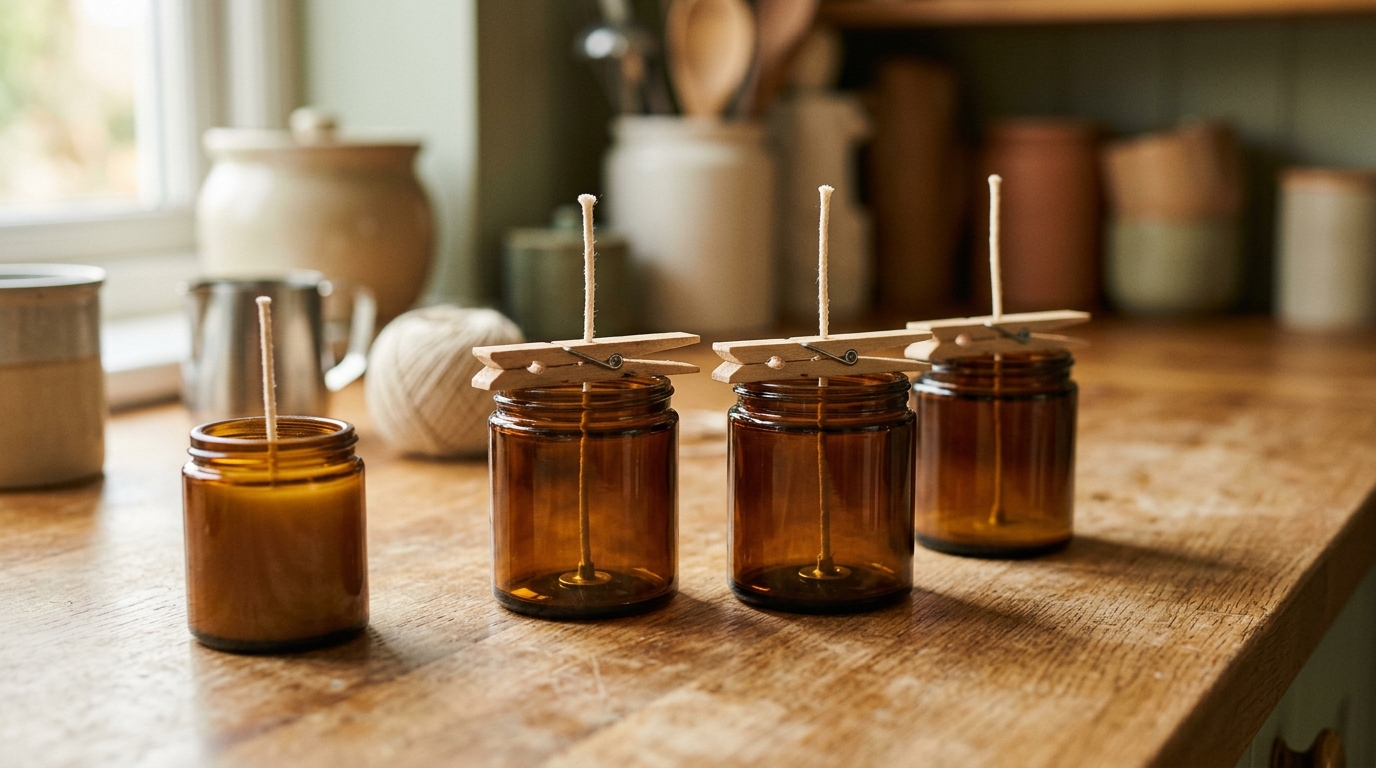
Prepare jars: Secure each wick with a wick sticker or small dab of hot glue to the base of the jar. Lay a skewer or wick bar across the top and wrap the wick around it to keep it perfectly centred. Jars must be clean and at room temperature.
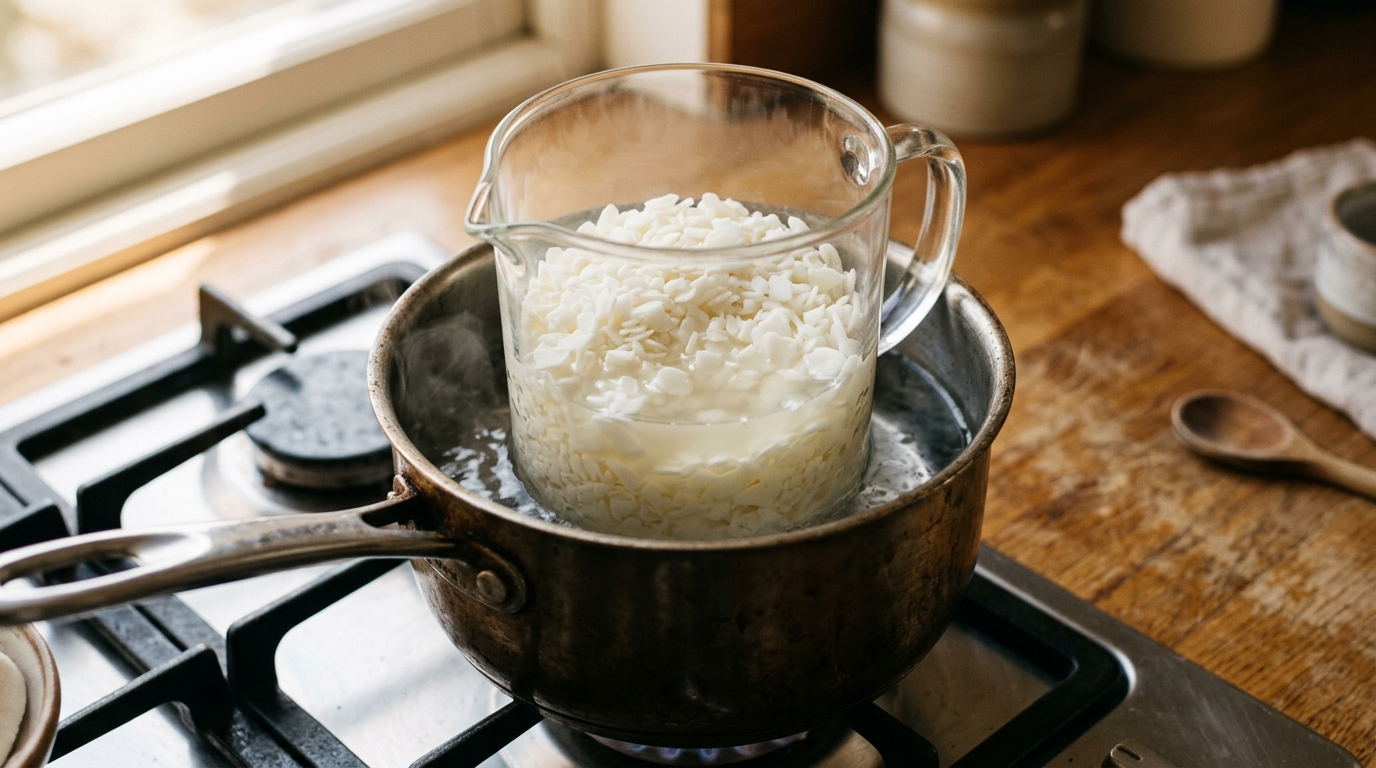
Melt the wax: Weigh 450g soy wax into a pouring jug. Place in a pan of simmering water (bain-marie). Stir occasionally. Do not leave unattended. Target temperature: 80°C.
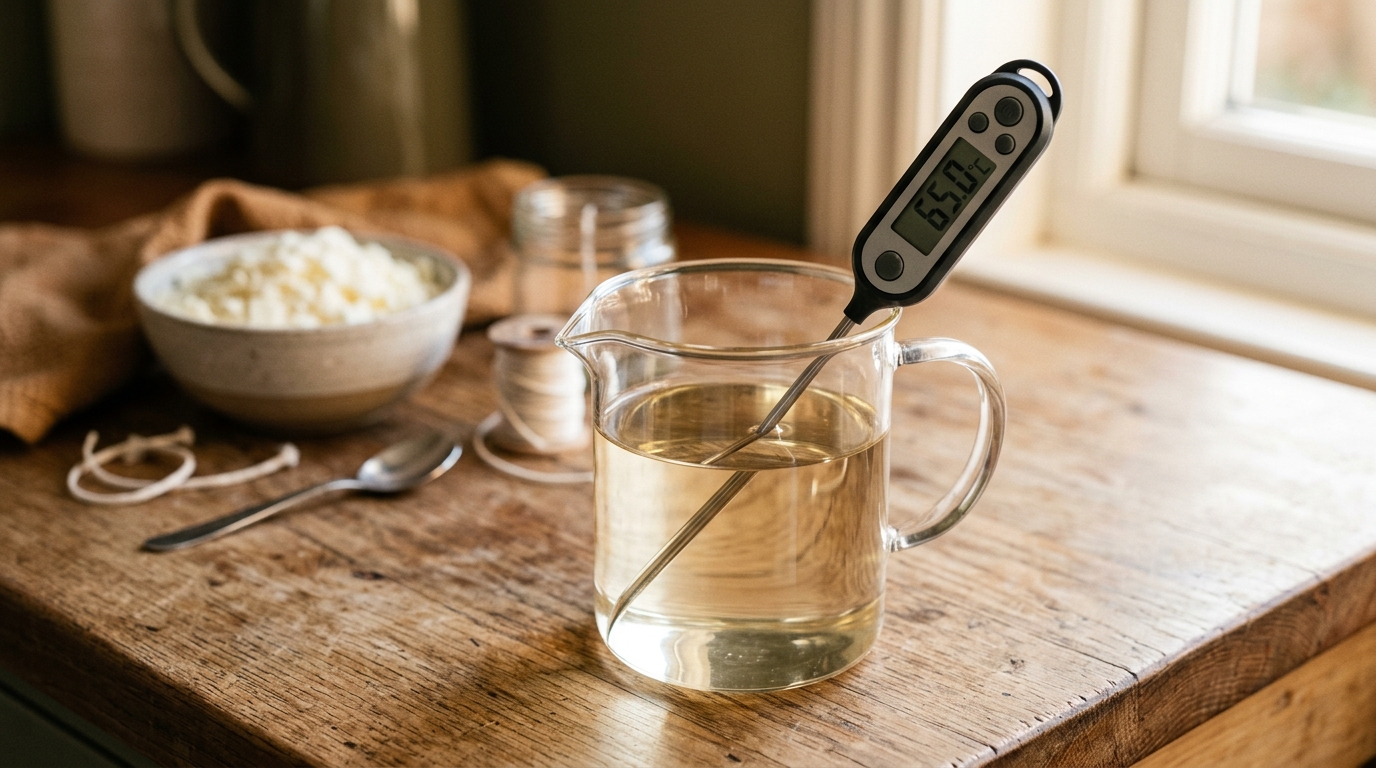
Monitor temperature: Remove from heat once fully melted. Wait for the wax to cool to 60–65°C before adding fragrance. Adding it too hot causes the scent to burn off; too cool and it won't fully incorporate.
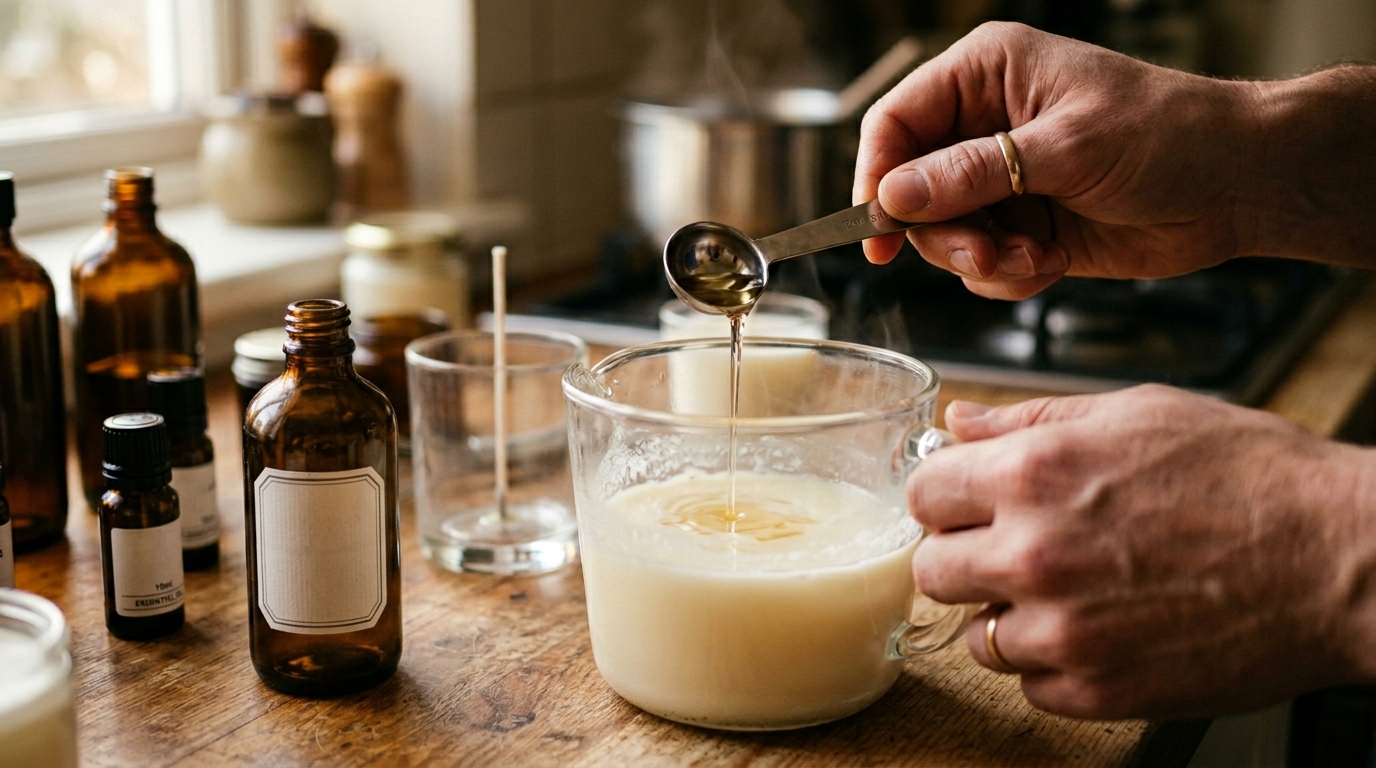
Add fragrance: Pour in 36–45g of fragrance oil (8–10% of wax weight). Stir gently for 2 minutes. Don't whisk: it introduces air bubbles that cloud the finished candle.
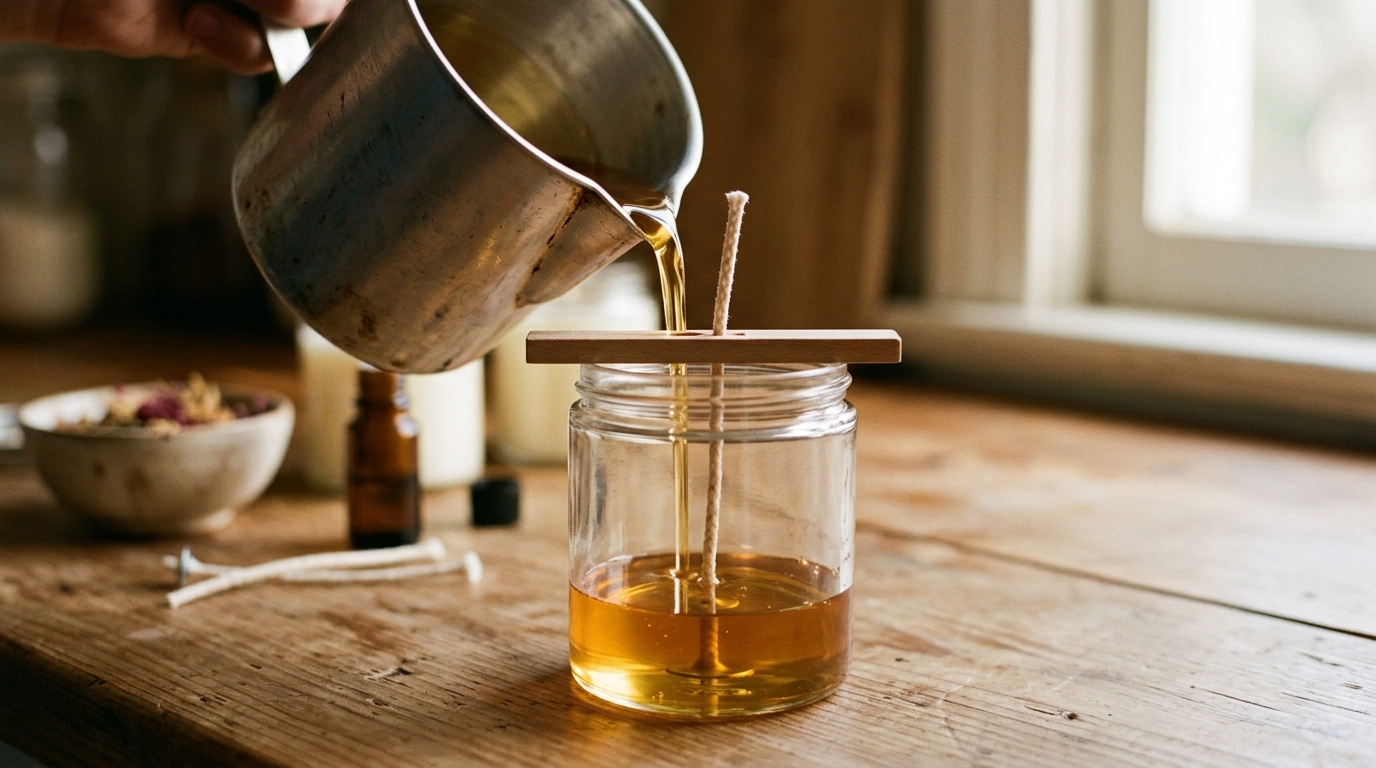
Pour: When wax reaches 55–60°C, pour slowly into each jar. Leave 1cm headspace. Keep the wick central throughout. Slow pours reduce air bubbles.
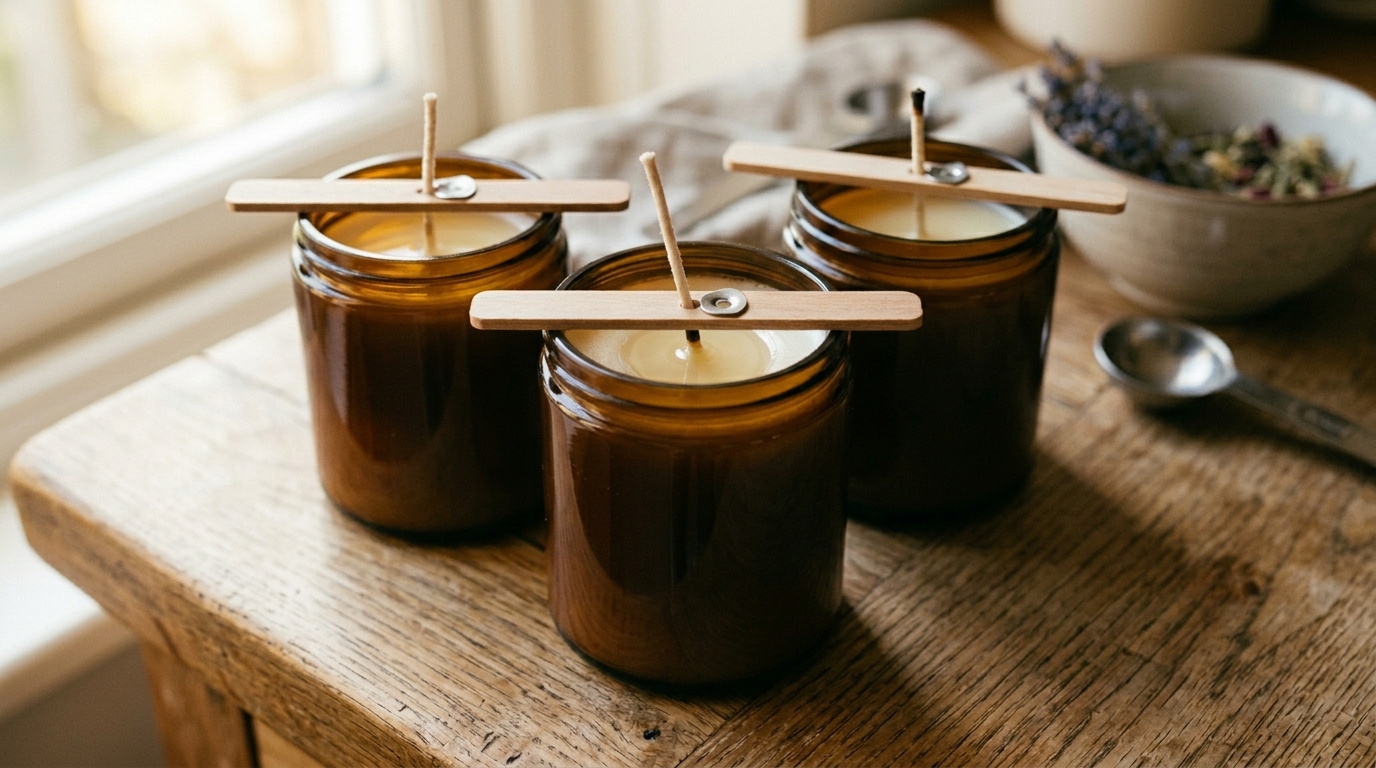
Cool undisturbed: Leave at room temperature. Don't refrigerate. Rapid cooling causes cracking and reduces fragrance throw. After 2–4 hours you'll see sinkholes forming around the wick.
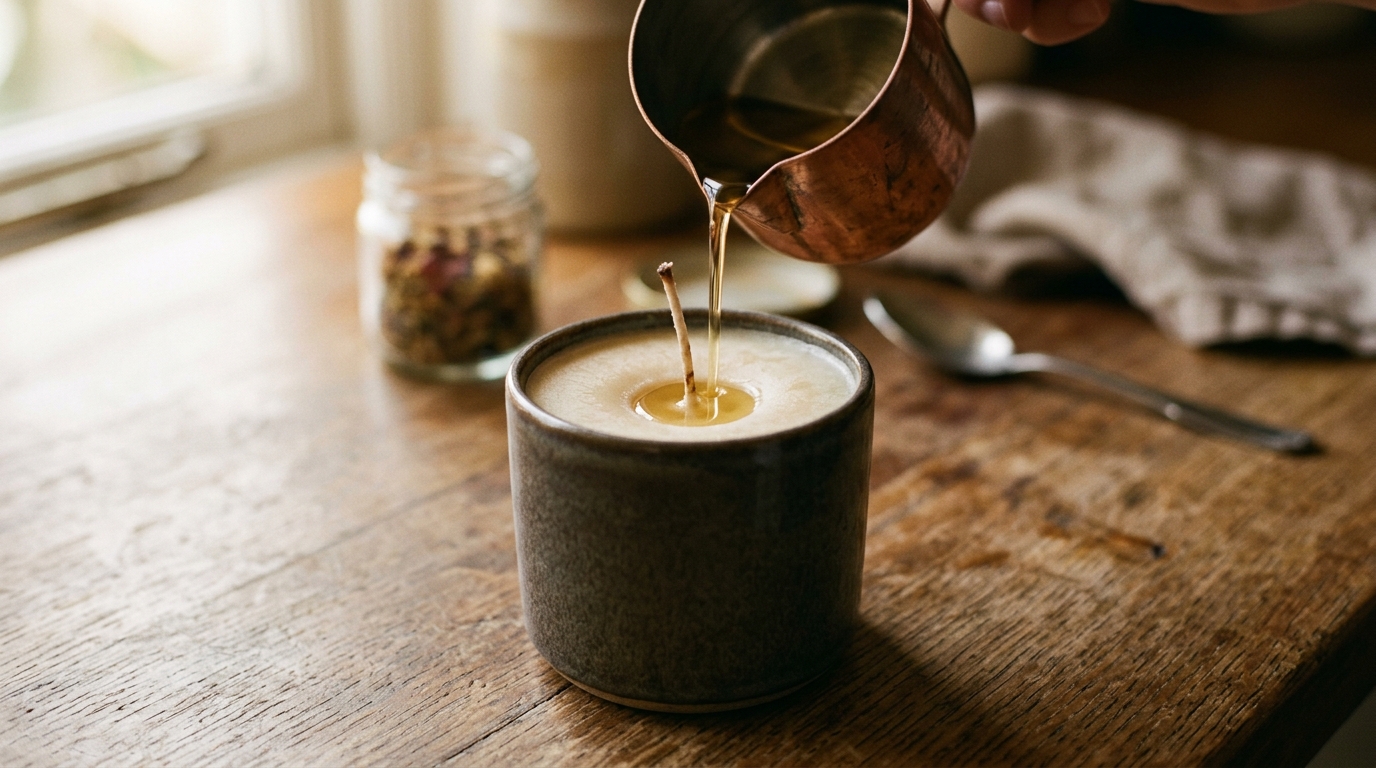
Top-up pour: Melt a small amount of the same wax to the same temperature. Pour into the sinkholes only, bringing the surface back to level. Every soy candle needs this second pour.
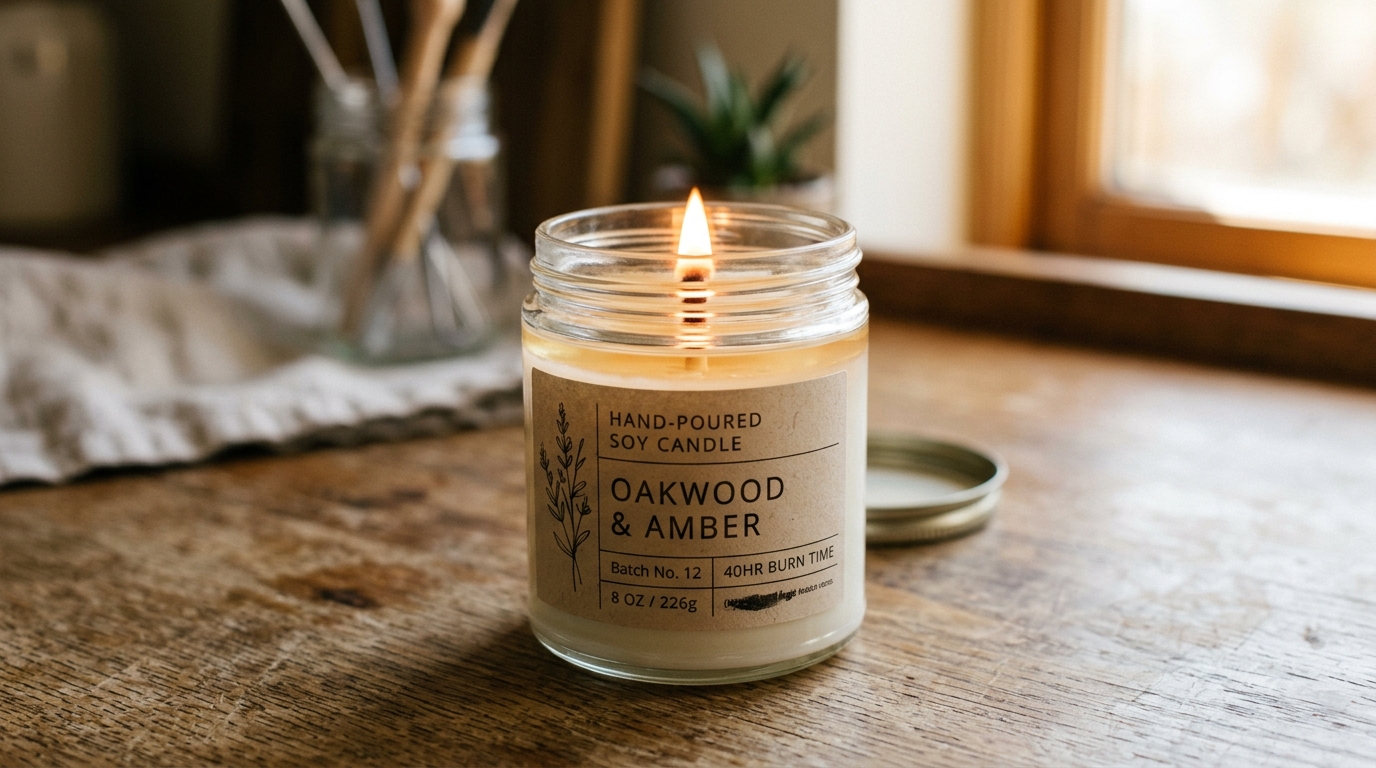
Cure and test: Leave for 48 hours minimum before the first burn. Trim the wick to 5mm. Burn for 3 hours and check the melt pool reaches the jar edges. If it doesn't, the wick is undersized.
Christmas gifting: six weeks out
From the first week of November you have 6 weeks before Christmas. A batch of 6 small candles takes 3 hours to make plus a week to cure. Labels printed at home, a ribbon, a small swing tag with the fragrance name: they make excellent, personal gifts. Make two or three different fragrances to give people choice.
Your pathway to mastery
Beginner (you're here)
Week 1–4Container soy candles, wick sizing, fragrance load, curing. Reliable melt pools. First gifts made and given.
Developing
Month 2–6Pillar candles (require different wax and different wick sizing). Beeswax candles (dipped tapers: traditional, beautiful). Botanical inclusions (dried flowers on the surface). Blending your own fragrance combinations.
Confident
Year 1Coconut-soy blends. Wooden wicks (crackle effect). Creating a consistent product range. Proper labelling (UK cosmetic product requirements if selling). Pricing and selling at markets.
Skilled
Year 2+Sourcing direct from wax producers. Developing signature fragrance profiles. A commercial home workshop. Teaching workshops. Wholesale supply to gift shops.
Best resources
- Royalty Soaps (accessible candle and bath product tutorials)
- Candle Science (US supplier with excellent how-to content)
- Brambleberry (fragrance and soap videos)
- Wax Melts and Candles: The Creatives (UK focus)
- Wick Library by CandleScience (wick sizing tool)
- Notes (fragrance blend journal)
Community
Reader tips
No tips yet. Be the first to share what worked for you.
Share a tip
Sign in to share what worked for you.
Same category
What to learn next
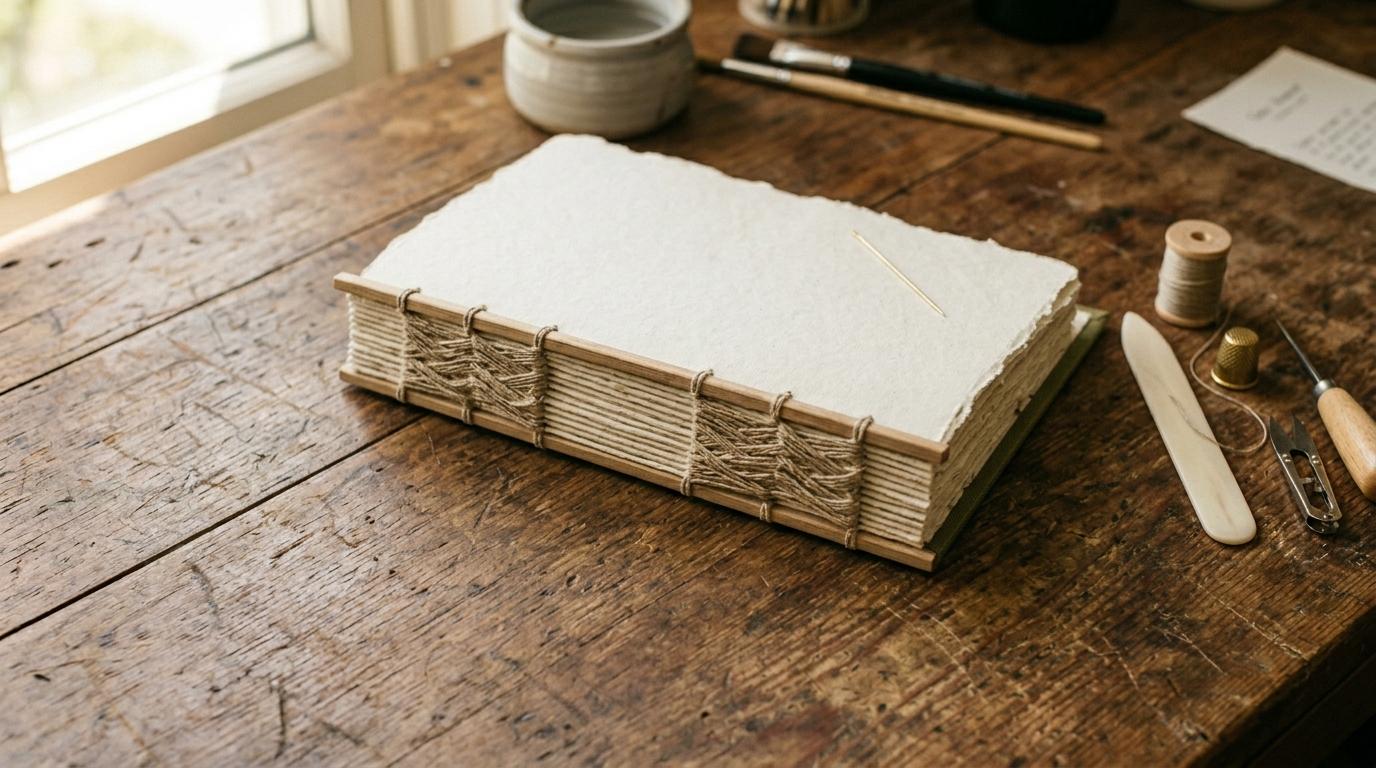
Bookbinding: Your First Journal
Fold, sew, and case a hardback journal by hand. The Coptic stitch and case binding are the two foundational methods, both achievable in a single afternoon session.

Calligraphy: The Foundational Script
Italic script with a pointed nib. The foundational Western calligraphy hand: clear, elegant, and achievable. Every lettering tradition descends from this one.
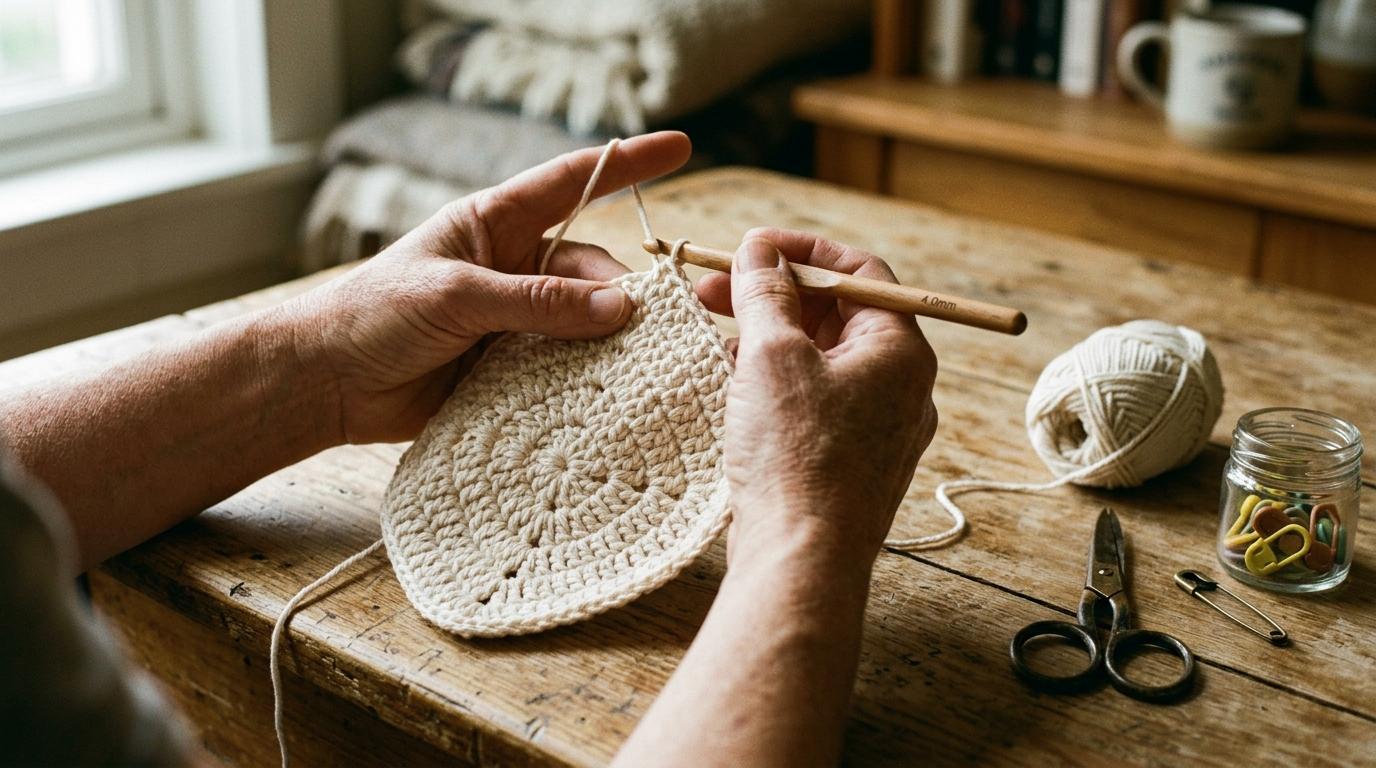
Crochet: Your First Project
Learn to crochet from scratch: chain, slip stitch, single crochet, and double crochet, then make your first finished object.