The core toolkit
You don't need a workshop. You need a box of tools that covers 90% of domestic repairs. Buy quality once rather than cheap twice. A good drill will last 20 years.
Cordless drill/driver (18V)
£80–140 (kit with batteries)The single most useful tool in the box. A mid-range Bosch or Makita drives screws, drills walls, and doesn't strip heads. Get one with two batteries.
Affiliate link. We may earn a small commission.
Screwdriver set (Pozidriv + flathead)
£15–25 for a quality setDon't use your drill for every screw. A good screwdriver gives more control in tight spaces. Pozidriv (not Phillips!) is the UK standard.
Affiliate link. We may earn a small commission.
Spirit level (60cm)
£10–15A cheap plastic level is just as accurate as an expensive one. 60cm covers most wall hanging jobs.
Affiliate link. We may earn a small commission.
Claw hammer (450g)
£12–18Tapping things in, pulling nails, persuading things into position. The 450g weight is versatile for most household jobs.
Affiliate link. We may earn a small commission.
Adjustable wrench + pliers
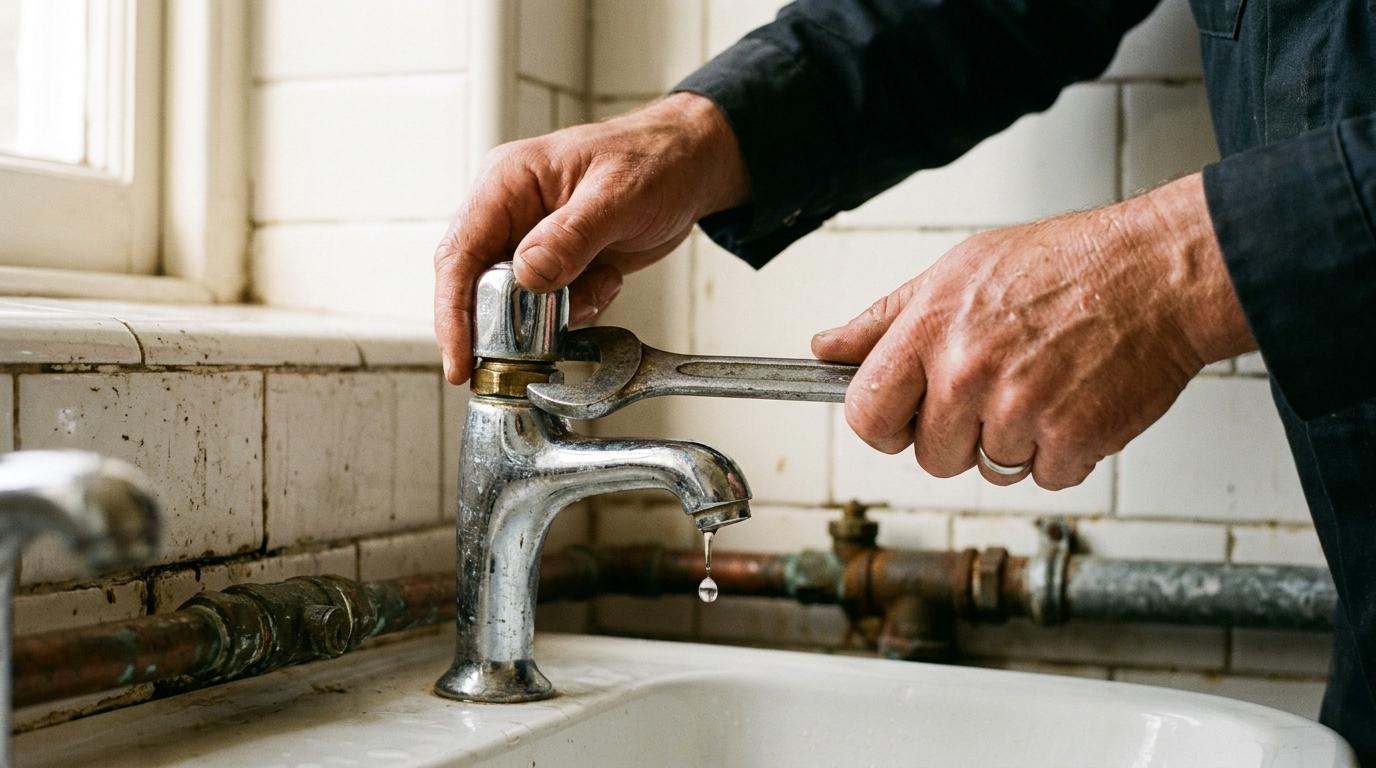
£20–30 for bothFor plumbing work (nuts, isolation valves). Get a 250mm adjustable wrench and a pair of slip-joint pliers.
Affiliate link. We may earn a small commission.
Tape measure (5m)
£10–14Get a Stanley Fat Max or equivalent. The blade lockoff is critical when you're measuring alone.
Affiliate link. We may earn a small commission.
Filling knife + fine filler
£15–20Polycell Fine Surface Filler for small holes and cracks. A 100mm and 150mm filling knife cover everything.
Affiliate link. We may earn a small commission.
PTFE tape
£2–3Wraps around thread fittings to seal them. Costs £2. Fixes leaking connections that would otherwise require a plumber.
Affiliate link. We may earn a small commission.
Rawlplugs + screws assortment
£12–18A mixed box of yellow (light) and red (heavy) rawlplugs plus assorted screws covers most wall-fixing jobs.
Affiliate link. We may earn a small commission.
Where to buy tools (UK)
- Screwfix: Best prices on tools and fixings, trade quality, click & collect in an hour
- B&Q: Good for project materials, paint, filler, and awkward-hour purchases
- Toolstation: Competes with Screwfix on price; worth price-checking both
- eBay (used tools): Brand-name used tools are perfectly good. Avoid no-brand power tools.
Some links are affiliate links. Airgap.life may earn a small commission at no extra cost to you.
UK Law: what you must NOT DIY
In England and Wales: electrical work beyond like-for-like replacements requires a Part P certified electrician. All gas work requires a Gas Safe registered engineer. Structural changes require building regulations approval. These are legal requirements, not suggestions. Insurance won't pay out if unlicensed work causes damage.
Theory & technique
Understanding your walls
Learn this first. The wrong fixing into the wrong wall is how shelves collapse and tiles crack.
Solid brick or block wall
Dense, heavy, and reliable. Use a masonry drill bit (marked with a flat carbide tip) and rawlplugs. You'll feel significant resistance when drilling.
Stud wall (timber frame + plasterboard)
Hollow sound when knocked. Fix into the timber studs (at 400mm or 600mm centres) for heavy loads, or use hollow-wall anchors (Molly bolts, toggle bolts) for lightweight items.
Dot and dab plasterboard (on brick)
Plasterboard fixed with blobs of adhesive directly to a brick backing. Sounds hollow but there's a solid wall behind, so drill past the plasterboard to hit brick.
Finding studs
Knock along the wall. A stud produces a dull thud, plasterboard alone produces a hollow ring. Stud finders (£15–20) are reliable in most walls. Alternatively: UK sockets and switches are usually fixed to studs, so measure 400mm or 600mm from one to find the next.
Plumbing basics you can handle
UK domestic plumbing uses copper pipe (15mm for feeds, 22mm for mains) with compression or push-fit fittings. The isolation valve under a tap lets you turn off water to one tap without killing the whole house. Turn it 90° with a flathead screwdriver until the slot is perpendicular to the pipe.
Terminology
History
The concept of home improvement as a consumer activity is surprisingly recent. Before World War II, most repairs were done by tradespeople or not done at all. Post-war prosperity and suburban housing booms in the 1950s–60s created a new class of homeowners who needed, and could afford, to maintain their own properties. DIY culture was formalised in the UK when B&Q opened its first store in Southampton in 1969. The magazine Practical Householder, launched in 1955, reached 800,000 readers at its peak. The phrase "Do It Yourself" was coined in American advertising of the early 1950s.
The fifteen fixes
Every job below can be done by a complete beginner with the core toolkit. They're ordered by frequency, so start at the top.
Hang a picture or shelf
Find the stud or use the right anchor. Mark holes with a level. Drill, plug, screw.
Fill and paint a small hole
Dampen the hole, apply filler in layers (don't overfill), sand smooth, prime, paint.
Fix a dripping tap (washer replacement)
Isolate the water, unscrew the headgear, replace the rubber washer or ceramic cartridge. £2 fix.
Unblock a sink or bath
Plunger first. Then remove the trap under the sink (have a bucket ready). Rinse. Replace.
Re-caulk a bath or shower
Remove old caulk with a scraper. Clean surface with methylated spirits. Apply new silicone in one smooth bead. Smooth with a wet finger.
Fix a stiff or rattling door
Tighten loose hinges first. If the door sticks, identify where with carbon paper and plane or sand that spot.
Replace a door handle or lock cylinder
Unscrew the rose, remove the spindle, swap the handle. Most levers are standard 72mm centres.
Fit a flat-pack piece of furniture
Read the instructions before opening packs. Sort all parts first. Use a rubber mallet, not a hammer, on dowels.
Replace a broken tile (wall or floor)
Drill multiple holes in the tile, use a cold chisel to break it out, re-apply adhesive, set new tile, re-grout.
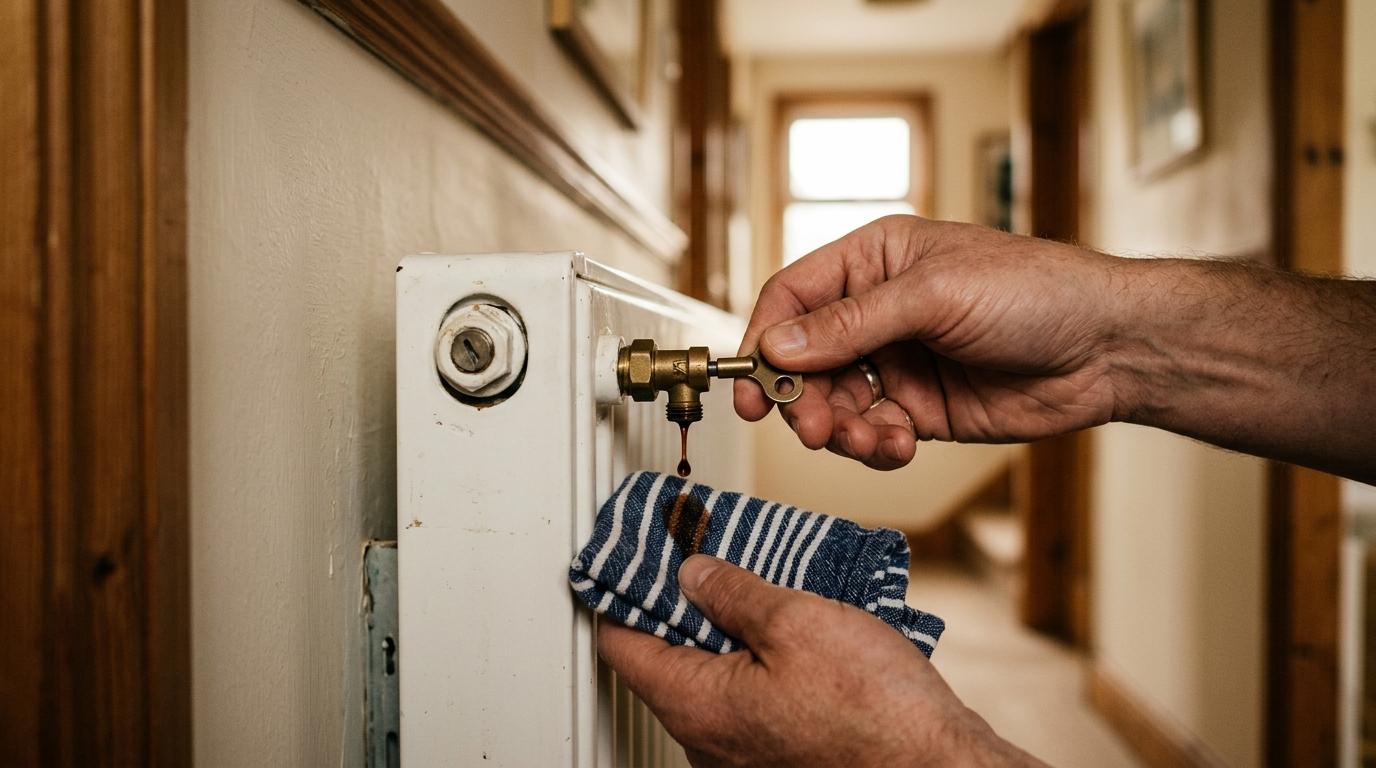
Adjust a radiator air valve (bleed)
Radiator cold at top? Use a bleed key, open the valve until water appears, close. Job done.
Fix squeaky floorboards
Locate the squeak, inject PVA glue between boards, weigh down until dry. Or screw through carpet.
Touch up paintwork
Sand the area with 120 grit, prime bare wood, feather in the paint with a small brush, blend edges.
Replace a broken skirting board section
Score the caulk, lever off the section, cut new piece to fit, fix with nails or adhesive, fill and paint.
Fix a loose fence post
Clear around the base, add dry postcrete, pour water on, allow to set. Or use a metal post spike.
Replace a toilet seat
Open the caps at the back of the seat, undo the nuts (usually plastic), lift off, reverse to fit new one.
Know your limits, and where to go next
Confident homeowner: you're here
Month 1–6All fifteen fixes handled confidently. Own toolkit assembled. Save £200–500/year on call-out fees.
Competent DIYer
Year 1–2Tiling a floor, fitting a kitchen, basic plastering (skimming a wall), installing a bathroom suite.
Semi-skilled builder
Year 2–4Stud walls, roof repairs, pointing brickwork, damp investigation, wooden floor installation.
Know when to call a professional
AlwaysGas, structural, Part P electrical, heritage buildings: some jobs always need a specialist. Knowing this is a skill.
The people to learn from
- Roger Bisby (YouTube): Most trusted UK trade tutorial channel: honest, practical, professional-level instruction
- Skill Builder (YouTube): Detailed UK plastering, tiling, and building tutorials
- This Old House (US, but excellent): Decades of house renovation content; Richard Trethewey on plumbing is definitive
- Richard Thwaites (Got2Learn): Plumbing from absolute beginner; UK-based
Qualifications (if you want to go further)
City & Guilds Carpentry & Joinery (Level 2)
Industry-standard qualification for first fix and second fix carpentry
NVQ Plumbing (Level 2–3)
Required to work commercially as a plumber in the UK
Part P Certification
Required for domestic electrical work beyond like-for-like replacements
CSCS Card
Required to work on most UK construction sites; requires health and safety test
Best resources
Community
Reader tips
No tips yet. Be the first to share what worked for you.
Share a tip
Sign in to share what worked for you.
Side quests