Components & choices
Most DIY conservatory roofs use a uPVC system from a specialist supplier. The components are pre-cut to your measurements and come with fitting instructions. This course covers the principles that apply to all systems.
Conservatory roof kit (uPVC)
£800–2,500 suppliedSupplied to your dimensions. Includes ridge, hip bars, eaves beam, rafters, and all flashings. Get at least three quotes. Prices vary a lot.
Polycarbonate roofing sheets (35mm twin-wall)
£25–45 per m²35mm multiwall is the standard for conservatory roofs. Bronze or opal reduces solar gain. Clear looks bright but gets very hot in summer.
Affiliate link. We may earn a small commission.
Cordless drill + bits
Already in your kit from Phase 1Fitting roof components requires drilling into uPVC and timber. Use the drill bit sizes specified by your kit supplier: undersized holes split the material.
Affiliate link. We may earn a small commission.
Scaffolding tower (hire)
£50–80 for a weekend hireYou'll need to work at eaves height safely. A 3-section aluminium scaffold tower gives you a stable platform. Never work off a ladder for anything that requires two hands.
Wall plate & ridge
The wall plate sits on top of the dwarf wall and the house wall. The ridge is the apex. Everything else hangs between them.
Wall plate installation
The eaves beam (wall plate) bolts to the top of the uPVC dwarf wall frame and is fixed to the house wall at the top. Level it precisely: any variation here becomes a bigger problem at the ridge.
Ridge position
For a lean-to roof, the ridge is fixed to the house wall. For a hipped roof, a free-standing ridge post supports it. Either way: set the ridge level and square to the eaves beam before you do anything else.
Check your planning permission. Lean-to conservatories under 4m height and within the permitted development rules don't need consent. Hipped roofs over 4m to ridge and within 1m of a boundary do. When in doubt, call your local planning authority first.
Rafters & purlins
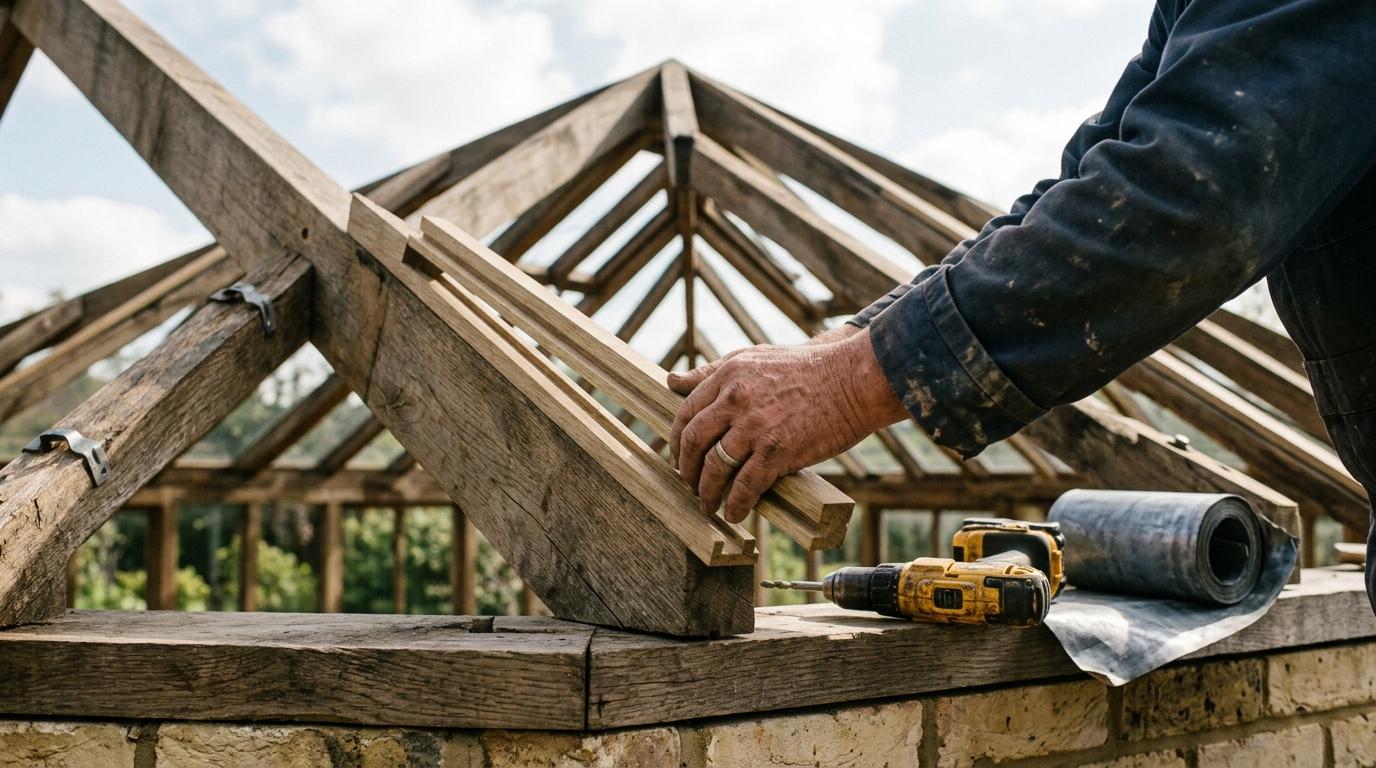
Rafters run from the ridge to the eaves beam. Purlins run across them to space and support the glazing bars. The whole system is pre-calculated by the supplier. Your job is accurate placement and secure fixing.
Rafter spacing
Typically 700mm centres for polycarbonate, 1000mm for glass (glass is self-supporting between bars). Mark your rafter positions on the ridge and eaves beam before installing any rafters.
Fixing sequence
Fix one end rafter first (square to the eaves beam), then the far end, then fill in the intermediate rafters. Use the predrilled holes and the fixings supplied: substituting fixings can void the system guarantee.
Glazing & weatherproofing
Polycarbonate goes in from the eaves up. Each panel slides into the rafter bars and is held with a snap-on cap. The ridge cap goes on last.
Cutting polycarbonate
Use a fine-tooth circular saw blade or a jigsaw with a downcut blade. Score with a sharp knife for short cuts. Always tape over the channels with self-adhesive breather tape before installation. This keeps insects and debris out of the flutes.
Flashing to the house wall
The flashing at the house wall is the most important weatherproofing joint on the whole build. The standard approach is a lead soaker bedded into the mortar joint above, dressed over the top flashing bar. Seal with a compatible sealant. Check the supplier's spec.
Roof pitch check
Before orderingMinimum 10° for polycarbonate (self-draining). Check your pitch before ordering: some systems have a minimum.
Glazing seal check
After fittingPress along every snap-on cap after fitting. Any that click back up aren't seated properly and will leak.
Flashing test
Before sign-offRun a hose along the wall flashing joint before you consider the roof done. Better to find a leak now than in January.
Breather tape
During installEvery open channel at eaves and ridge must be taped: breather tape at the bottom (allows condensation to drain), solid tape at the top (stops insects).
Phase sign-off
End of phaseBuilding control will want to see the roof before Phase 4 electrics begin. Check your notification requirements.
Community
Reader tips
No tips yet. Be the first to share what worked for you.
Share a tip
Sign in to share what worked for you.
Same category