Emergency priorities: what to do first
No equipment needed to learn the principles. A basic first aid kit costs around £20 and should live in your home. The first things to learn aren't techniques: they're priorities. In any emergency, getting the order right matters more than any individual skill.
The primary survey: DR ABC
A home first aid kit: what to include
£15–35A stocked kit costs around £20 and means you're not scrabbling for supplies in an emergency. Key contents: sterile wound dressings (various sizes), triangular bandage (makes a sling), adhesive plasters, non-latex gloves (multiple pairs; put them on before touching blood), scissors, safety pins, emergency foil blanket, and a current first aid guide. Check expiry dates annually.
Affiliate link. We may earn a small commission.
Call 999 early. Don't wait
In any serious emergency, call 999 first (or direct someone specific to call while you act). The 999 operator can guide you through CPR in real time. Calling early means paramedics are on their way while you work. Don't delay the call to see if the situation resolves.
CPR and choking: the two most time-critical skills
CPR: adult cardiac arrest
When someone is unresponsive and not breathing normally (or only gasping), they're in cardiac arrest. Begin CPR immediately. Every minute without CPR reduces survival by 10%.
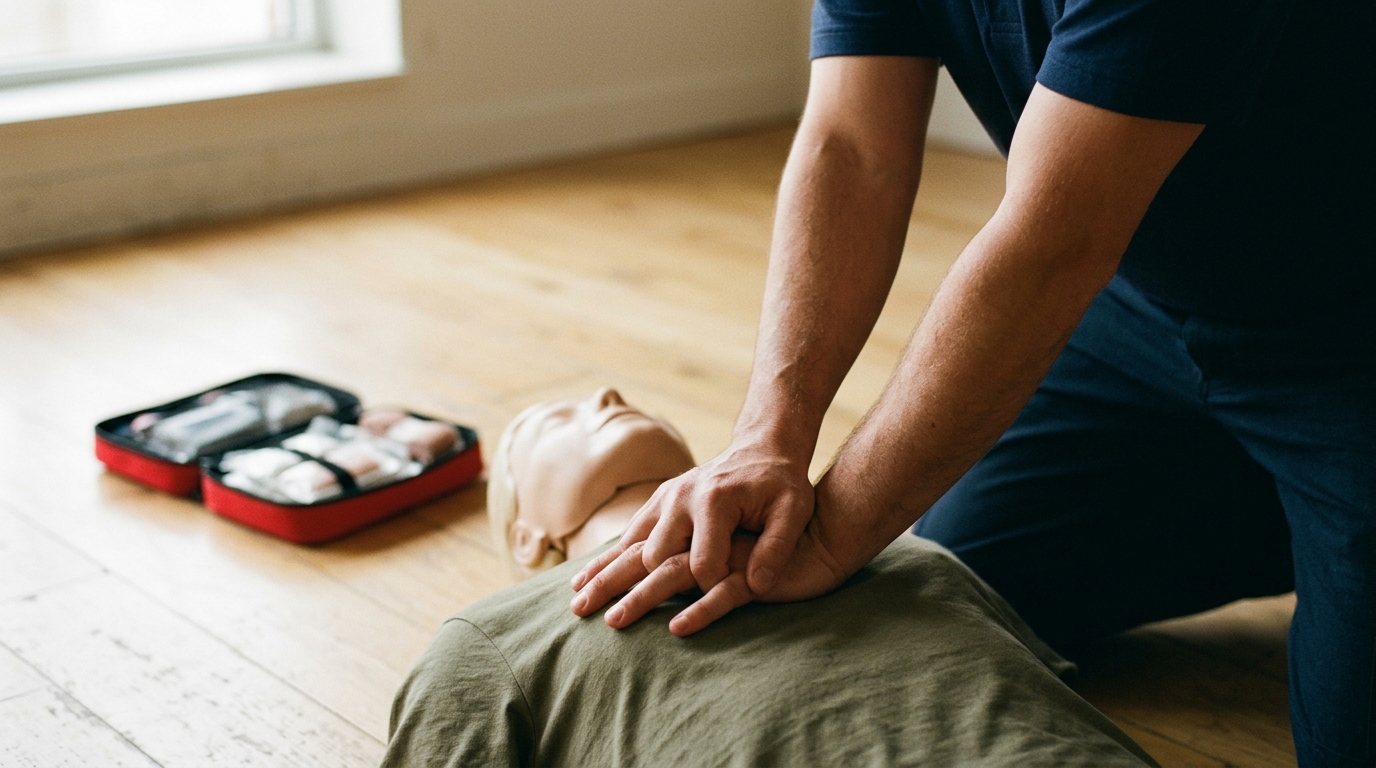
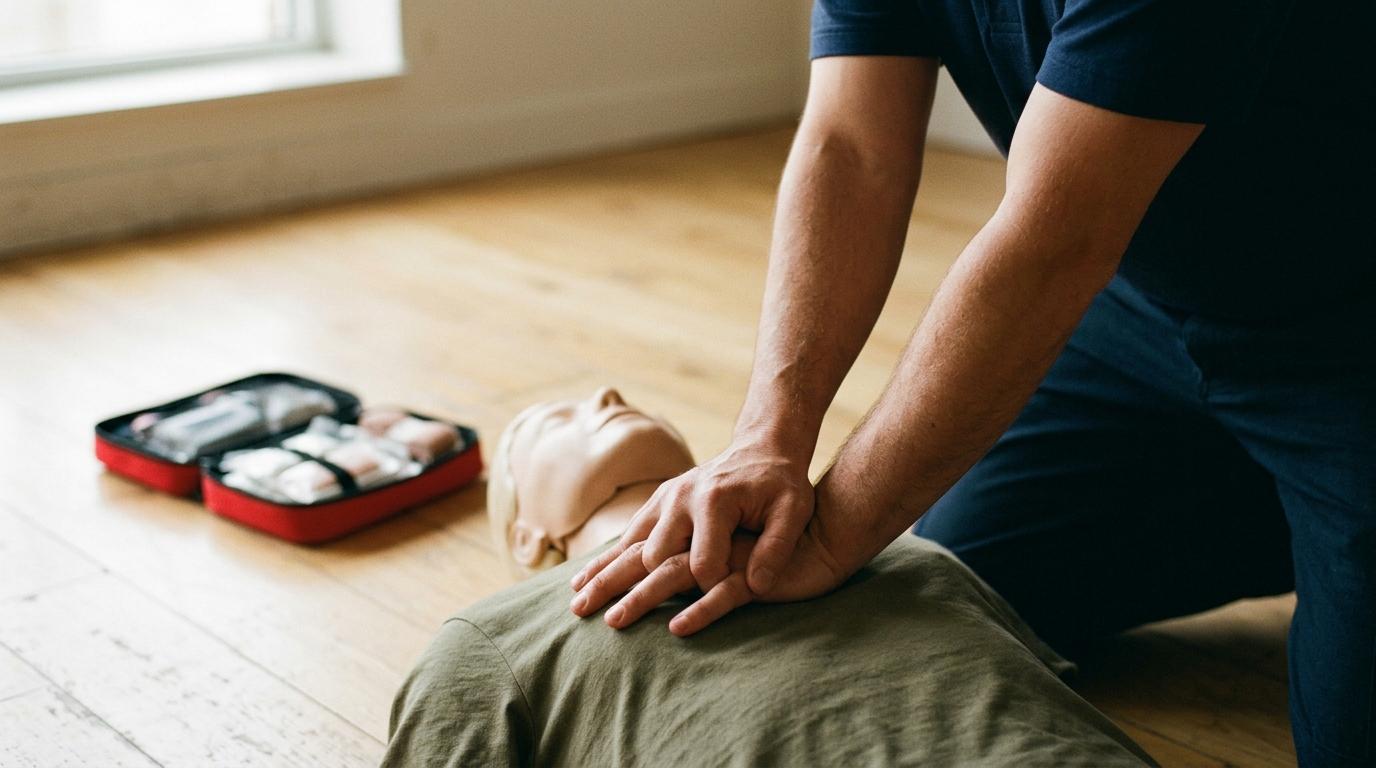
Chest compressions: Place the heel of one hand on the centre of the chest (lower half of the breastbone). Interlock both hands. Keep arms straight. Press down 5–6cm at a rate of 100–120 per minute (the beat of 'Stayin' Alive'). Allow the chest to fully recoil after each compression. Thirty compressions before checking the airway.
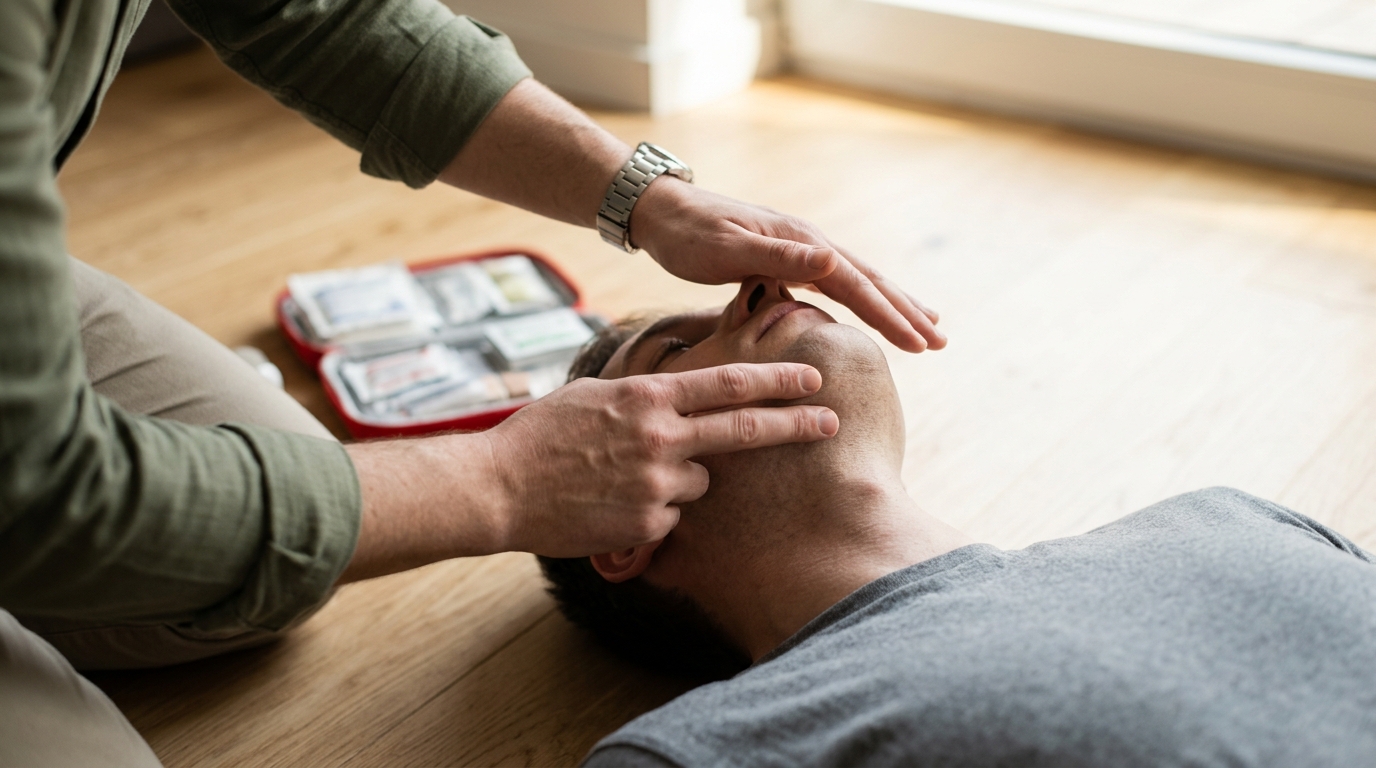
Rescue breaths: After 30 compressions, tilt the head back, lift the chin, pinch the nose, and give 2 rescue breaths, each over 1 second, watching for the chest to rise. Return to compressions immediately. Ratio: 30 compressions to 2 breaths. If you're not trained or uncomfortable with rescue breaths, hands-only CPR (continuous compressions) is still effective.
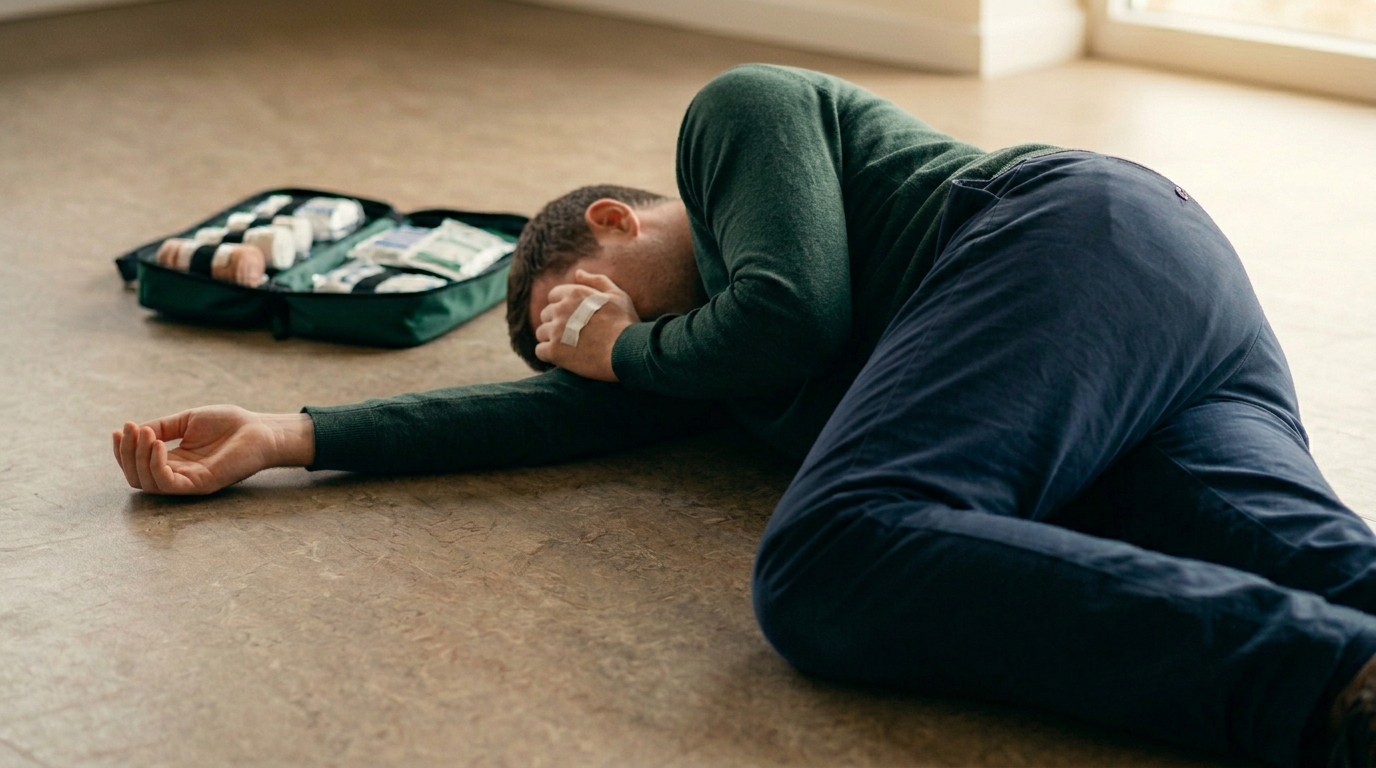
Recovery position: For a casualty who is unconscious but breathing normally: tilt the head back to maintain the airway. Pull the near arm out at right angles. Bring the far arm across the chest. Roll them onto their side. Open the mouth slightly to allow fluid to drain. Monitor breathing until the ambulance arrives.
Choking: adult
If someone is coughing effectively, encourage them to keep coughing. Only intervene if they can't cough, speak, or breathe.
Five back blows
Stand to the side and slightly behind. Support the chest with one hand. Lean them forward. Give 5 firm blows between the shoulder blades with the heel of your hand. Each blow should be a separate attempt to dislodge the obstruction. Check the mouth after each blow.
Five abdominal thrusts (Heimlich manoeuvre)
If back blows fail: stand behind. Make a fist with one hand and place it just above the navel. Cover with the other hand. Pull sharply inward and upward 5 times. Alternate 5 back blows with 5 abdominal thrusts until the obstruction clears or the person becomes unconscious. If unconscious, begin CPR.
Wounds, bleeding, and burns
Severe bleeding is immediately life-threatening. Manage it aggressively before anything else. Burns must be cooled for 20 minutes and covered. Both are manageable with the correct response.
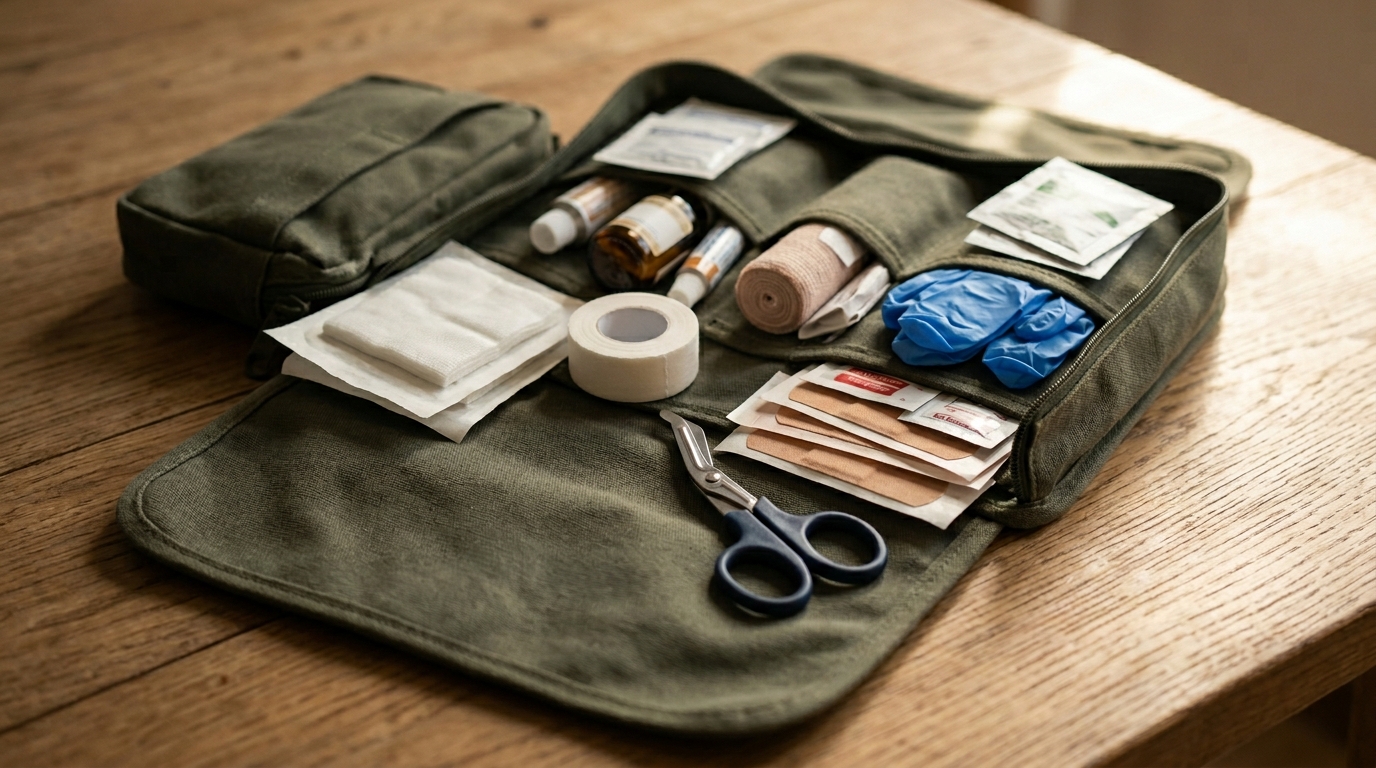
Gloves first, always: Before touching blood or an open wound, put on non-latex gloves. This protects both you and the casualty from cross-contamination. Have at least two pairs in your kit: one to put on and one spare if the first tears.
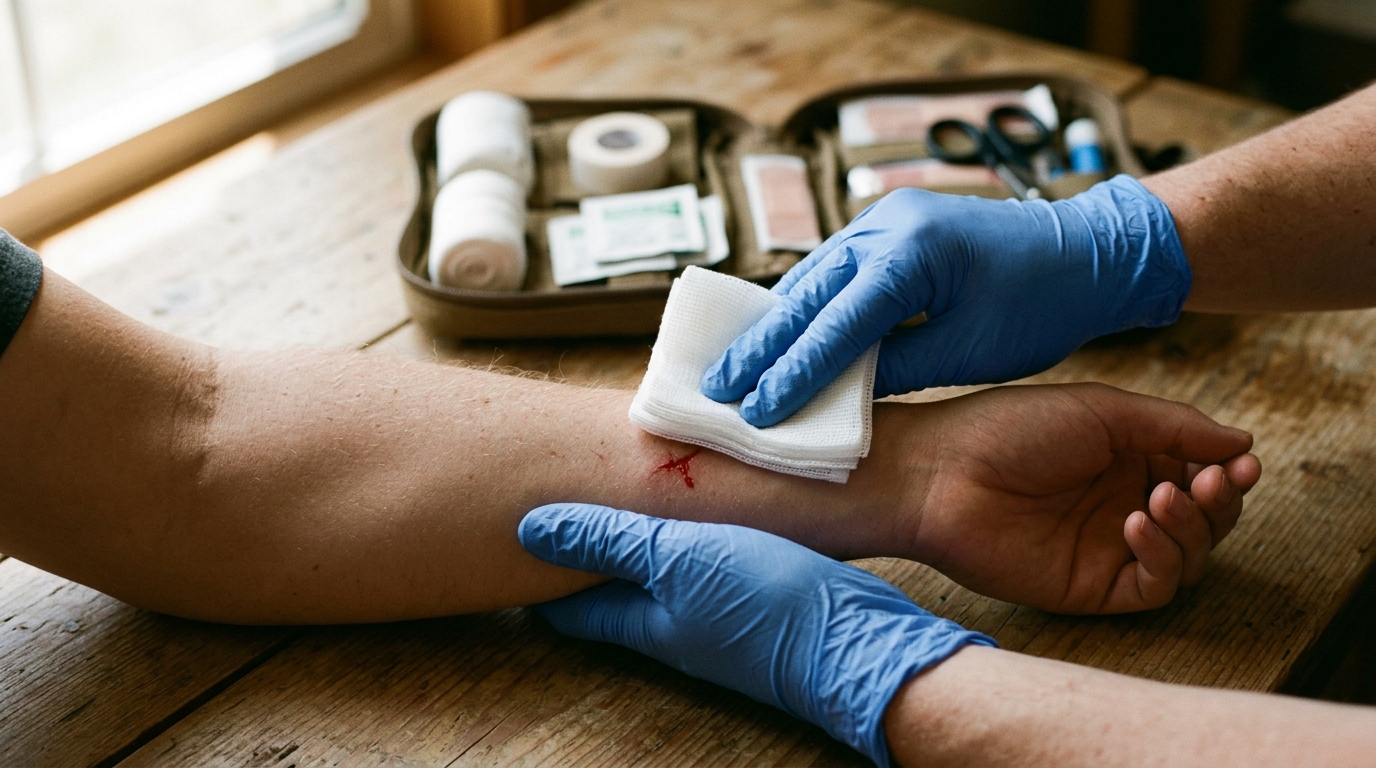
Direct pressure: Apply firm, continuous pressure directly over the wound with a sterile dressing or clean cloth. Don't lift the dressing to check. This disrupts clot formation. If blood soaks through, add another dressing on top. Maintain pressure for at least 10 minutes. Elevate the injured part above the level of the heart if possible.
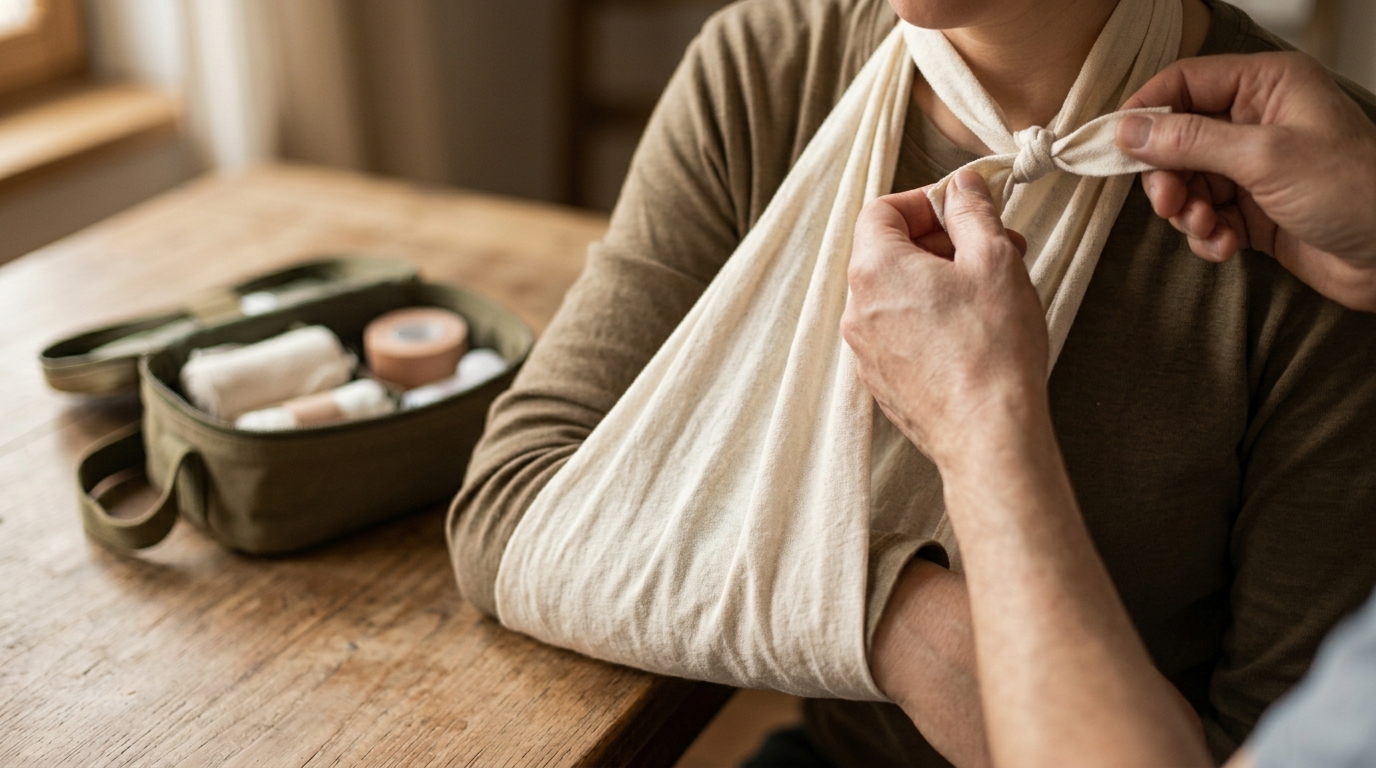
Triangular bandage: sling and tie: A triangular bandage makes a sling for arm and shoulder injuries or a broad fold bandage for securing dressings. For a sling: place the long edge along the body, point at the elbow, bring the top end over the shoulder and tie behind the neck. The arm should rest at a right angle.
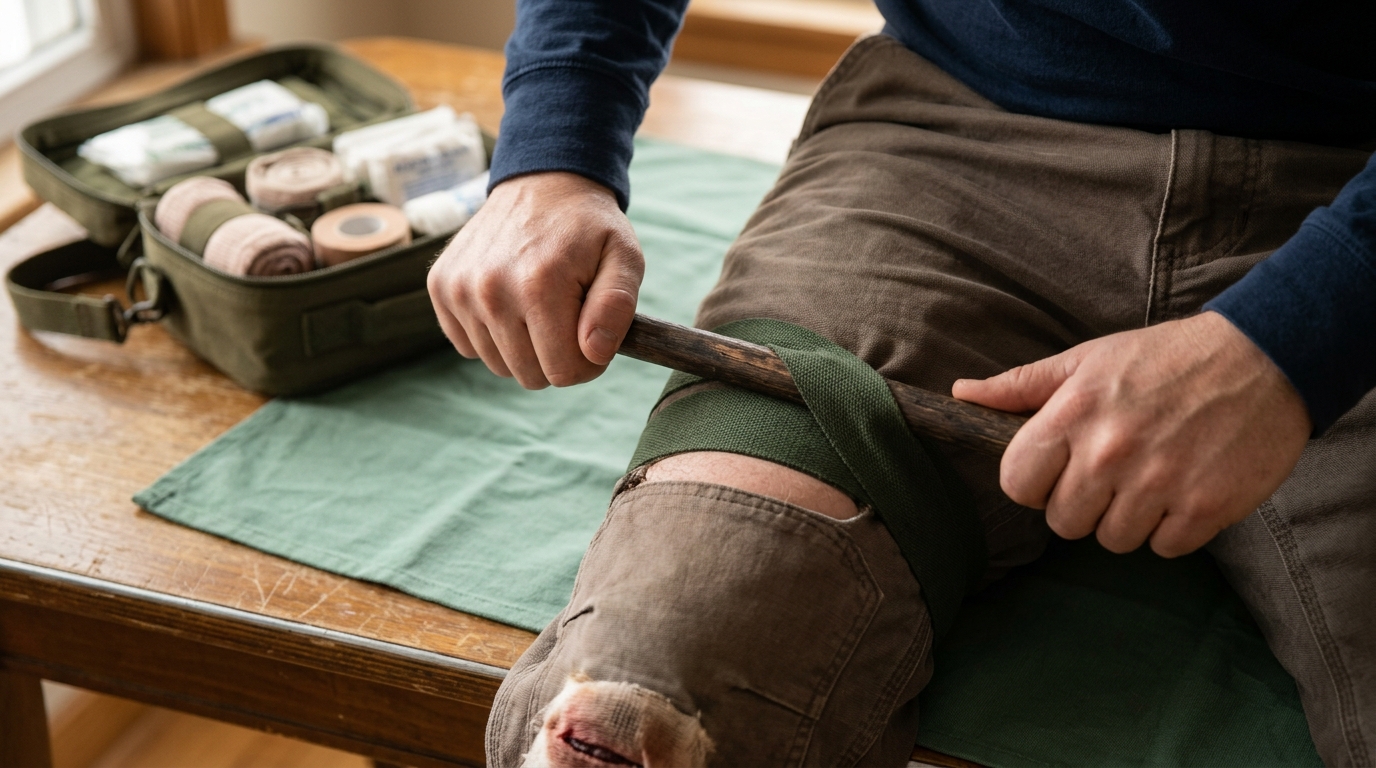
Tourniquet for catastrophic limb bleeding: If direct pressure fails to control bleeding from a limb, or if there is an amputation, apply a tourniquet. Position 5–7cm above the wound (not over a joint). Tighten until bleeding stops. Note the time of application. Don't remove it in the field. Improvise with a belt or cloth if no commercial tourniquet is available. Call 999.
Burns
Cool the burn under cool (not cold, not iced) running water for 20 minutes. Remove jewellery and clothing near the burn, unless stuck to the skin. Cover with cling film (not wound dressings, which stick) or a clean plastic bag. Don't apply butter, oil, cream, or toothpaste. Seek medical attention for any burn larger than a 50p coin, any burn to the face, hands, genitals or joints, or any burn in a child.
20 minutes is longer than it feels
Most people cool a burn for 3–4 minutes and think that's enough. It isn't. Set a timer. Twenty minutes of cool running water is the clinical recommendation. It reduces pain, tissue damage, and the likelihood of requiring skin grafting. Start within 3 hours of the burn for it to be effective.
Fractures and the pathway to trained first aider
Suspected fractures
If you suspect a fracture, immobilise the injury in the position you find it. Don't attempt to straighten it. Support above and below the injury. For arms, a sling. For legs, immobilise by padding both sides with rolled clothing and, for transport, tying the injured leg to the uninjured one. Call 999 for open fractures (bone visible), spinal injuries (don't move the casualty), or if the person can't bear weight.
Beginner: you're here
This courseDR ABC. Hands-only CPR (and full CPR with rescue breaths). Back blows and abdominal thrusts for choking. Direct pressure and tourniquet for bleeding. Cool running water for burns. Recovery position. Triangular bandage sling.
Level 3 Award in Emergency First Aid at Work
1 day (around 6 hours)Regulated qualification valid 3 years. Classroom and practical assessment: it cannot be obtained online only. Covers: CPR and AED use, choking, bleeding, shock and the recovery position. The usual answer where an employer's first aid needs assessment calls for a trained first aider in a lower-risk setting.
Level 3 Award in First Aid at Work
3 days (around 18 hours)The fuller workplace qualification, also at Level 3. Everything in EFAW plus suspected fractures, spinal and chest injuries, and medical emergencies including stroke, diabetes, asthma and anaphylaxis. What most larger or higher-risk employers require.
Specialist: Paediatric, Wilderness, or Remote
1–3 daysPaediatric first aid (required for anyone working with children). Wilderness First Responder (for remote environments where evacuation is delayed). Mountain first aid (MFA). Pre-hospital trauma care for expedition environments.
Best resources
- British Red Cross (official UK first aid tutorials)
- St John Ambulance (UK first aid training body)
- CPR and AED demonstration (NHS)
- Resuscitation Council UK (clinical guidelines)
Community
Reader tips
No tips yet. Be the first to share what worked for you.
Share a tip
Sign in to share what worked for you.
Same category
What to learn next
Dog Training: The First Six Weeks
Reward-based foundation training for a new dog: markers, recall, loose-lead walking and a settle, built in six weeks of short daily sessions.

Journaling
How to build a journaling practice that lasts: formats, prompts, methods for processing difficult things, and making it a habit that compounds over years.
Learning a Language
How to learn a language as an adult without classrooms or expensive courses. Comprehensible input, vocabulary strategies, speaking confidence, and a sustainable system.