What you need to get started
The leatherwork industry is full of expensive tools marketed at beginners who don't know better yet. Here's what matters, and why.
The four tools that do everything
Swivel knife or sharp craft knife
£5–8For cutting your leather to shape. A Stanley knife with a fresh blade is fine to start. A swivel knife comes later if you want to carve patterns.
Affiliate link. We may earn a small commission.
Pricking iron (4mm spacing) + mallet
£12–18 for bothMakes the stitch holes. A wooden or rubber mallet works. Don't use a metal hammer: it'll damage the iron over time.
Affiliate link. We may earn a small commission.
Two blunt harness needles
£3–5 for a packSaddle-stitch uses two needles simultaneously, one on each end of a single thread. Blunt tips prevent piercing the thread accidentally.
Affiliate link. We may earn a small commission.
Metal ruler + cutting mat
£10–15 if buying newYou likely have these already. If not, a 30cm steel ruler and an A3 cutting mat. Never cut against a plastic ruler.
Affiliate link. We may earn a small commission.
Skip these for now
Edge bevellers, stitching chisels, wing dividers, bone folders, burnishing wheels: you'll see these in starter kits. They're real tools you'll eventually want. Not yet. Get one project done first.
The leather
Buy vegetable-tanned leather, 2–2.5mm thick. This is the traditional material: stiffer, ages beautifully, and takes a burnished edge without any fuss. For a first wallet you need a piece roughly 30cm × 20cm.
Where to buy (UK)
- Abbey England: best quality veg-tan in the UK
- Le Prevo Leathers: good starter packs, fast delivery
- Rocky Mountain Leather Supply: if you're in North America
Avoid Amazon for leather. The listings are inconsistent and you have no way to check the grade.
Some links are affiliate links. Airgap.life may earn a small commission at no extra cost to you.
The essential techniques
Three things to learn before you start the project. Spend 20 minutes on each.
1. Cutting clean lines
Leather is unforgiving. A wobbly cut is permanent. Fresh blade, metal ruler, two or three light passes rather than one heavy cut. Let the knife do the work. Practise on a scrap: cut a 10×5cm rectangle with square corners before moving on.
2. Punching stitch holes
Mark your stitch line 3mm from the edge. Hold the pricking iron vertical, not angled: angled holes create slanted stitches. One firm strike with the mallet. The holes should go cleanly through in one hit.
3. The saddle stitch
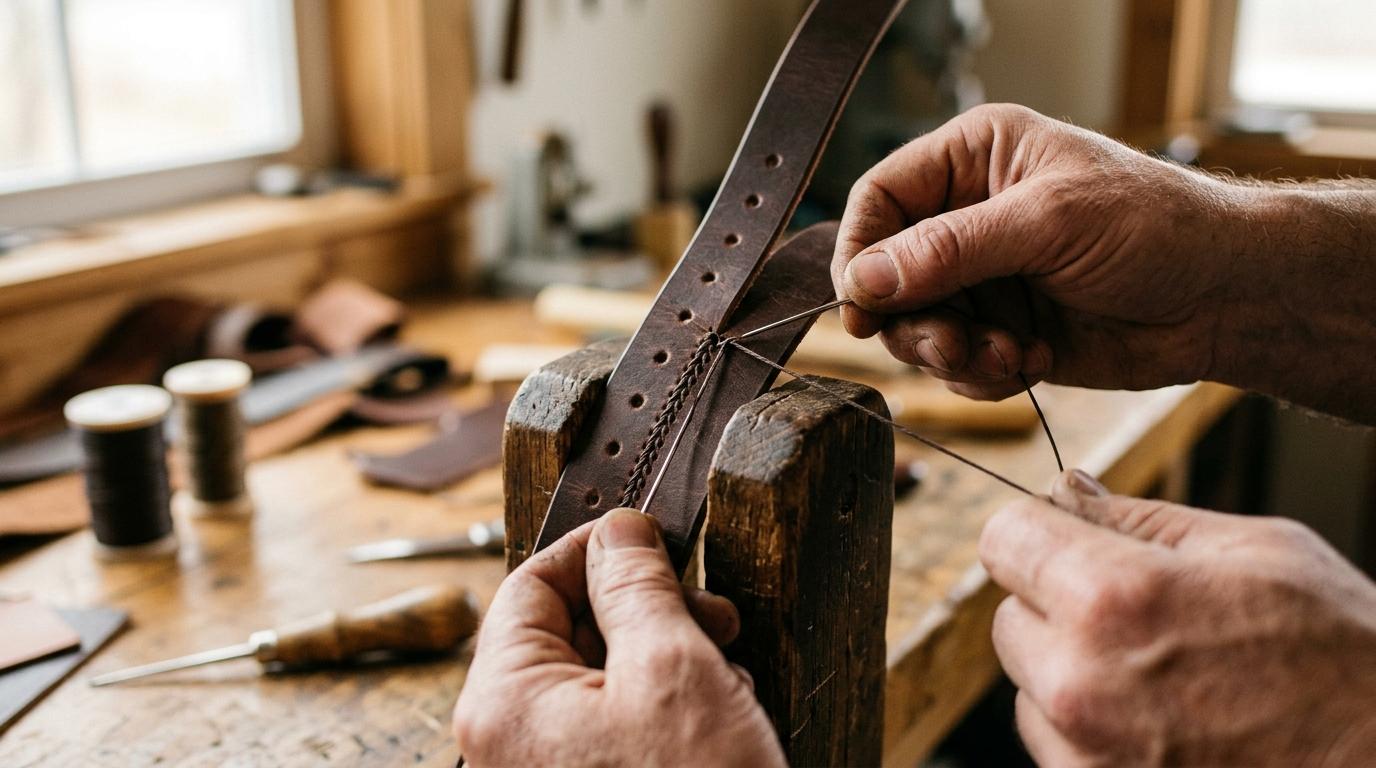
This is the stitch that holds everything. Unlike machine stitching, a broken saddle-stitch thread doesn't unravel: each stitch locks the previous one. Thread a needle on each end, pass left through the first hole, then cross the right needle through the same hole. Pull both sides equally taut. Repeat.
How long does this take to learn?
Your first 30cm of stitching will look rough. Your second length will be better. By the end of your first wallet, it'll be good. That's the normal curve. Don't skip practising on scrap first.
The project: a slim bifold wallet
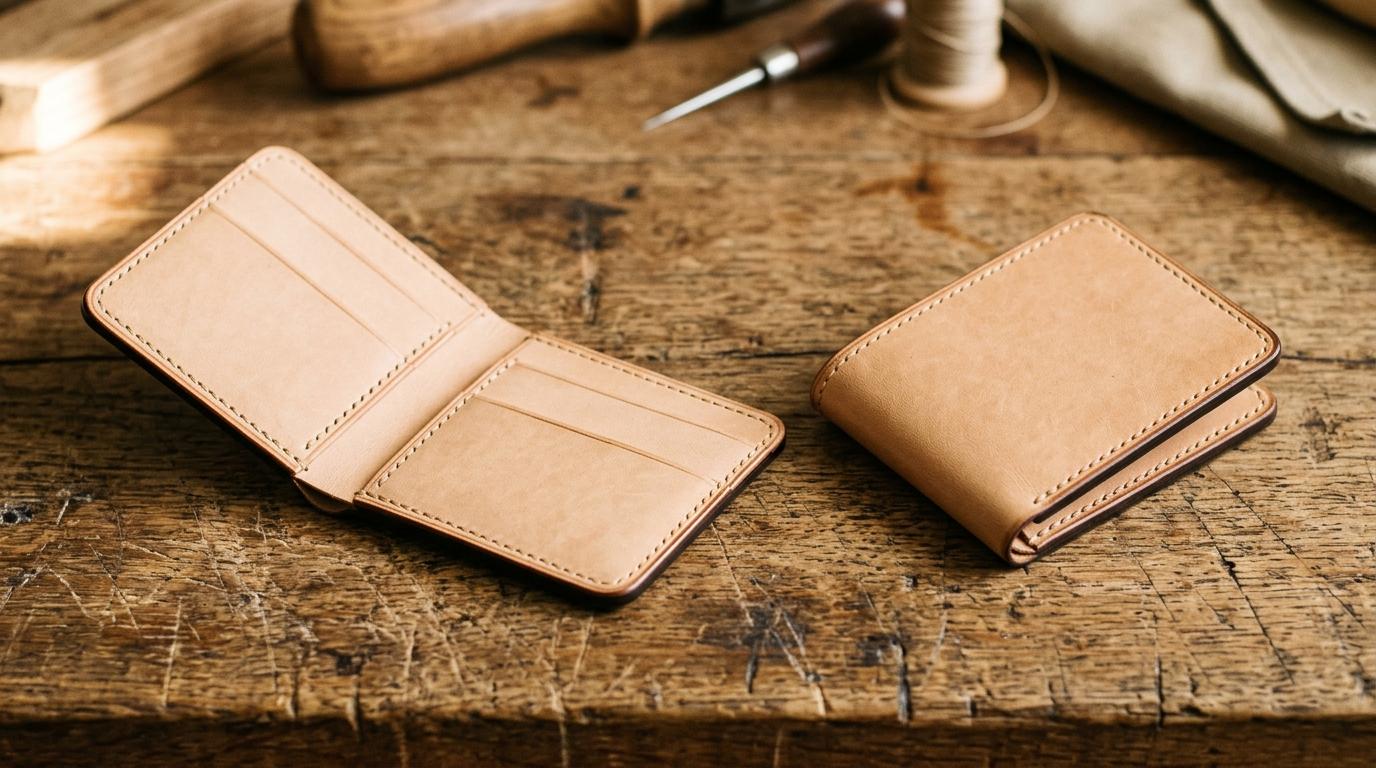
Simple, useful, and impressive to make by hand. This design holds four to six cards and folded notes, slim enough for a front pocket.
Cut list
Assembly order
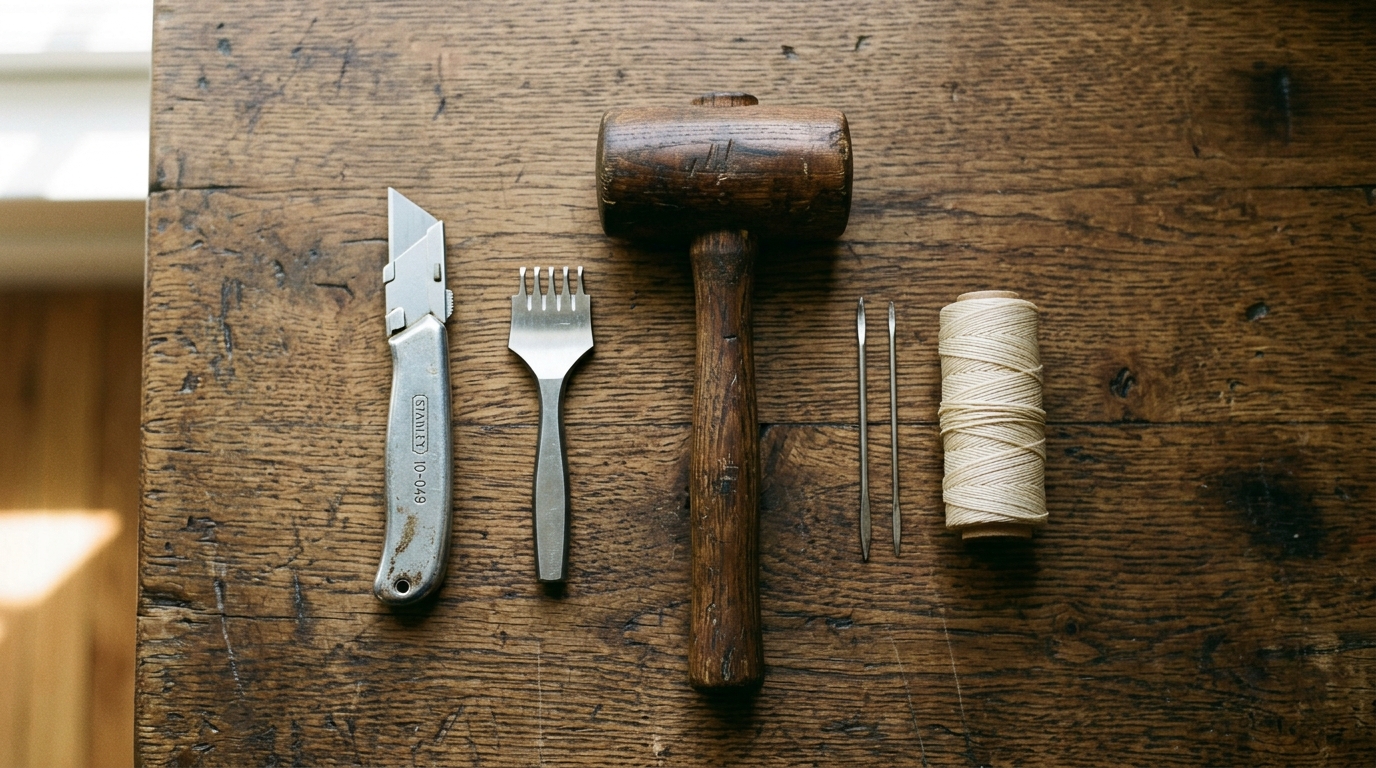
Gather your tools: craft knife with a fresh blade, 4mm pricking iron, wooden mallet, two blunt harness needles, waxed thread, steel ruler, cutting mat.
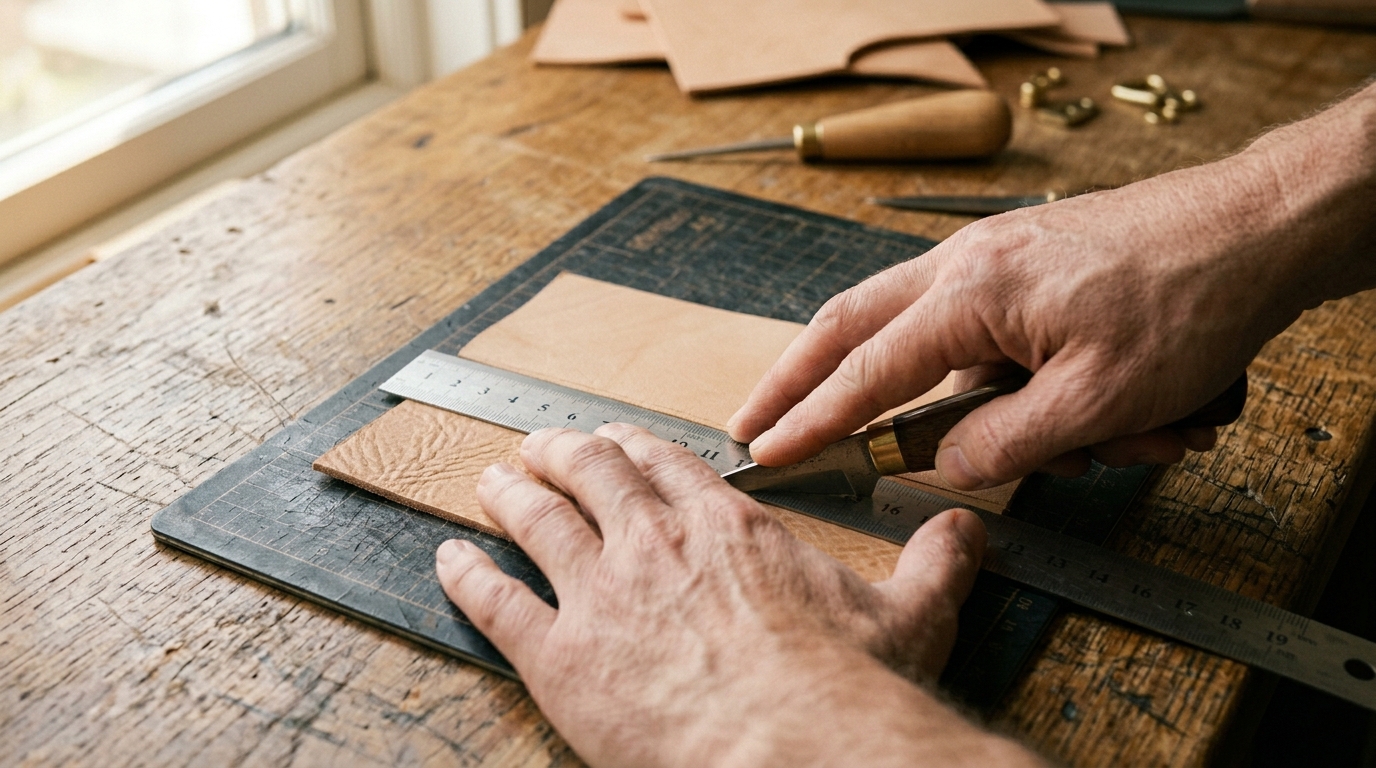
Cut the outer shell: 19cm × 9.5cm. Press the steel ruler firm, make two or three light passes rather than one heavy cut. Check corners are square.
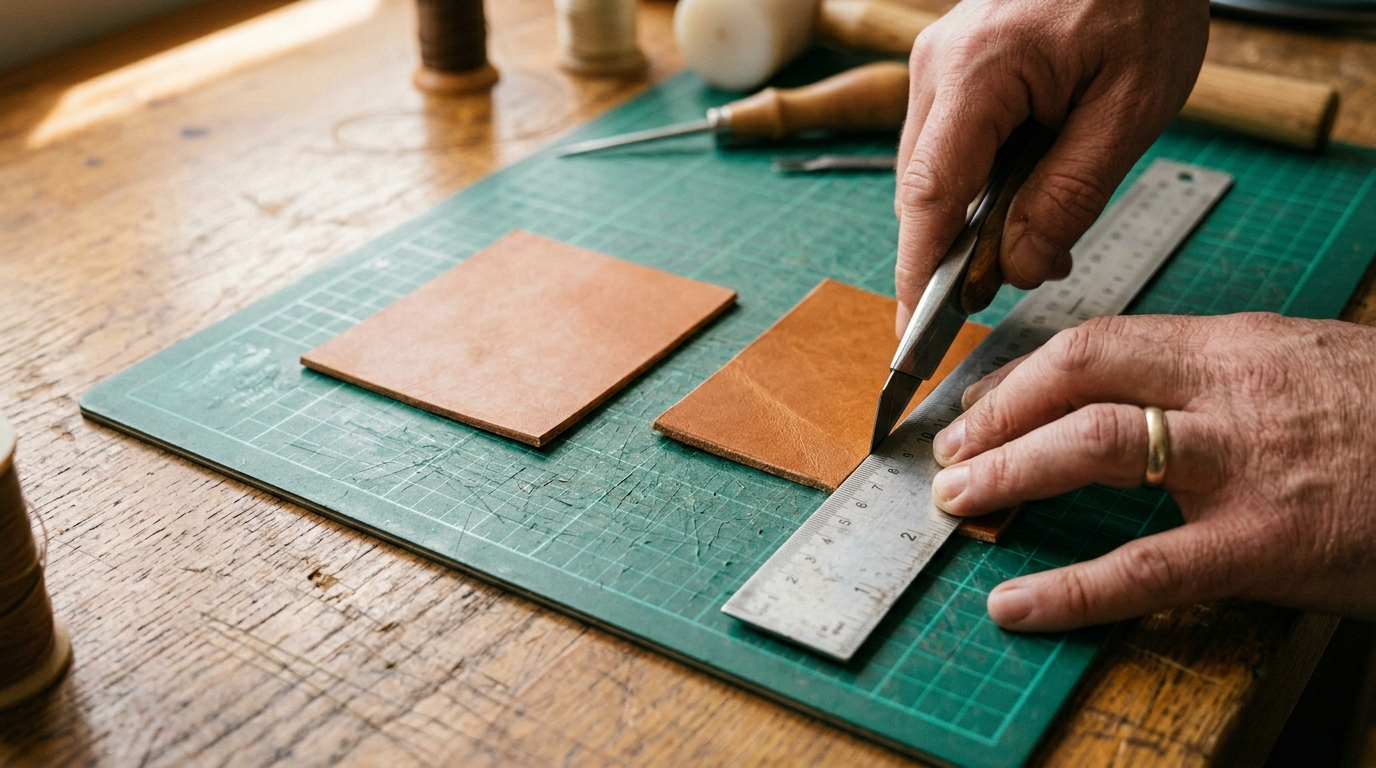
Cut two card pockets: 9cm × 7.5cm each. Same technique: ruler, light passes, square corners.
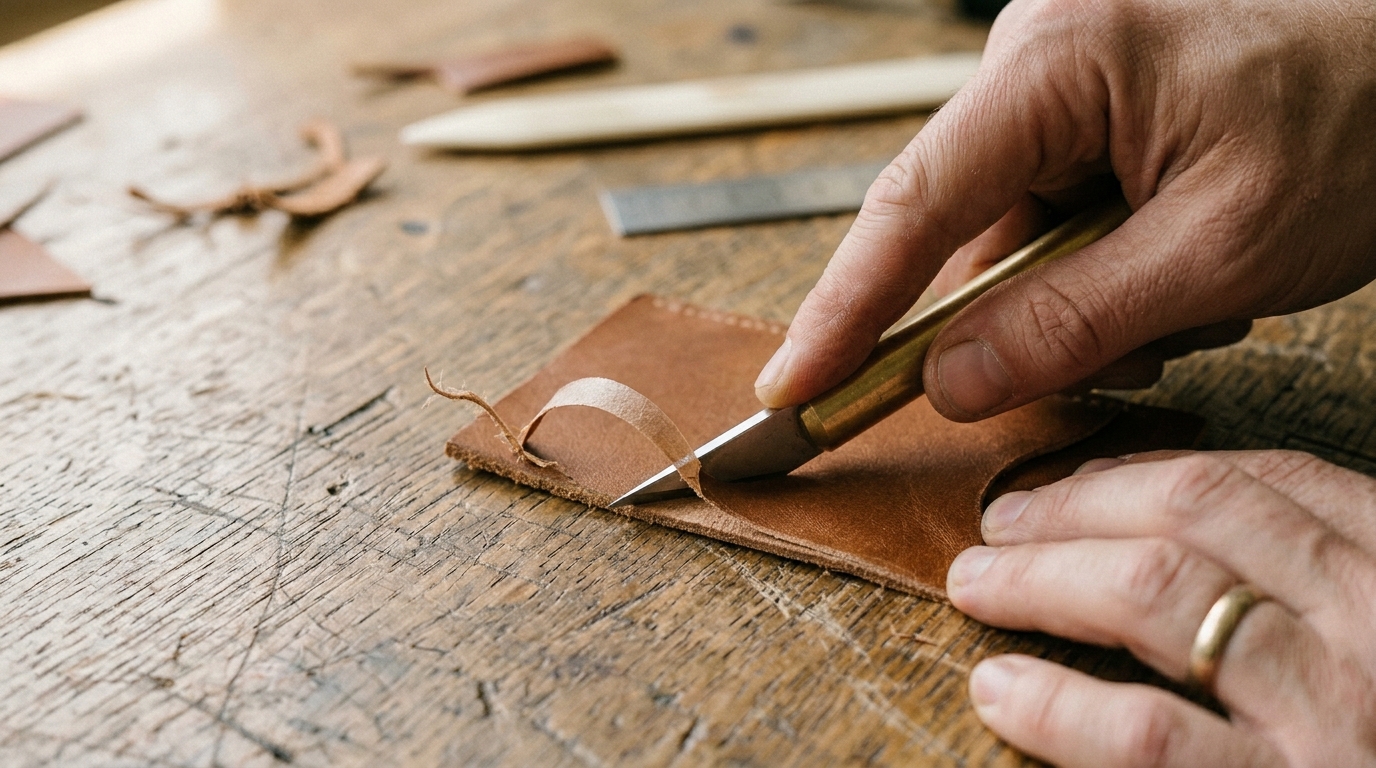
Skive (thin) the bottom edge of each card pocket. Hold the knife at a low angle and shave toward the edge so the leather tapers, stopping the folded seam from bulking out.
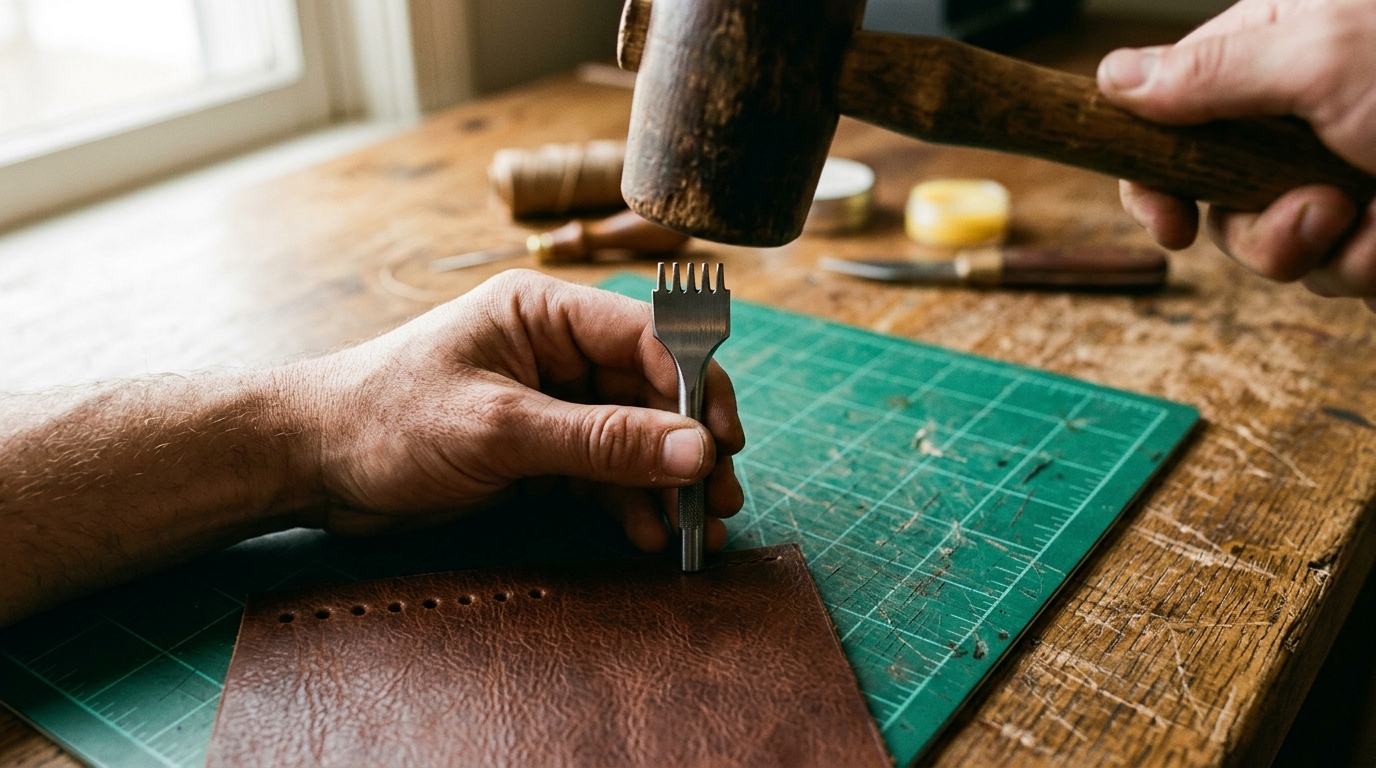
Mark a stitch line 3mm from the edge. Hold the pricking iron vertical, as angled holes make slanted stitches. One firm mallet strike per set of holes. Work along the bottom and two sides of each pocket.
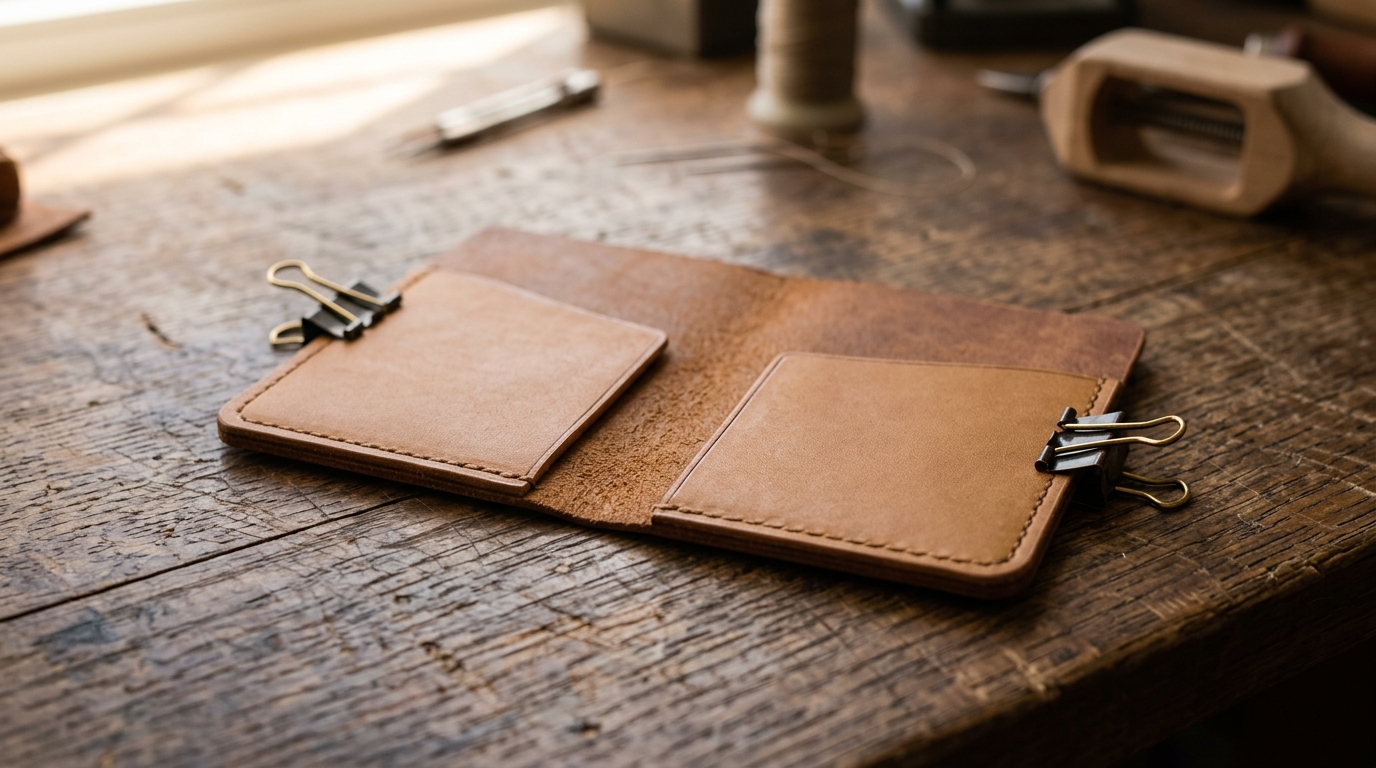
Position each pocket on the outer shell, flush to the bottom corners. Use binder clips to hold them while you stitch. No glue needed at this stage.
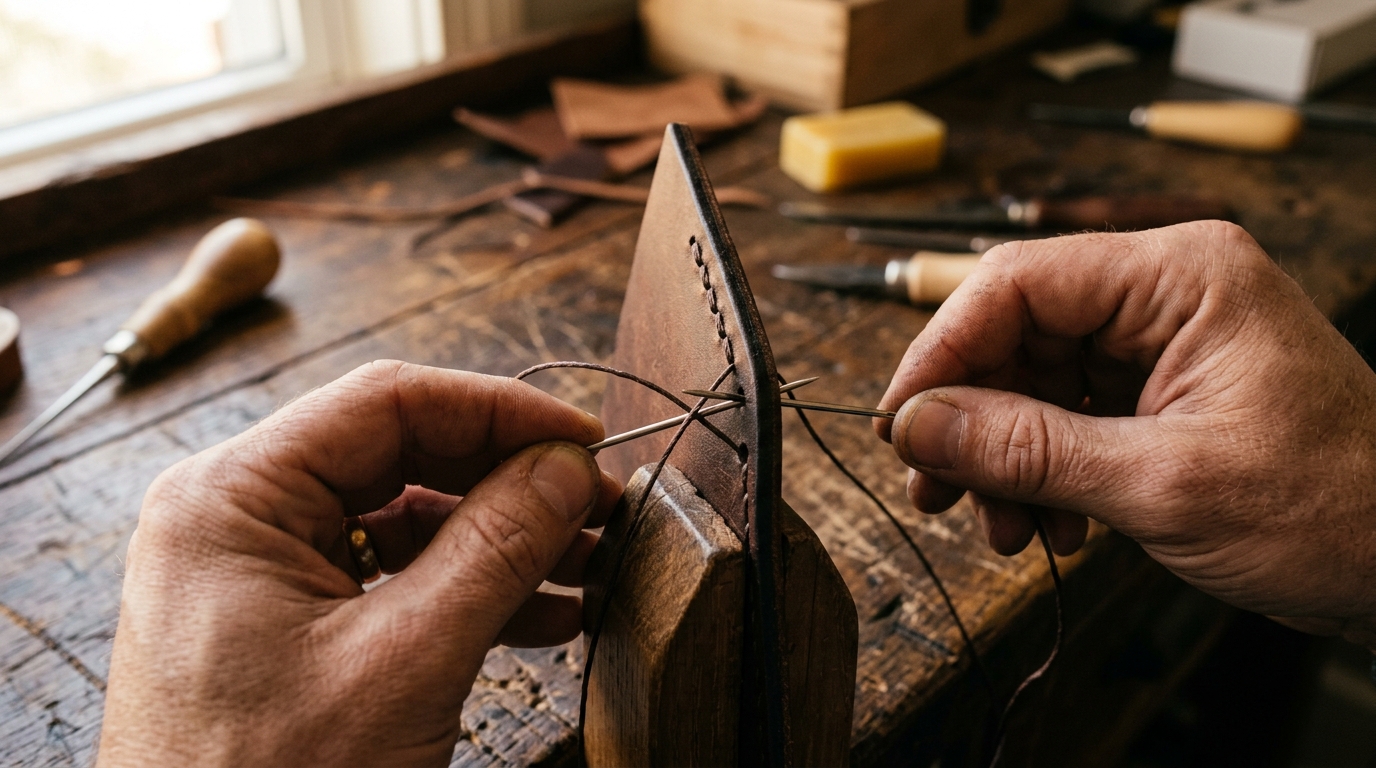
Saddle-stitch each pocket in place. Thread one needle on each end of a length of waxed thread. Pass the left needle through the first hole, then cross the right needle through the same hole. Pull both taut. Repeat. Backstitch two holes at start and end to lock.
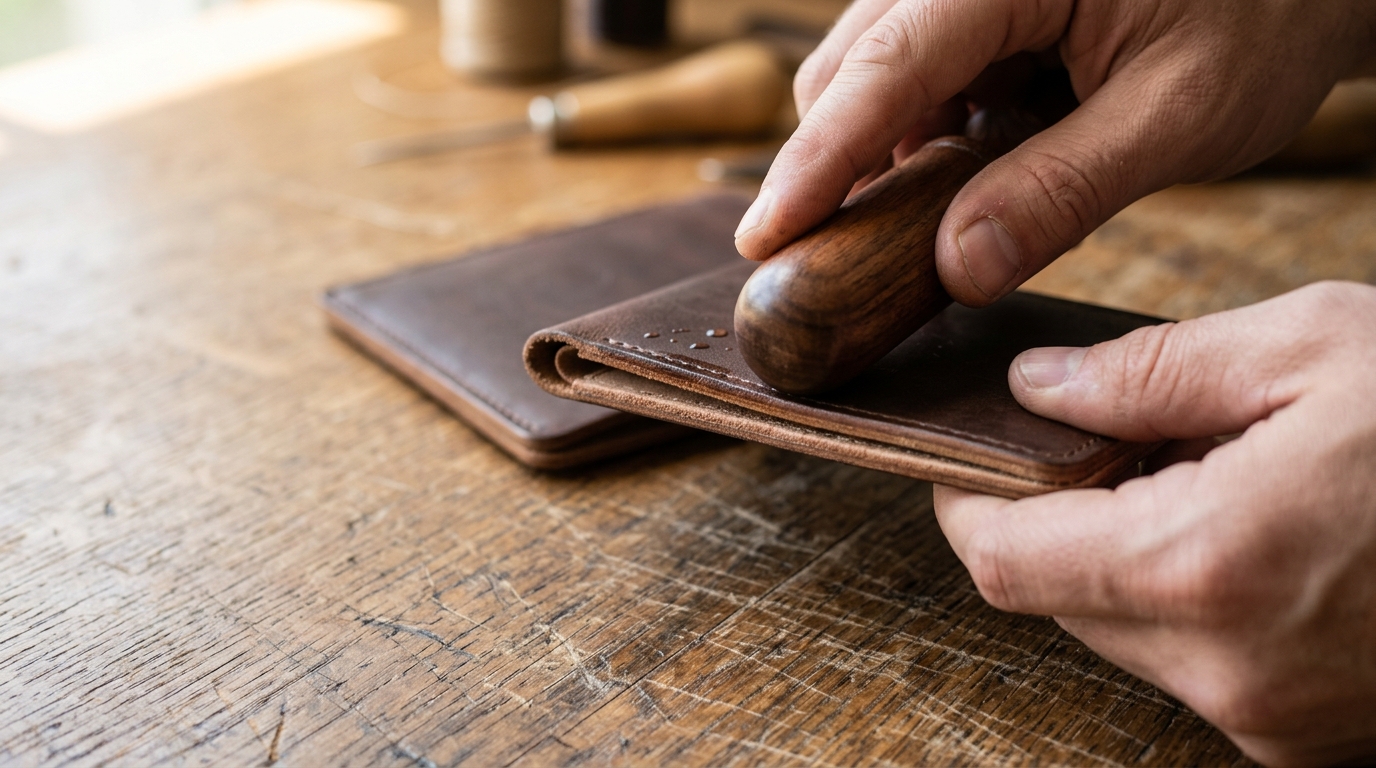
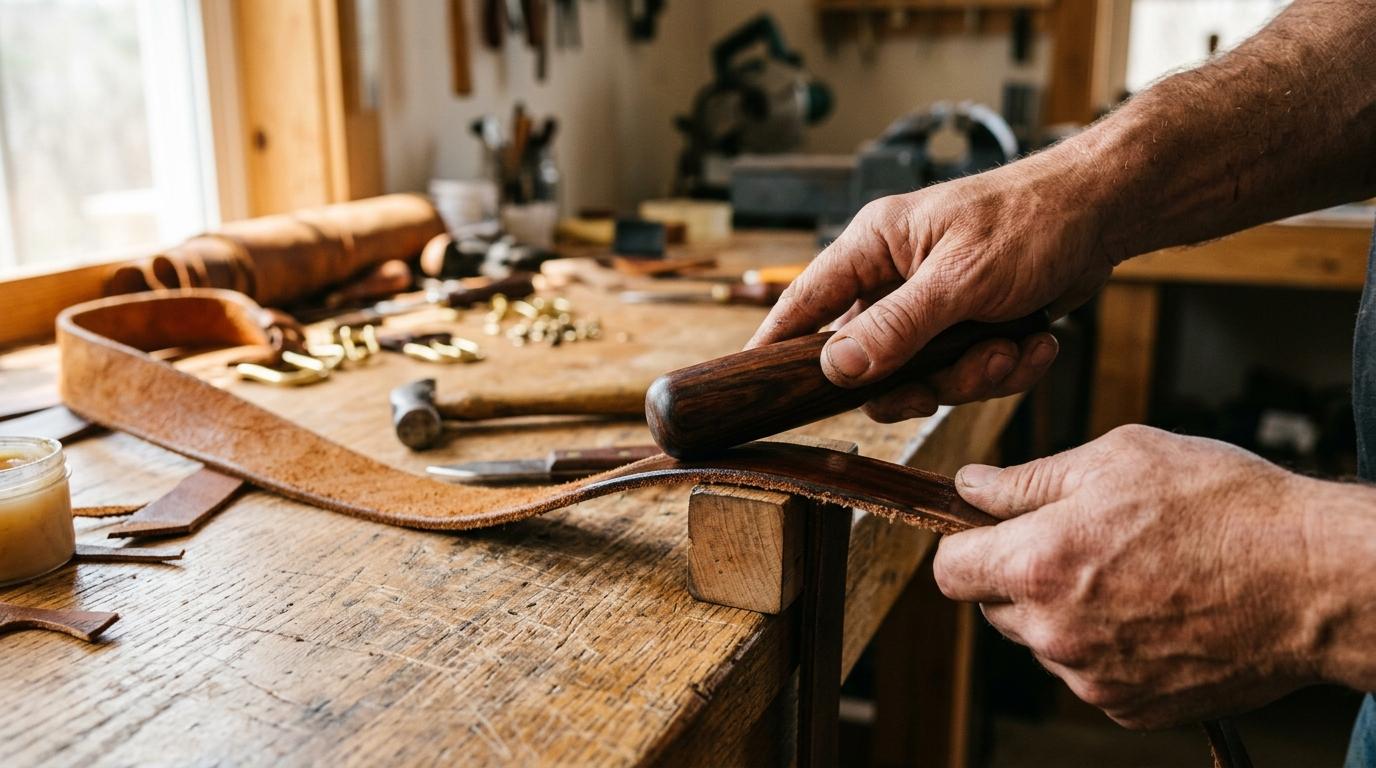
Burnish the edges: wet lightly with a finger, then rub with a smooth piece of hardwood until the fibres compact and the edge darkens to a shine. Don't rush this: it's the first thing people notice.
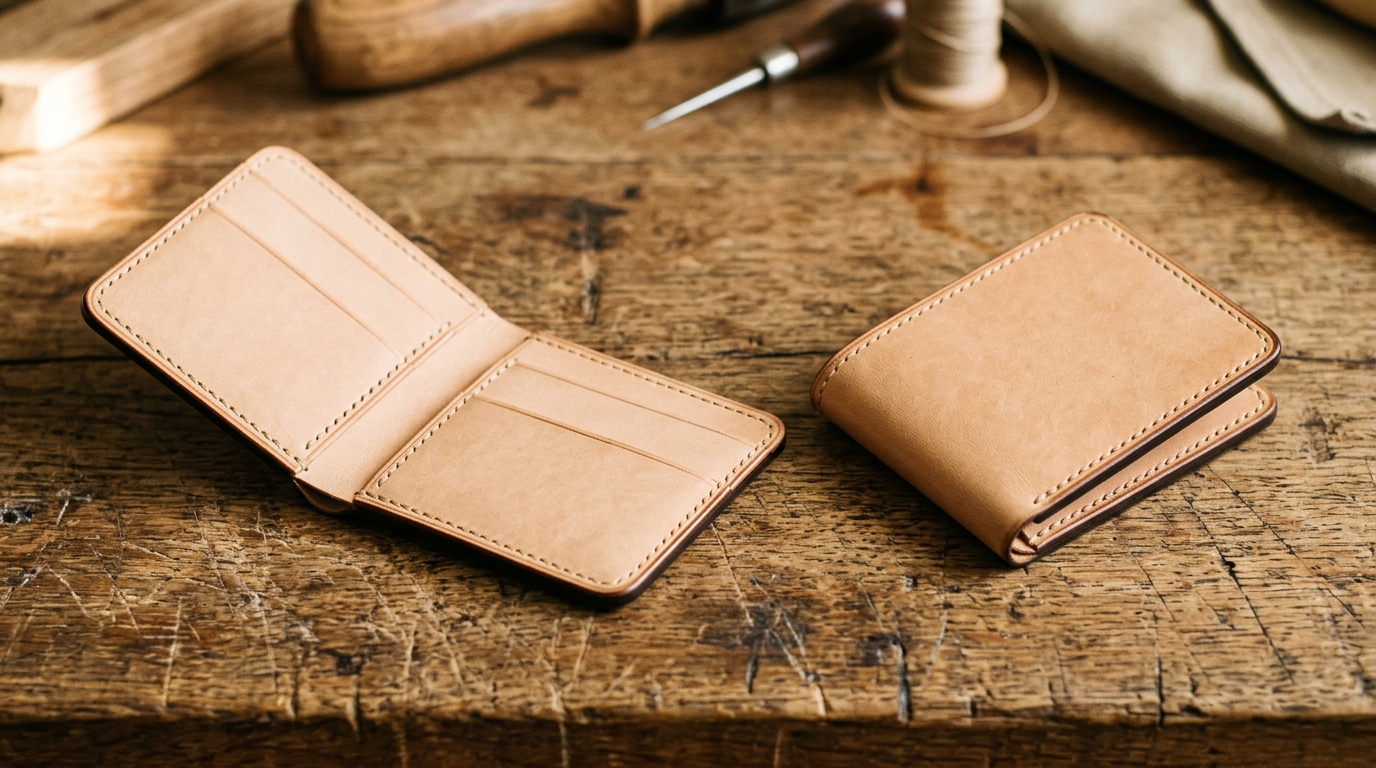
Fold in half, apply gentle pressure, leave flat under a heavy book overnight. The wallet will hold its shape once the leather relaxes into the fold.
The most common beginner mistake
Rushing the edge finishing. Unburnished edges look cheap and feel rough. Spend the extra ten minutes: it's what people notice first.
Your pathway to mastery
You've made a wallet. Here's where leatherwork can take you, at whatever pace suits you.
Beginner (you're here)
Straight cuts, saddle stitch, simple flat construction. You can make a wallet, a keychain, a simple bookmark.
Competent
3–6 monthsGussets, box stitching, edge dyeing, rivets and snaps. Projects: a pouch, a belt, a glasses case.
Skilled
1–2 yearsPattern drafting, bag construction, lining, hardware fitting. Projects: a messenger bag, a tool roll, a structured handbag.
Expert
3+ yearsWet moulding, carving, dyeing, saddlery-grade work. Projects: custom holsters, briefcases, bespoke commissions.
Communities worth joining
- r/leathercraft: large, helpful, honest feedback on your work
- The Leather Workers Forum: deep archives of technique discussions
- Local saddlery schools: a one-day class in person is worth months of solo practice
Community
Reader tips
No tips yet. Be the first to share what worked for you.
Share a tip
Sign in to share what worked for you.
Same category
What to learn next
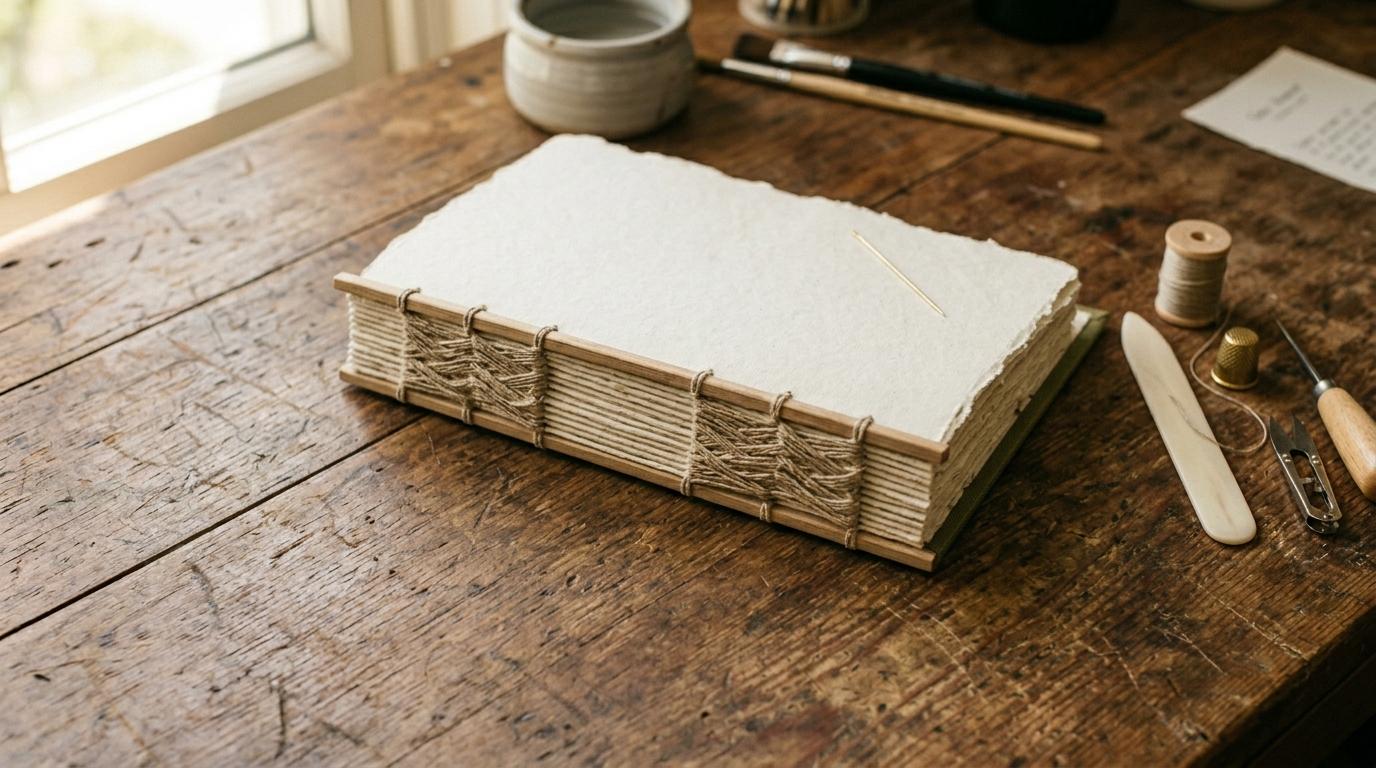
Bookbinding: Your First Journal
Fold, sew, and case a hardback journal by hand. The Coptic stitch and case binding are the two foundational methods, both achievable in a single afternoon session.
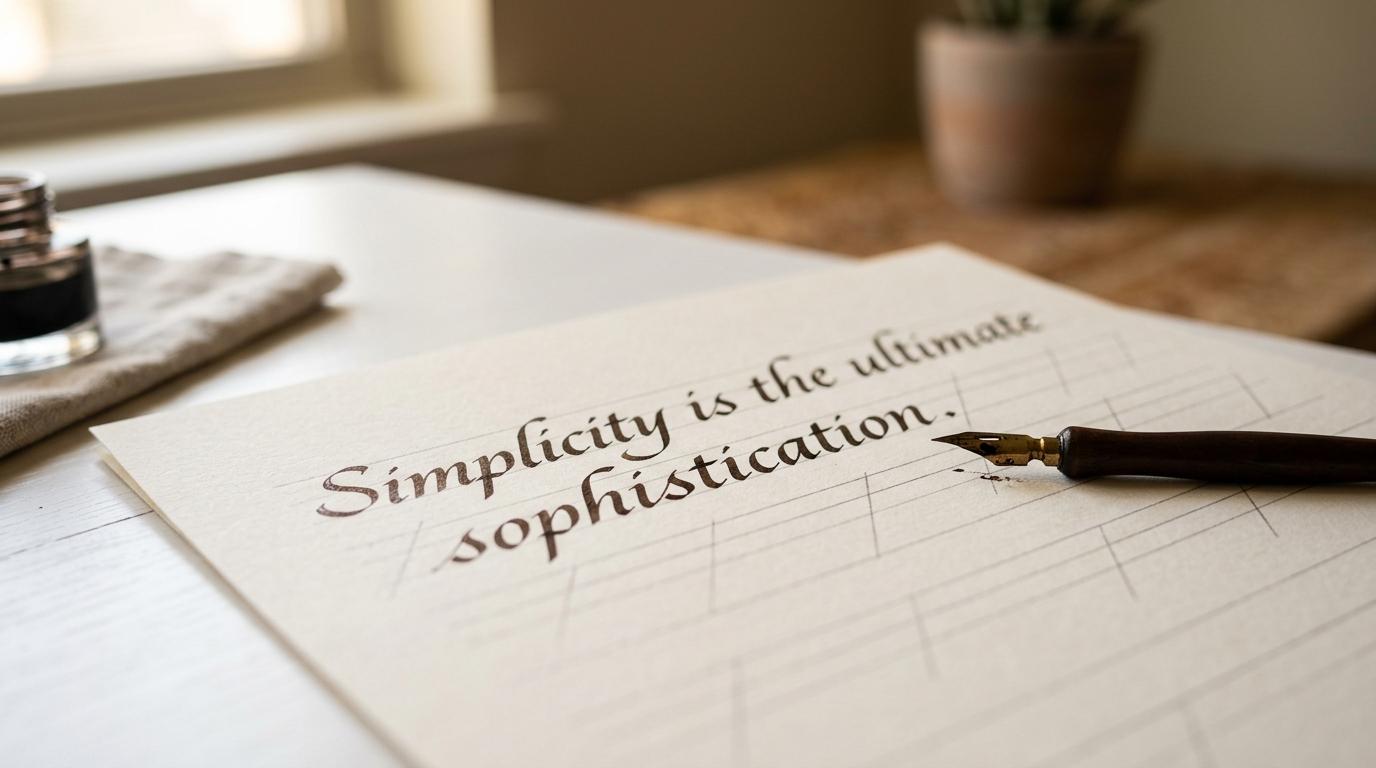
Calligraphy: The Foundational Script
Italic script with a pointed nib. The foundational Western calligraphy hand: clear, elegant, and achievable. Every lettering tradition descends from this one.
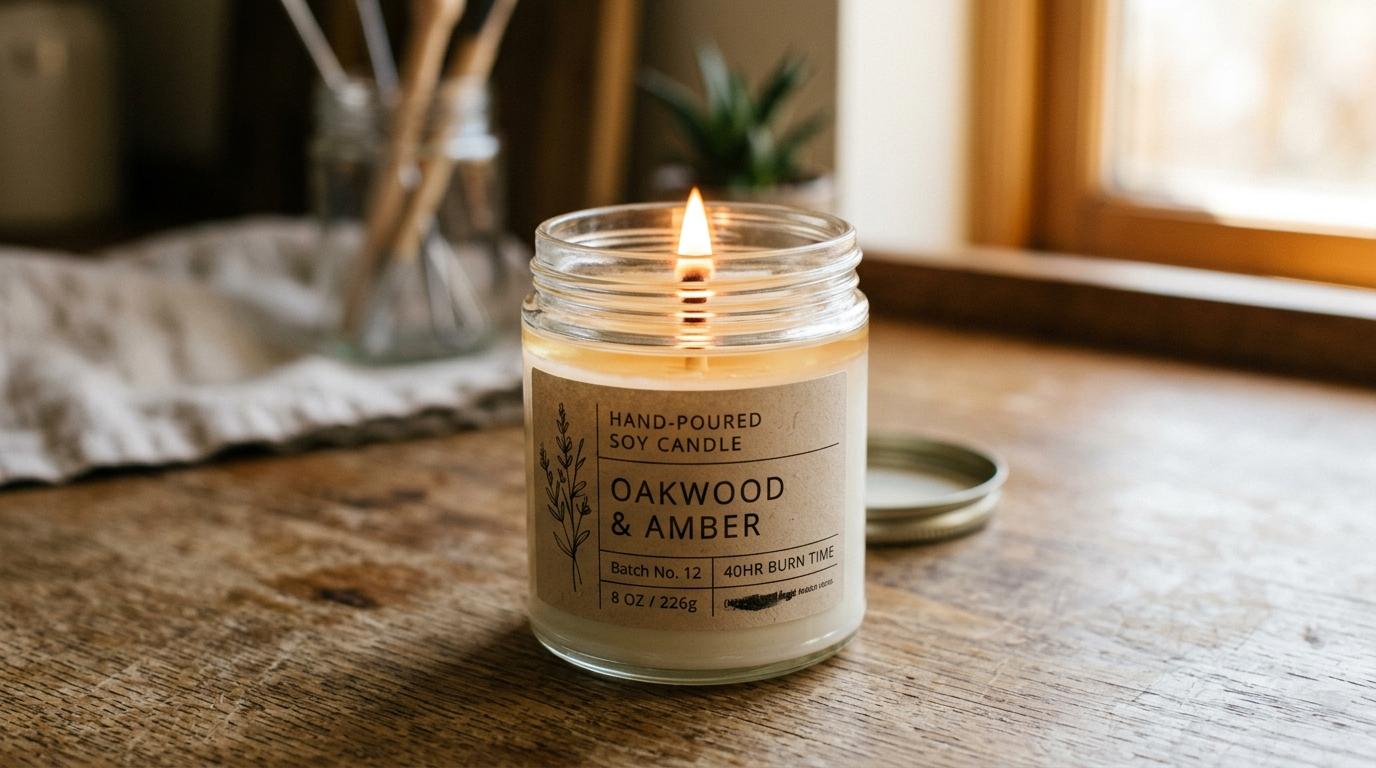
Candle Making
Make container candles with soy wax, fragrance oil, and cotton wicks. Published in late October, six weeks before Christmas: enough time to make gifts.
Side quests