Choosing your space and setting up a workbench
A workshop doesn't require a purpose-built shed or a double garage. It requires a flat surface, some light, and enough room to move around a project. People make excellent furniture in 6-square-metre garden sheds, run small woodworking businesses from single garages, and do precision metalwork in spare bedrooms. The space you already have is almost certainly good enough to start.
Shed vs garage vs spare room vs basement
Each space has different trade-offs. A garden shed is affordable, separate from the house (dust, noise, and smells stay outside), and easy to dedicate entirely to making. The downsides: dampness in winter, limited power, and small footprint. A garage gives you volume, usually a concrete floor, and mains power already run, but it may double as car storage and gets cold. A spare room is warm, dry, and convenient, but requires strict dust management and limits you to quieter work (no angle grinders at 10pm). A basement is often ideal for temperature stability and noise isolation, but check ventilation carefully before working with solvents or generating dust.
Whatever space you have, the best investment is making it pleasant to be in. If it's dark, damp, cold, or chaotic you'll avoid going in there. The setup work in this course is as much about removing friction as it is about tools.
The workbench: the centre of everything
Every other piece of workshop infrastructure exists to support the bench. A good bench is heavy enough not to move when you plane or chisel, flat enough to use as a reference surface, and at the right height for comfortable standing work (roughly wrist height with your arms hanging at your sides, typically 86–92cm for most adults).
You don't need an expensive bench to start. A Workmate is a capable first bench for light work. A solid kitchen worktop (offcuts from a kitchen fitter, or IKEA Bäckaryd) screwed to two pairs of trestles costs under £50 and will outlast many purpose-built benches. Build or buy a permanent bench only once you know what work you actually do. Your habits will tell you what you need.
Height matters more than quality
A bench at the wrong height causes back pain and poor work. Before committing to a permanent bench, work at your Workmate or trestles for a few weeks. Adjust the height by shimming, and measure what feels right. Then build or buy to that dimension.
First gear
Black & Decker Workmate 125
£50–70The classic portable workbench. The two-part top acts as a vice: tighten the pegs to clamp boards flat or upright. Folds flat for storage. Adequate for most hand-tool and light power-tool work. Not a substitute for a permanent bench eventually, but an excellent starting point that stays useful even when you upgrade.
Affiliate link. We may earn a small commission.
Record 52½ Quick-Release Woodworking Vice (or similar)
£60–120 depending on sizeA front vice bolted to a permanent bench turns it from a table into a workshop tool. The quick-release mechanism lets you adjust the jaw gap in one movement. 178mm (7-inch) jaws are adequate for most work; go to 230mm (9-inch) if you regularly work with wide boards. Fit wooden jaws (scrap hardwood) to protect finished surfaces.
Affiliate link. We may earn a small commission.
F-clamps (set of 4–6, assorted sizes)
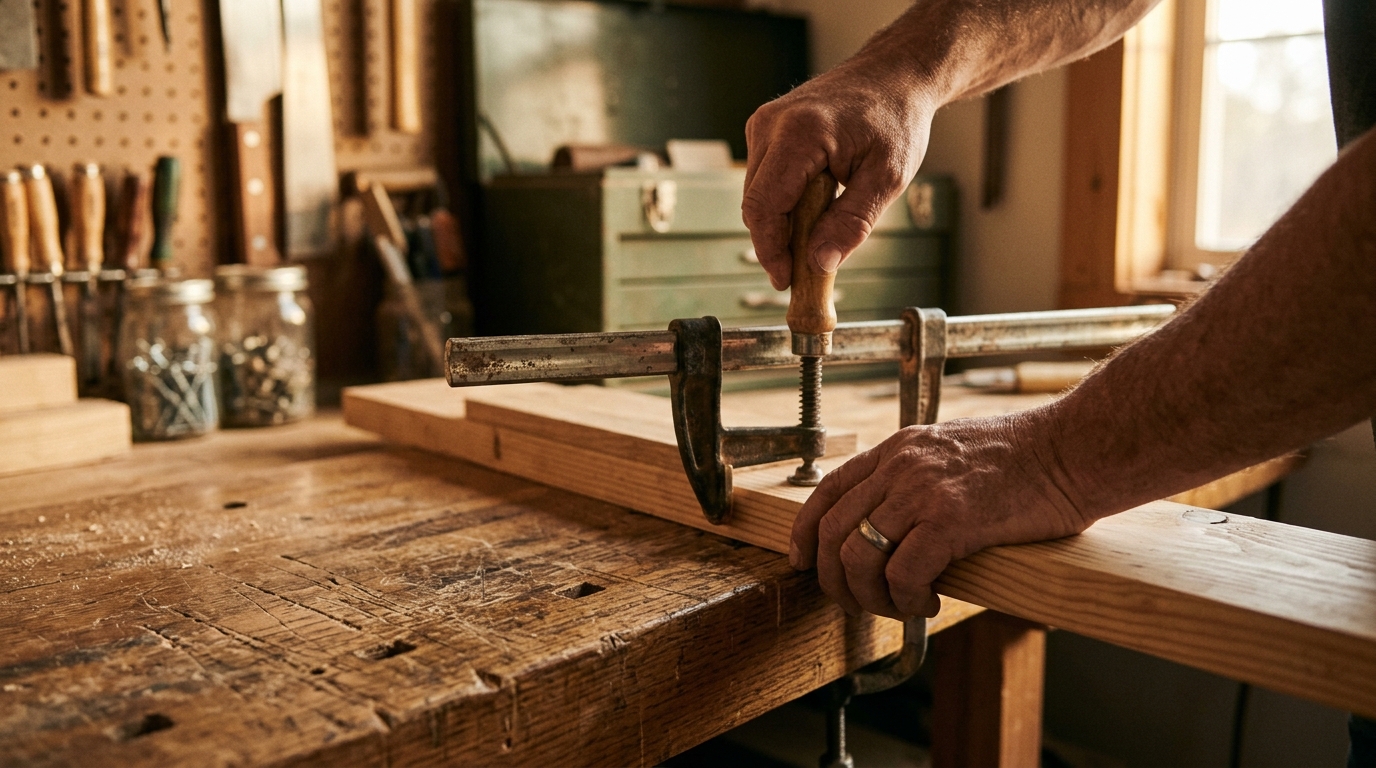
£20–40 for a mixed setThe most versatile clamp for the workshop. The sliding bar lets you adjust to any thickness quickly; the screw head applies the pressure. Buy a set in mixed sizes: 150mm for small assemblies, 300mm for panels, 600mm for furniture. Cheap sets from eBay or Aldi tool events are entirely adequate: the geometry is simple and forgiving.
Affiliate link. We may earn a small commission.
G-clamps (2–4, 50mm and 100mm)
£10–20 for a pairHeavier and slower than F-clamps but more rigid under load, useful when you need to hold something absolutely still (chiselling, routing). The 50mm size is handy for clamping directly to a bench or for small assemblies. Buy cast steel rather than pressed steel: the difference is visible in the section thickness.
Affiliate link. We may earn a small commission.
5m tape measure, combination square, and marking pencils
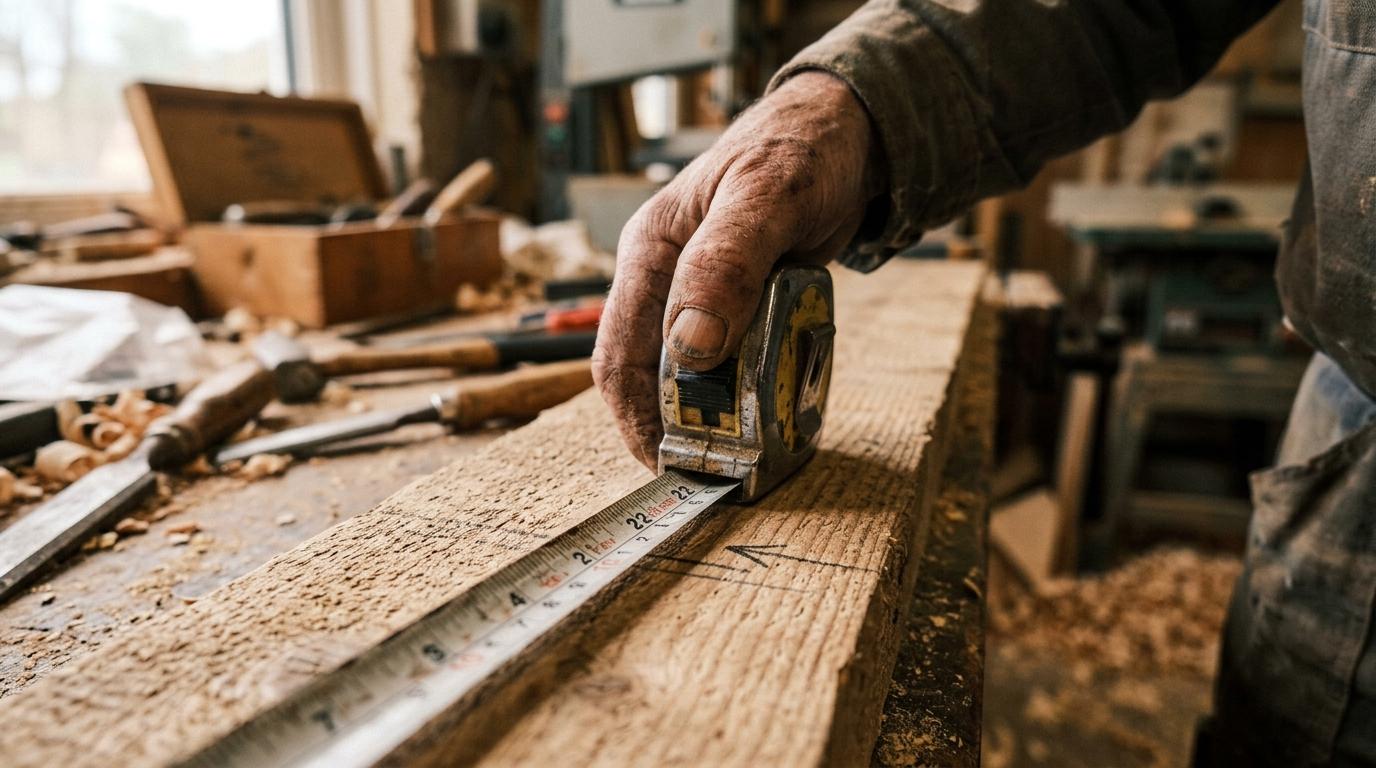
£25–40 for all threeYou need a tape measure you trust (Stanley FatMax is the UK standard), a combination square for marking right angles and 45° mitres and checking flatness, and a supply of pencils. HB pencils for wood. Marking knives for precision joinery later. The combination square replaces a try square, mitre square, and depth gauge. Get one good one rather than several cheap ones.
Affiliate link. We may earn a small commission.
Safety: goggles, ear defenders, and dust mask (P2)
£30–50 for all threeThree items, used every session. Goggles (not safety glasses, full seal) for any power tool use. Ear defenders rated to at least 25dB SNR for routers, angle grinders, and jigsaw work. A P2 dust mask (FFP2 or FFP3) rated for fine dust. Basic surgical masks do not filter wood dust. Buy them before your first power tool arrives, not after.
Affiliate link. We may earn a small commission.
Where to buy tools in the UK
- Screwfix: Trade pricing, click and collect in 1 hour from most towns. Best for power tools, fixings, and consumables.
- Toolstation: Similar range to Screwfix with slightly different stock, so worth comparing prices. Good for safety gear.
- Axminster Tools: The UK's best specialist hand tool retailer. Not the cheapest, but the quality is reliable and the advice is excellent.
- Rutlands: Good for woodworking machinery and clamps. Frequent sales.
- eBay / Facebook Marketplace: For second-hand hand tools, vices, and benches. Old tools are often better quality than new budget equivalents, especially chisels, planes, and vices.
Avoid supermarket own-brand power tools for anything you'll use frequently. The motor windings and gearboxes are underpowered and fail quickly. Budget brands like Ryobi and Einhell (green range) are fine for occasional use; for regular work, step up to DeWalt, Makita, or Bosch Professional (blue).
Some links are affiliate links. Airgap.life may earn a small commission at no extra cost to you.

Choosing and buying your first tools
Hand tools first, power tools second
The instinct when setting up a workshop is to buy power tools. Resist it, at least at first. Hand tools teach you to read material: grain direction, hardness, what the wood is doing. They're quieter, need no electricity, and build muscle memory that makes power tool use safer and more accurate. A workshop that starts with hand tools and adds power tools as specific needs arise tends to produce better work than one that starts with a table saw and a router.
That said, three power tools change what's possible and are worth having from early on.
First power tools, in priority order
Cordless drill/driver (18V, two batteries)
£80–150 including charger and two batteriesThe one tool no workshop can do without. Used for drilling, driving screws, mixing paint and filler, and occasionally sanding with a drum attachment. Buy an 18V model from a brand with a wide battery ecosystem (DeWalt XR, Makita LXT, Bosch Professional 18V). Once you're in the ecosystem, your batteries work across all their tools. Two batteries is not optional: one is always charging.
Affiliate link. We may earn a small commission.
Random orbital sander (125mm)
£40–80 corded, £60–120 cordlessSanding by hand is slow and tiring; a random orbital sander (ROS) does in 5 minutes what takes 30 by hand and produces a finer, more consistent finish. The random orbital pattern avoids the swirl marks left by disc sanders. Buy one that takes 125mm hook-and-loop discs: they are the UK standard and cheap to buy in bulk. Makita BO5041 and DeWalt DWE6421 are both reliable corded options.
Affiliate link. We may earn a small commission.
Jigsaw (corded or 18V)
£50–100 corded, £80–160 cordlessThe most versatile cutting tool to start with: straighter than a handsaw for most beginners, safer than a circular saw, and capable of curves that no other saw can manage. Used for cutting sheet material, making templates, and roughing out shapes. Bosch Professional and DeWalt both make reliable jigsaws; buy one that matches your battery ecosystem if going cordless.
Affiliate link. We may earn a small commission.
Hand tool essentials
Hammer (450g cross-pein or claw)
£15–35A 450g (16oz) claw hammer handles 90% of workshop tasks: driving nails, light demolition, and tapping chisels. The cross-pein face helps start nails without hitting fingers. A wooden handle absorbs vibration better than fibreglass; ash or hickory are traditional and durable. Avoid the ultra-cheap stamped steel handles: they fatigue and snap.
Affiliate link. We may earn a small commission.
Screwdrivers (set of 6: PZ and flat, various sizes)
£20–40 for a decent setYou need both flat-head and Pozidriv (PZ) screwdrivers in multiple sizes. Pozidriv is the UK standard for screws (not Phillips: they look similar but slip in PZ heads). A six-piece set with PZ1, PZ2, PZ3 and three flat heads covers almost everything. Wera, Wiha, and Felo make excellent driver bits and handles; Stanley FatMax is solid at a lower price point.
Affiliate link. We may earn a small commission.
Bench chisels (set of 4: 6mm, 12mm, 19mm, 25mm)
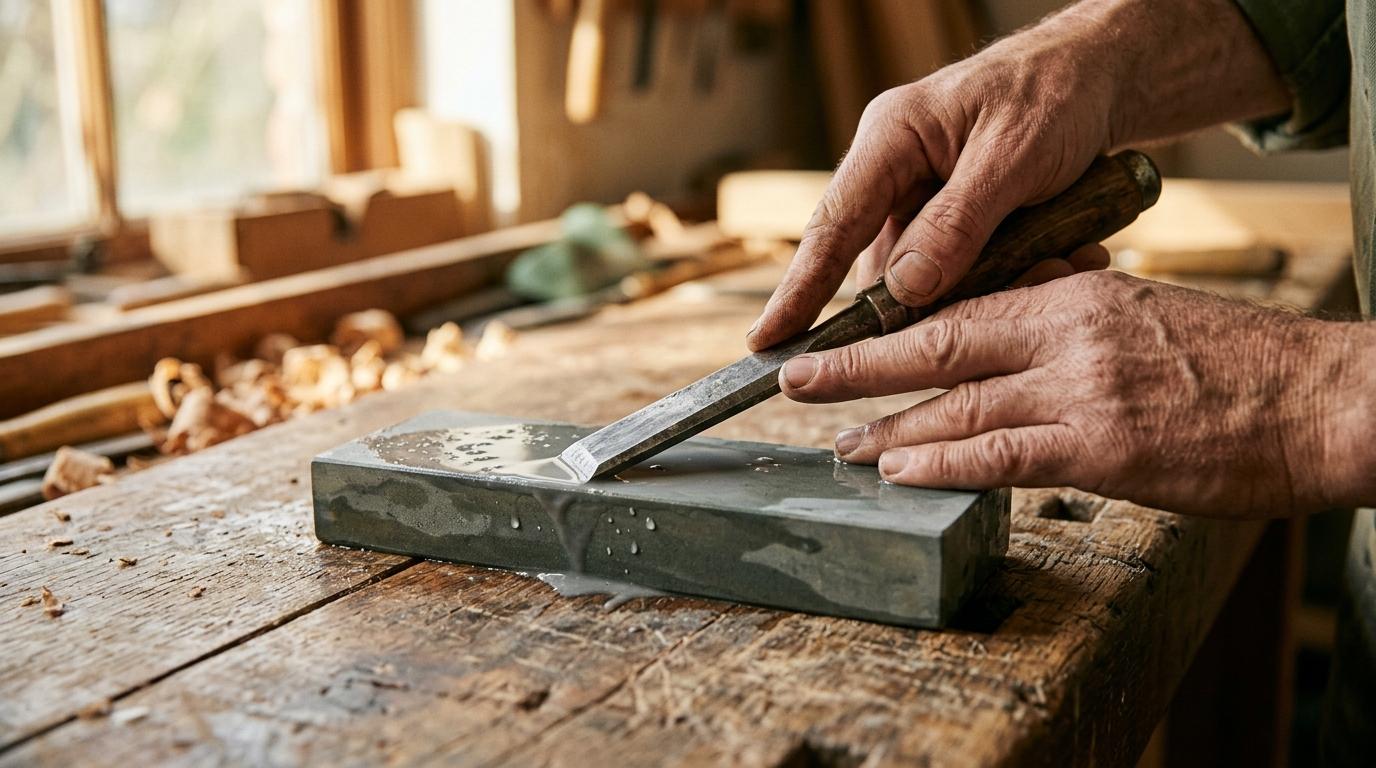
£30–70 for a set of fourChisels are for paring wood to a line, cutting mortises, cleaning joints, and removing waste. A basic set of four bevel-edge bench chisels in the above sizes handles most workshop tasks. Buy a mid-range set and sharpen them properly: a sharp cheap chisel beats a blunt expensive one. Narex (Czech), Two Cherries (German), and Ashley Iles (UK) are reliable mid-range options. Buy a sharpening stone at the same time.
Affiliate link. We may earn a small commission.
Hand saw (550mm panel saw, 8–10tpi)
£15–30For cuts the jigsaw won't reach and for work where you want control without noise. An 8tpi (teeth per inch) saw cuts faster with a rougher finish, good for structural timber. 10tpi is slower but leaves a cleaner edge suitable for visible joinery. A Bahco 244 or Stanley FatMax is the standard UK recommendation: sharp from the box, replaceable blade not worth resharpening.
Affiliate link. We may earn a small commission.
Workshop safety fundamentals
Most workshop injuries come from one of three things: dull tools (they require more force, which means less control), unsecured workpieces (always clamp before cutting), and distraction (never use a power tool if you're tired, rushing, or thinking about something else).
Keep the floor clear of off-cuts and cable. Keep blades and chisels sharp: a sharp edge does what you intend; a dull edge goes where it wants. Know where the power switch is for every machine before you switch it on. If something doesn't feel right about a cut, stop, reposition, rethink. The wood will wait.
The one-hand rule for chisels
Always keep both hands behind the cutting edge: the chisel should never be able to reach your non-dominant hand even if it slips. Work with the piece clamped to the bench, not held in your hand. This is the single most important workshop safety habit and prevents most chisel injuries.


Storage, lighting, and making the space work
Storage systems
The workshop that stays usable is the one where everything has a place and returns to it. Without a system, tools migrate to the bench, the bench fills up, and within a month you're working in a 30cm-wide strip of clear space surrounded by things you meant to put away. Storage isn't a luxury. It's what determines whether the workshop functions as a space or as a dump.
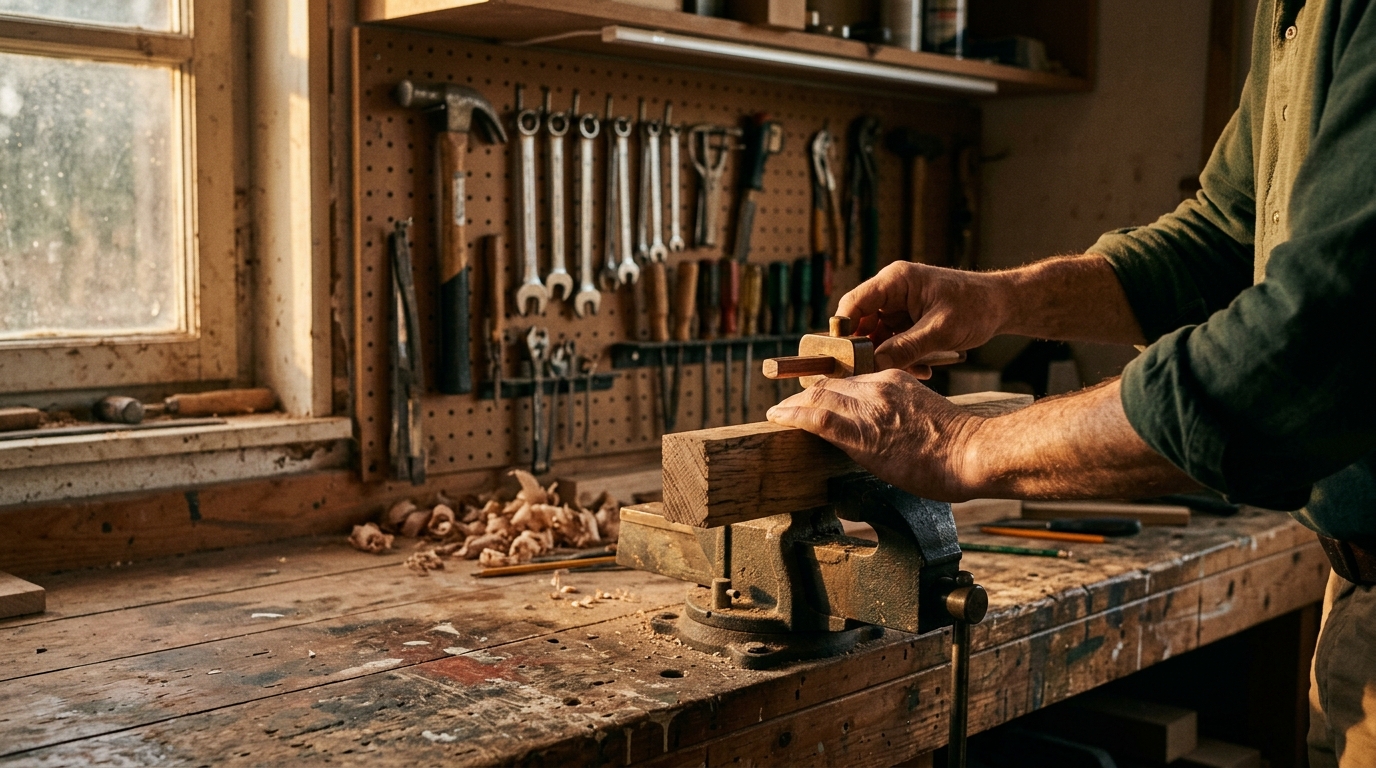
The most effective first storage solution is a pegboard wall behind the bench. It's cheap, infinitely reconfigurable, and keeps your most-used tools visible and within reach. Outline each tool with a marker; you can see immediately what's missing at the end of a session.
Pegboard panel (1200 × 600mm) with hook assortment
£15–30 for board and hooksStandard 6mm hardboard pegboard, available from most DIY sheds. Mount on 18mm battens to create a 20mm air gap behind the board (hooks need the depth). Fix with screws into wall studs or use wall plugs in masonry. A pack of 50–100 assorted hooks covers most tool types; you'll reconfigure several times before settling on a layout that suits you.
Affiliate link. We may earn a small commission.
Wall-mounted magnetic tool strip (600mm)
£10–20Holds chisels, screwdrivers, marking knives, and any steel tool without hooks. Mounts directly to the wall at eye level above the bench. The tools are visible, accessible in a single movement, and the blades are protected from the rubbing that damages cutting edges in a drawer. Far better than a knife block for workshop use.
Affiliate link. We may earn a small commission.
Stackable drawer unit (A4 format, 10-drawer)
£20–50 depending on sizeFor small parts: screws, fixings, sandpaper grades, nails, drill bits, router bits. Stackable drawer towers in A4 or A3 footprint from Raaco, Stanley, or Sortimo fit neatly under a bench or on a shelf. Label every drawer before filling it. The habit takes ten seconds and saves minutes of searching later.
Affiliate link. We may earn a small commission.
Lighting
A single ceiling bulb isn't enough. Good workshop lighting requires shadowless general illumination combined with a directed task light over the bench. Shadows hide the line you're trying to cut to, they hide tear-out, they cause mistakes. Plan your lighting before anything else.
LED batten strip light (1200mm, 36W, 5000K daylight)
£15–30 eachA 1200mm LED batten replaces a fluorescent tube with no flickering, lower energy use, and better colour rendering. Mount two of them: one running front-to-back over the bench, one over the centre of the room. 5000K colour temperature (daylight white) is important: it renders colours accurately so you can see grain, judge finish, and match colours correctly. Warm white (2700K) makes the workshop feel cosy but muddles your judgement.
Affiliate link. We may earn a small commission.
Anglepoise-style bench lamp with daylight bulb
£20–40A directed task lamp for close work: sharpening chisels, reading measurements, inspecting joinery. Mount it to the bench with a clamp base or fix to the wall beside the bench. Fit an 865 CFL or LED equivalent (cool daylight, 6500K) for accurate colour rendering. Any articulated arm lamp works; the bulb choice is more important than the brand.
Affiliate link. We may earn a small commission.
Ventilation and dust management
Wood dust is a Class 1 carcinogen. Not a theoretical risk: sustained exposure to fine hardwood dust causes nasal cancer. Always wear your P2 dust mask when sanding or routing. Beyond the mask, good ventilation (open the door, add a window vent if possible) reduces the background dust level in the room. For regular power-tool work, a dust extractor connected to your sander earns its cost quickly.
Workshop dust extractor (small, 20L class M)
£80–180Connects directly to the dust port on most sanders, jigsaws, and routers via a flexible hose. A Class M extractor captures particles down to 1 micron. Standard shop-vacs capture only coarser dust and recirculate the fine particles that do the damage. Festool Midi is excellent but expensive; the budget Makita 447L and Bosch GAS 20 L SFC are adequate for a small workshop.
Affiliate link. We may earn a small commission.
Heating for winter
Cold hands lose sensitivity and precision. A workshop that drops below 10°C in January will sit unused for three months, which defeats the purpose of setting it up. A 2kW electric panel heater on a timer is the simplest solution for a shed or garage: cheap to install, thermostatically controlled, no fuel to store. Propane heaters work but produce water vapour (bad for timber) and require ventilation.
Flooring
Standing on concrete for two hours causes fatigue in a way standing on a wooden floor doesn't. Anti-fatigue mats (the rubberised foam type used in commercial kitchens) make a real difference in front of the bench. A single 600 × 900mm mat costs under £20 and lasts years. For the rest of the floor: bare concrete is fine, a swept plywood sheet keeps it warmer, and interlocking rubber tiles are a comfortable upgrade if the budget runs to it.
Your first workshop project: a wall-mounted tool storage panel
Before moving on to other projects, build this one. It's the right level of challenge for a new workshop: it uses the bench, requires measuring and cutting, involves fixing things to a wall, and produces something useful. It also forces you to organise your tools before you can hang them, a valuable process.
Materials: one sheet of 6mm hardboard pegboard (1220 × 610mm, available from B&Q, Wickes, or most timber merchants), three lengths of 50 × 25mm timber for the frame and battens, wood screws, wall plugs, and a packet of pegboard hooks. Tools needed: drill, jigsaw or hand saw, tape measure, pencil, spirit level.
Cut the frame from the 50 × 25mm timber to fit the pegboard sheet. Screw the frame to the back of the pegboard, flush with the edges. This creates the air gap the hooks need. Mark the stud positions in the wall (or use a stud detector), drill and plug the masonry, and screw the panel to the wall above the bench. Arrange your tools, mark their outlines, and you're done. First project complete.
Level is more important than height
Use a spirit level when mounting the panel: a visually tilted pegboard bothers you every time you walk in. Get it level first, then adjust the height if needed. Drill the top fixings first, check level, then fix the bottom.
First projects and the path forward
A functional workshop (bench, basic tools, storage, lighting) is a platform, not a destination. What you build with it over the coming months will tell you what the workshop needs to become. Most people find their first six months reshapes their priorities entirely: the tools they thought they needed stay in the drawer, and the gaps they didn't anticipate turn out to matter most.
Projects to attempt in the first three months
Start with projects that have a short cycle from start to finish: things you can complete in an afternoon or a weekend. Shelves, small boxes, picture frames, simple stools. The point isn't the object; it's the accumulation of hours at the bench, the development of habits, and the discovery of what you actually enjoy making. Long ambitious projects attempted too early stall, and a stalled project is the fastest way to stop using the workshop.
Functional space
Day 1Bench up, safety gear bought, basic hand tools and first power tool in place. Pegboard storage panel built and mounted. You can start making things.
Working workshop
Month 1–3Storage system bedded in. Dust management sorted. First 5–10 projects completed. You know which tools you reach for constantly and which you haven't touched. You've sharpened a chisel.
Equipped for your craft
Month 3–12Tools and machinery matched to the work you actually do. A sharpening station. A reliable finishing setup (sanding through the grits, a first understanding of oils, waxes, or paint). Projects getting more ambitious.
Serious workshop
Year 2+Specific machinery for your discipline: planer/thicknesser for furniture work, lathe for turning, welding set for metal. Workshop layout reorganised around how you move through a project. The space is properly productive.
People worth following
- Paul Sellers: Hand-tool woodworking. His approach deliberately avoids machinery. The best teacher of hand skills working in English. Start with his YouTube channel before buying any hand tools.
- Peter Millard: Workshop setup, storage systems, and power-tool woodworking for beginners. Practical, unpretentious, UK-based. His 'shed workshop' videos are directly relevant to this course.
- Rob Cosman: Joinery and hand-tool technique, especially dovetails. Canadian, but his methods translate directly. Excellent for understanding how joints work.
- Matt Estlea: UK-based woodworker covering tools, projects, and workshop tips. Approachable style, good at explaining the reasoning behind technique choices.
- Pask Makes: Workshop builds, jigs, and tool storage. Particularly useful for thinking about workshop layout and DIY storage solutions. Builds most of his own workshop furniture.
- The Wood Whisperer (Marc Spagnuolo): US-based but his furniture projects and finishing guides are excellent. Best source for understanding wood movement and why it matters to joinery.

Community
Reader tips
No tips yet. Be the first to share what worked for you.
Share a tip
Sign in to share what worked for you.
Same category
What to learn next
Side quests