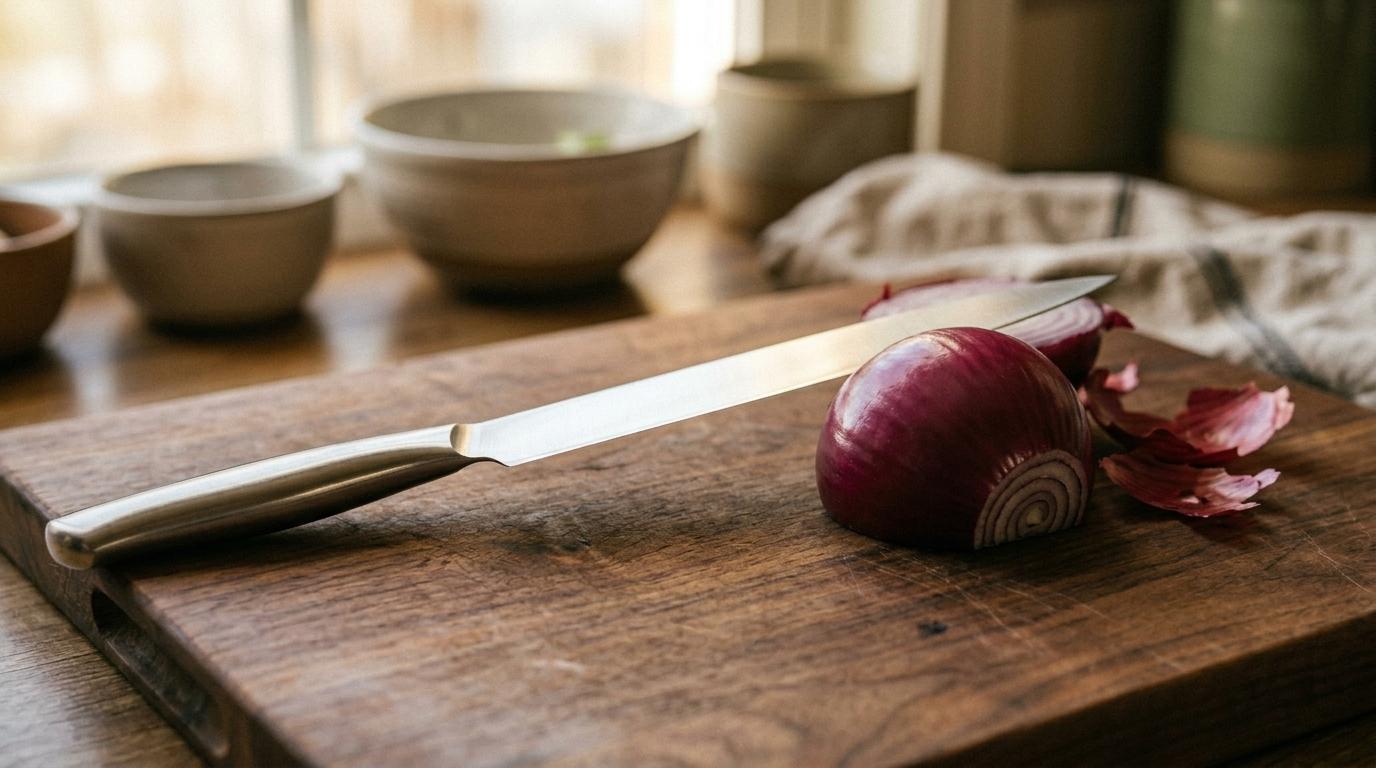
What you need to get started
Most kitchens have dull knives. Not because the knives are bad: nobody told us how to maintain them. A whetstone costs less than a decent meal out and lasts decades. Everything else you likely already own.
The tools
Whetstone: 1000/3000 grit combination
£15–25 for a decent combination stoneThe 1000 grit side removes metal to re-establish the edge. The 3000 grit (or finer) side refines and polishes it. A combination stone is all you need to start. King and Naniwa make reliable beginner-friendly versions.
Affiliate link. We may earn a small commission.
Honing steel
Probably already in your kitchenNot a sharpener. A honing steel realigns the edge between sharpenings. Use it every time you cook. A knife used daily should be honed daily and sharpened on a stone every 2–3 months. Most knife blocks include one.
Affiliate link. We may earn a small commission.
A non-slip base
A folded damp tea towel works perfectlyThe stone must not move while you work. A damp cloth or rubber mat under the stone is essential. The stone slipping is how accidents happen.
Affiliate link. We may earn a small commission.
A leather strop (optional)
£8–15 if you want one; optional at this stageUsed after the stone to align and polish the very tip of the edge (the apex). Produces a razor-sharp finish. A piece of leather belt or an old leather bookmark works identically to a purpose-made strop.
Affiliate link. We may earn a small commission.
Which knife to practice on
Start with your chef's knife
- Chef's knife (20–25cm): The workhorse of the kitchen. If you only own one knife worth sharpening, it's this one. Every cook needs a sharp chef's knife more than any other tool.
- Avoid serrated knives: Serrated blades (bread knives, steak knives) require specialist tools. Do not attempt to sharpen these on a flat whetstone. You will damage the serrations.
- Avoid ceramic knives: Ceramic blades need diamond sharpeners. A standard whetstone will not work and will damage the blade.
Your kitchen scissors can also be sharpened on the stone: run each blade flat side down against the stone separately.
Some links are affiliate links. Airgap.life may earn a small commission at no extra cost to you.
How to test if your knife is dull
The paper test: hold a sheet of printer paper vertically. Draw the knife edge down through the paper in one smooth stroke. A sharp knife cuts cleanly. A dull knife tears, catches, and drags. If your knife tears the paper, it needs the stone. If it catches only slightly, it needs honing.
Angles, strokes & the science of an edge
What a knife edge is
A knife blade tapers to a V-shape at the edge. Sharpness depends on how fine that V is: how thin the metal at the very tip (the apex) becomes. Sharpening removes metal from both sides of the V, re-establishing a fine apex. Over time, use bends and rolls the apex microscopically. Honing (the steel) pushes it back into alignment. Eventually, honing isn't enough. The apex has been rolled too many times and needs to be re-cut with a stone.
The angle
The angle at which you hold the knife against the stone determines the edge you create. Shallower angles create sharper but more fragile edges. Steeper angles create more durable but less razor-sharp edges.
Japanese knives: 15°
Thinner, harder steel, designed for precision cutting. Harder to maintain but spectacularly sharp. The 15° angle creates a finer edge suited to the harder steel.
Affiliate link. We may earn a small commission.
Western / European knives: 20°
Thicker, softer steel, more robust. Workhorse kitchen knives from brands like Victorinox, Wüsthof, Robert Welch. The 20° angle suits softer steel. It holds up better to regular kitchen use.
Affiliate link. We may earn a small commission.
How to find 20° without a protractor
Place the blade flat on the stone (0°). Lift the spine until the gap between stone and spine is about the width of two stacked coins. That's approximately 15–20°. You'll develop a feel for this quickly, and within a few sessions your hands will remember the angle automatically.
The strokes
Wet the stone with water (most whetstones are water stones, so check yours). Hold the knife at your chosen angle and push the edge forward along the stone in a sweeping arc, as if you're trying to slice a thin layer off the surface. Work from the heel of the blade to the tip in one smooth stroke. This is the push stroke. Some people use a pull stroke (drawing the edge toward them). Both work. Pick one and be consistent.
Count your strokes. Do 5–10 strokes on one side, then 5–10 on the other. Alternate. You're removing metal from both sides equally to maintain the V.
The burr
As you sharpen on the 1000 grit side, you'll raise a burr, a tiny wire of metal that folds over to the opposite side of the edge. Run your thumb gently across (not along) the edge on the side you haven't been sharpening. If you feel a slight catch or roughness, that's the burr. Raising a burr across the full length of the blade means you've sharpened that side enough. Switch sides, repeat, then move to the finer grit.
Testing as you go
Honing: the daily habit
Hold the honing steel vertically, tip on a folded cloth. Draw the knife edge down the steel at 20°, alternating sides, 4–5 strokes each. This takes 30 seconds. Do it before every cooking session and you'll need the stone far less often.
Sharpen your first knife
Work through this sequence with your chef's knife and a combination whetstone. Set aside 20 minutes for your first session. It'll take 5 once you have the feel.
- Soak the whetstone in water for 5–10 minutes until bubbles stop rising. Place on a damp cloth on a stable surface.
- Hold the knife at your angle (15° for Japanese, 20° for Western). Index finger on the spine, other fingers on the handle, thumb on the flat of the blade near the heel for control.
- Push the edge forward along the 1000 grit stone in a sweeping arc, applying light, consistent pressure. Heel to tip in one stroke.
- Count 8 strokes. Check for a burr on the opposite side by running your thumb gently across (not along) the edge.
- Flip the knife. Repeat 8 strokes on the second side. Check for a burr on the first side.
- Alternate: 5 strokes each side, then 3, then 1, then 1. This gradually refines the edge to the centre.
- Move to the finer grit side (3000+). Repeat 5–6 alternating strokes each side with lighter pressure.
- Rinse the blade. Test on paper: it should cut cleanly with a single smooth stroke.
- Hone on the steel: 4–5 strokes per side to align the new edge.
- Rinse again, dry, and test on a tomato. No pressure required. The knife does the work.
The most common beginner mistakes
- Changing the angle mid-stroke: maintain the same angle throughout. Inconsistency rounds the edge rather than sharpening it.
- Too much pressure: heavy pressure removes more metal but creates a rougher edge. Light, consistent pressure on the finer grit is what creates sharpness.
- Forgetting the tip: the tip needs the same attention as the rest of the blade. As you approach the tip in your stroke, lift the handle slightly to maintain the angle through the curve.
Your pathway to mastery
Beginner (you're here)
Week 1–4Chef's knife on a combination whetstone. Consistent angle, raising a burr, testing the edge. Five minutes per knife.
Developing
Month 2–6Multiple knives, multiple angles. Understanding the steel in different knives. Adding a strop. Sharpening Japanese knives single-bevel.
Confident
Year 1Freehand sharpening by feel, without counting strokes. Thinning behind the edge (reprofiling). Maintaining pocket knives, chisels, plane blades. The technique transfers.
Skilled
Year 2+Kasumi finish on Japanese knives. Convex grinds. Restoring damaged or chipped blades. Advising others on knife selection and maintenance.
The sharpeners to learn from
- Murray Carter: Canadian-born bladesmith trained in Japan; 17th generation Yoshimoto blade tradition; his YouTube tutorials on Japanese knife sharpening are the gold standard
- Korin Knife (New York): Long-running Japanese knife specialist; their online sharpening guides and in-person classes are excellent; particularly good on single-bevel knives
- Josh Donald (Bernal Cutlery): San Francisco knife sharpener and retailer; deeply practical video tutorials on freehand sharpening for the home cook
Best resources
Community
Reader tips
No tips yet. Be the first to share what worked for you.
Share a tip
Sign in to share what worked for you.
Same category
What to learn next
Home Beer Brewing
Brew your first batch of real ale at home. Equipment, ingredients, the brewing process, fermentation, and bottling, step by step.
Beer: Styles, Serving and Off-Flavours
Beer styles, storage and draught service, glassware, pouring, and the common off-flavours and their causes. Preparation for the Cicerone Certified Beer Server (Level 1) exam.
Bread Baking from Scratch
Your first proper loaf in an afternoon. Flour, water, salt, time, and the foundations of a skill that will feed people for life.