What you need to get started
Drawing requires almost nothing. The barrier isn't equipment. It's the belief that you lack talent. Talent isn't what drawing requires. Observation is. And observation is a learnable skill.
Equipment: keep it simple
Sketchbook (A5 or A4)
£4–10Hardback so you can draw anywhere without a table. A5 is pocket-sized and less intimidating for a beginner: smaller pages feel more manageable. A4 gives you more room to work. Buy a cheap one (£4–8) and fill it without precious feelings about 'wasting' pages.
Affiliate link. We may earn a small commission.
Pencils: HB and 2B
£1–3 for a setHB is a medium pencil, good for light lines and initial sketching. 2B is softer and darker, better for shading and bold lines. These two cover 90% of what you need. Staedtler or Faber-Castell are reliable; cheap supermarket pencils are fine to start.
Affiliate link. We may earn a small commission.
Eraser
£1–3In observational drawing the eraser is an active drawing tool, not a way of hiding mistakes: use it to pull out highlights and refine edges. A soft putty eraser (kneadable rubber) is better than a hard plastic one because it lifts graphite without damaging paper.
Affiliate link. We may earn a small commission.
A subject to draw
Free (look around you)Start with objects that won't move: a coffee mug, a shoe, a piece of fruit, your own hand. Avoid faces or figures until you have 2–3 months of object drawing under your belt. Complicated subjects early on produces frustration rather than learning.
What you don't need
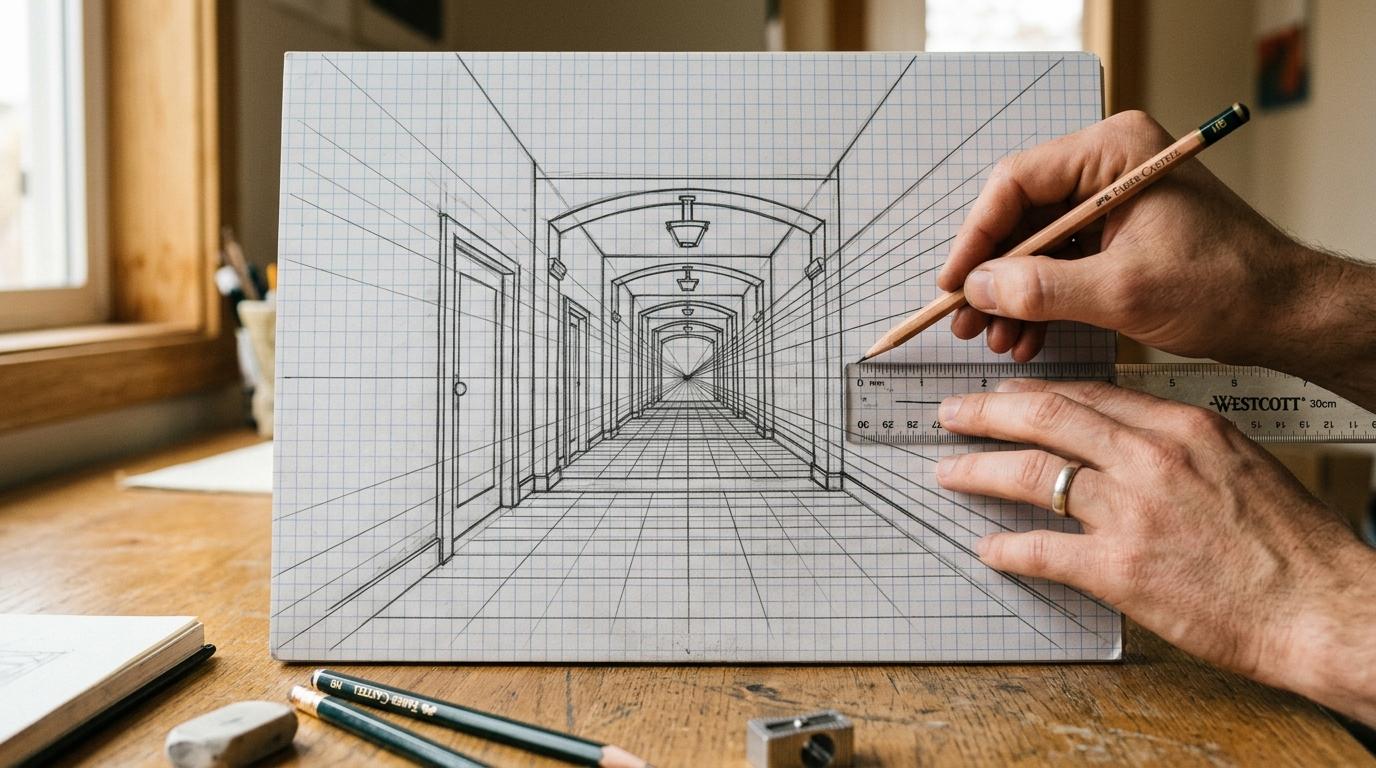
You don't need: a light box, a drawing board, blending stumps, charcoal, coloured pencils, a ruler, or anything else. The beginner's instinct to buy equipment before starting is a form of procrastination. Two pencils and a sketchbook is enough to do everything in this course.
Learning to see: the real skill
Why most people draw badly
Betty Edwards, in her 1979 book Drawing on the Right Side of the Brain, identified the core problem: we don't draw what we see. We draw the symbol for what we see. When most people draw a face, they draw the symbol for an eye (almond shape with a circle in it), not the actual shape of the eye in front of them. The symbol is what you learned to draw aged six and have repeated ever since.
Observational drawing is the practice of overriding that symbol and replacing it with careful looking. This is hard, it feels strange, and it works. People who take this seriously and draw for 30 minutes a day for three months see marked improvement. Not because their hand got better, but because their eye did.
Negative space
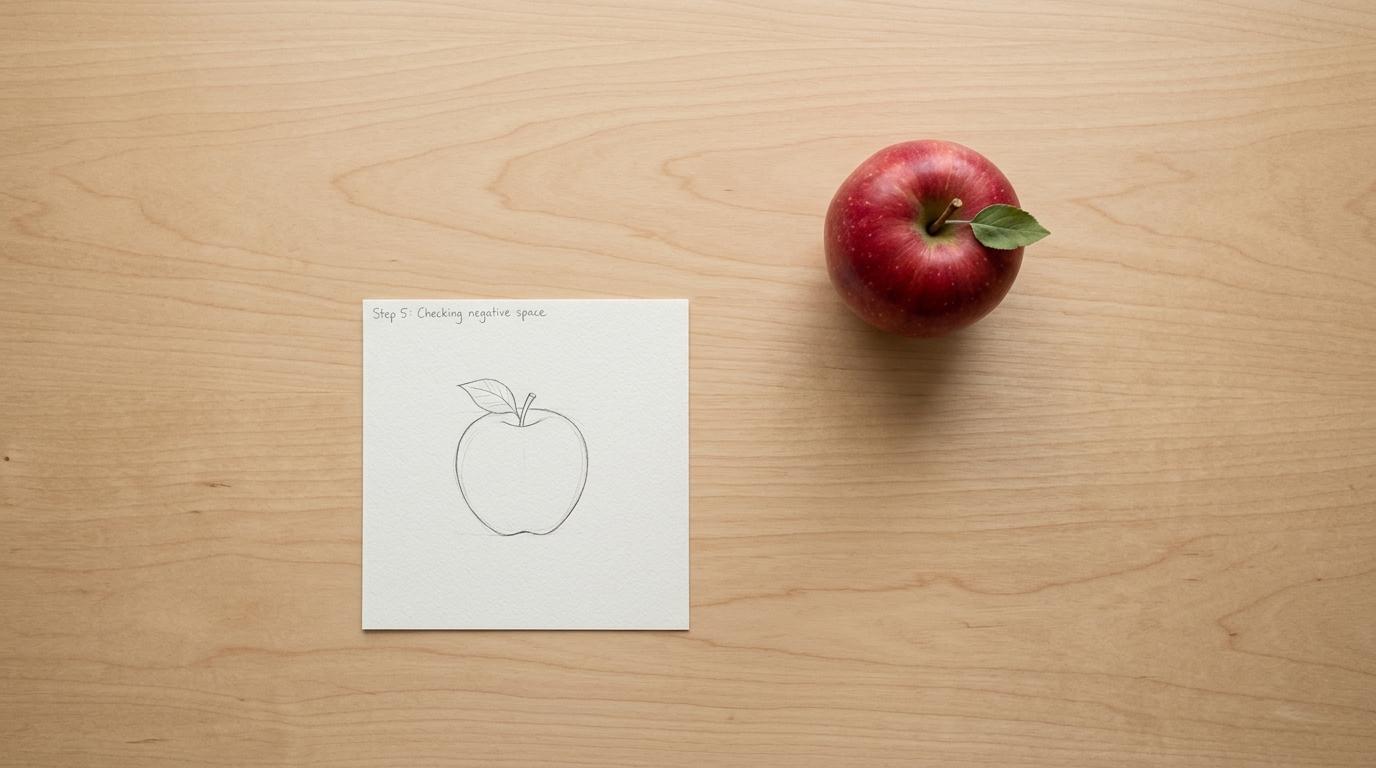
Instead of drawing the object, draw the space around it. The gap between the handle of a mug and the body of the mug. The shape of the air between your fingers when your hand rests on a table. The brain finds it much easier to draw an unfamiliar shape (the negative space) accurately, because it has no existing symbol for it. When you draw negative space correctly, the object emerges as a by-product.
Contour drawing
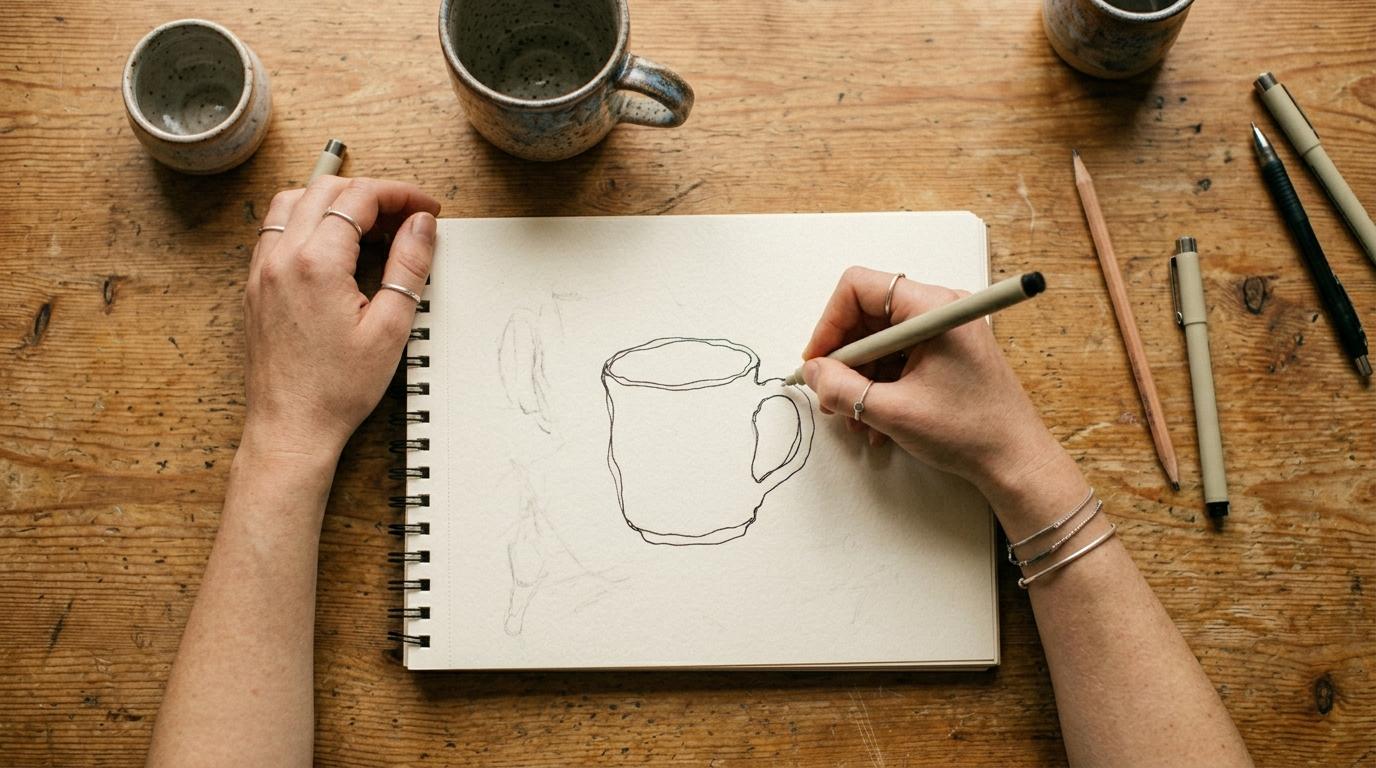
Place your subject in front of you. Put your pencil on the paper and look at the edge of the object, not the paper. Slowly move your eye along the contour of the object and move your pencil in sync, as if the pencil is physically touching the object's edge. Don't look at your paper. Draw the whole outline this way.
The result will be distorted and strange. This is correct. What you're training is the connection between eye and hand, not the ability to produce a tidy drawing. Blind contour drawing (looking at the object, never the paper) is one of the most effective observational exercises there is. Do it daily for a week and you'll be astonished at the improvement in your observational line quality.
Proportion: measuring with your pencil
Hold your pencil at arm's length, close one eye. Use the top of the pencil as a reference point and slide your thumb down to measure a distance on the subject. Compare that measurement to other distances on the subject. How many head-widths tall is the mug? How wide is the negative space compared to the handle? This pencil-measuring technique is how portrait artists establish correct proportions before committing to detail.
Value: light and shadow
Value means the lightness or darkness of a tone. Every drawing with depth uses value: the darkest shadows, the middle tones, the lightest highlights. A common beginner mistake is drawing outlines and leaving them empty. Real objects don't have outlines. They have edges where light meets shadow.
Your first observational drawing
A still life: one object, good light, 30 minutes. Put a shoe, a mug, or a piece of fruit on a table with a lamp positioned to one side. You want a clear light side and a clear shadow side.
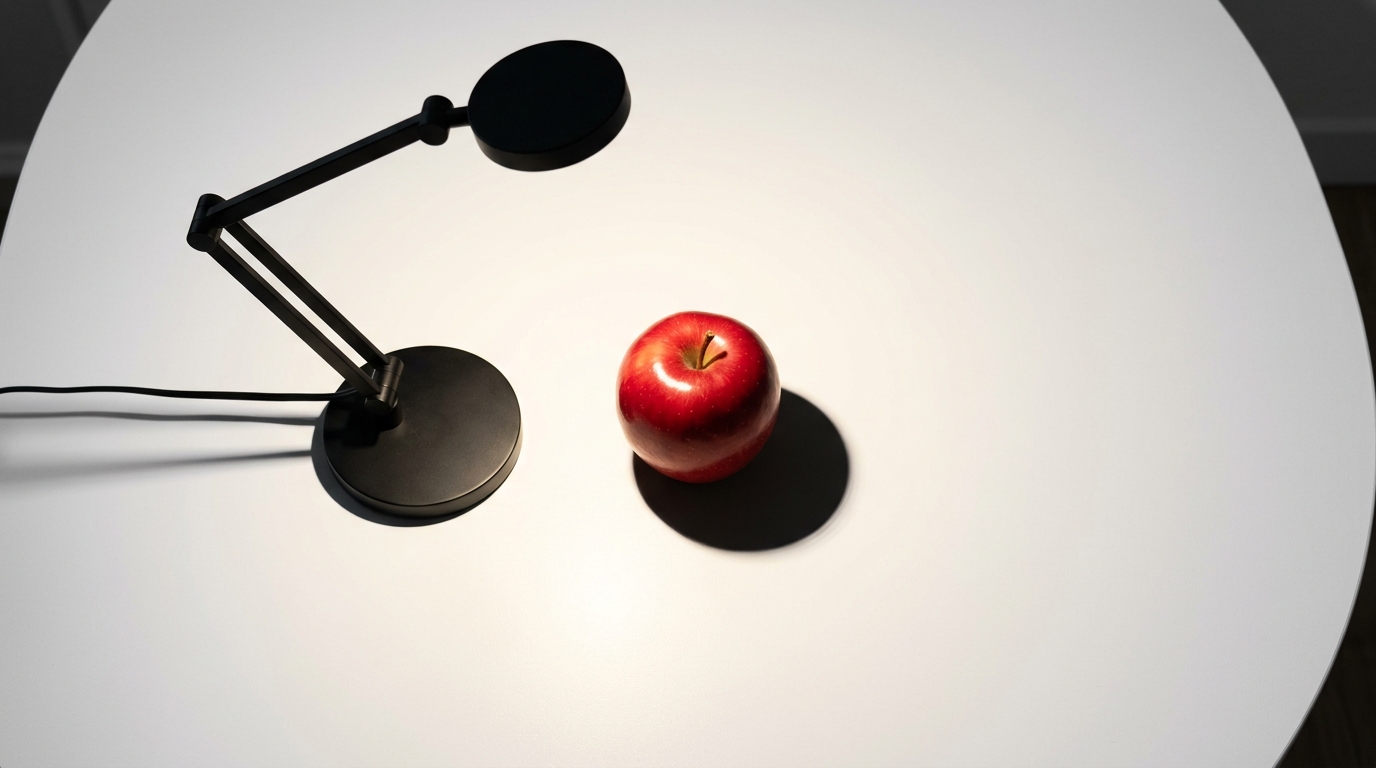
Spend two minutes just looking at the object before you pick up a pencil. Identify: where is the lightest area? Where is the darkest shadow? Where is the reflected light (often visible on the shadow side near the base)? Where does the shadow fall on the surface?
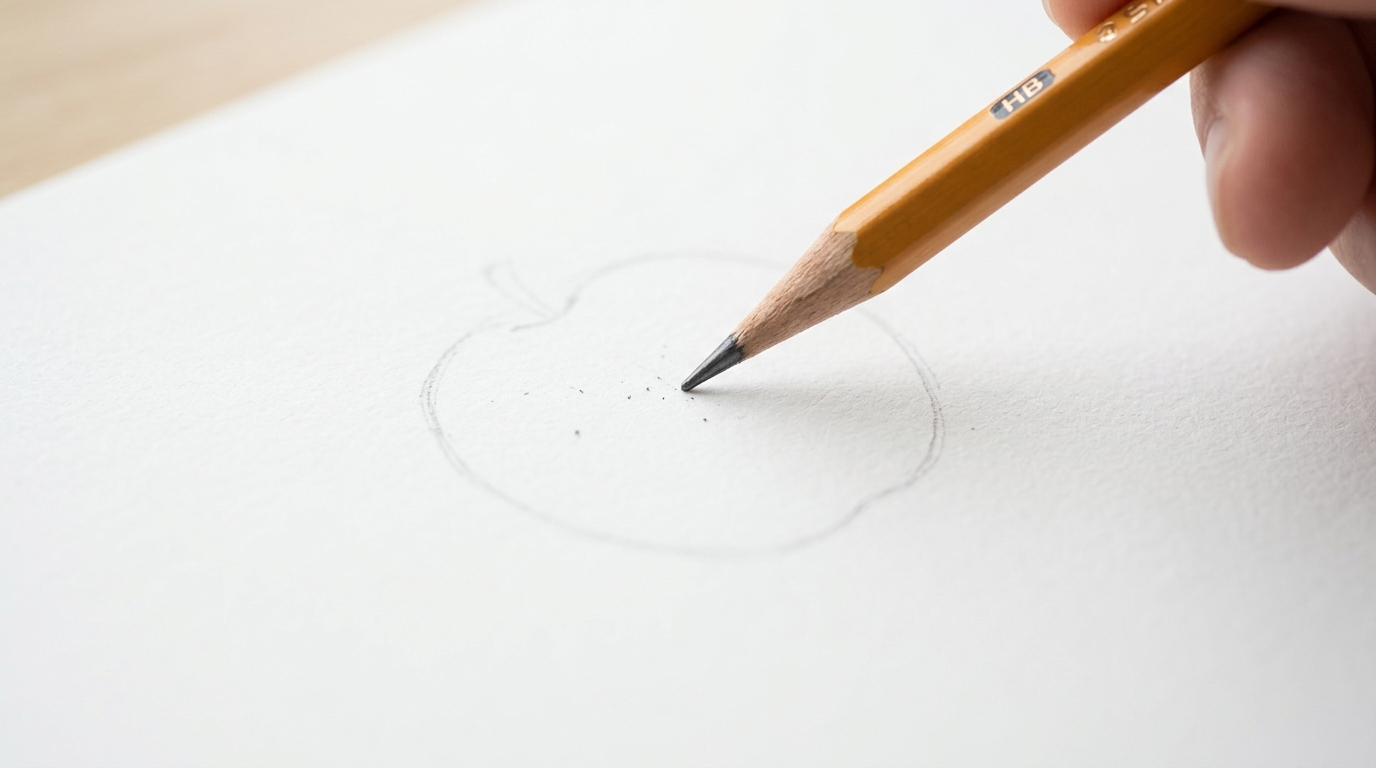
Using your HB pencil, lightly sketch the overall shape of the object. Not the detail, just the outline silhouette. Use light, adjustable marks. No commitment yet.
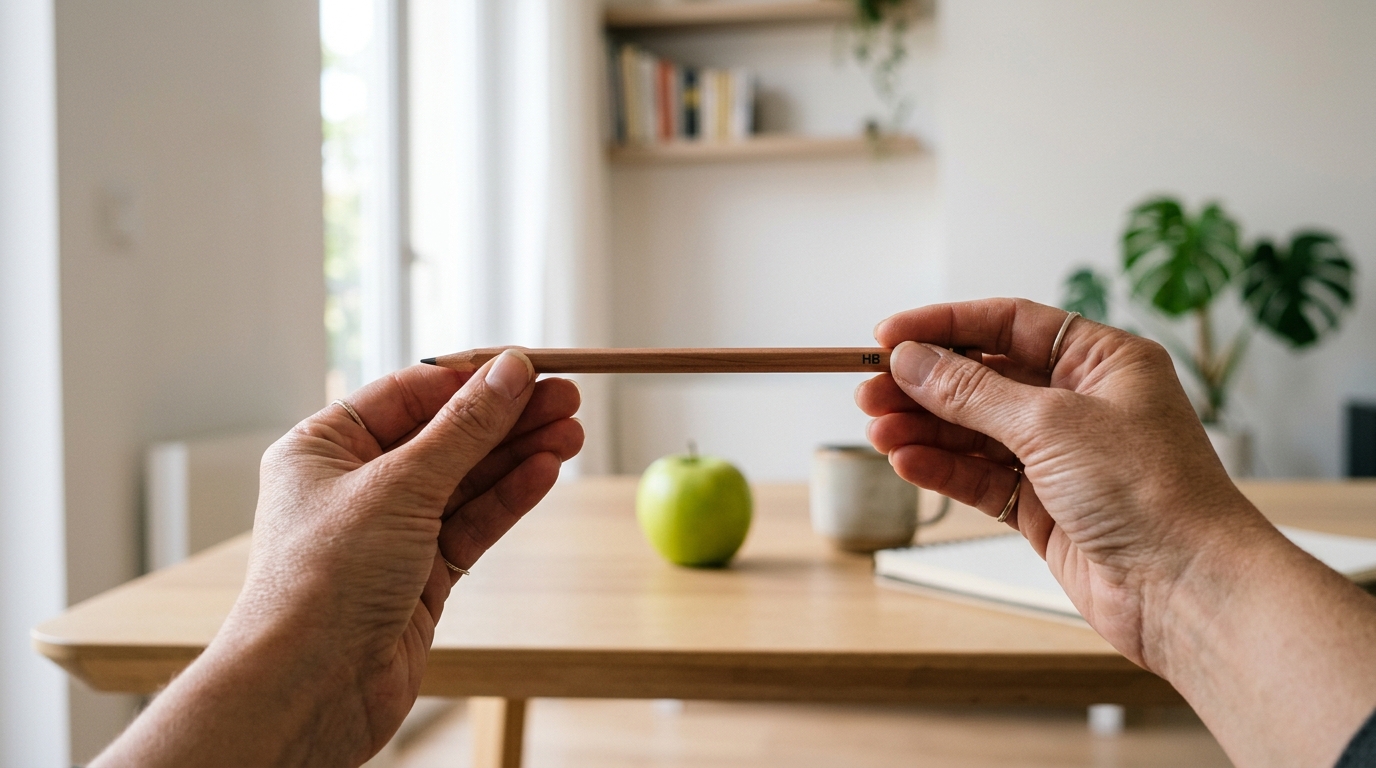
Check proportions. Hold your pencil at arm's length to measure: how wide is the object compared to how tall? Adjust your sketch to match.
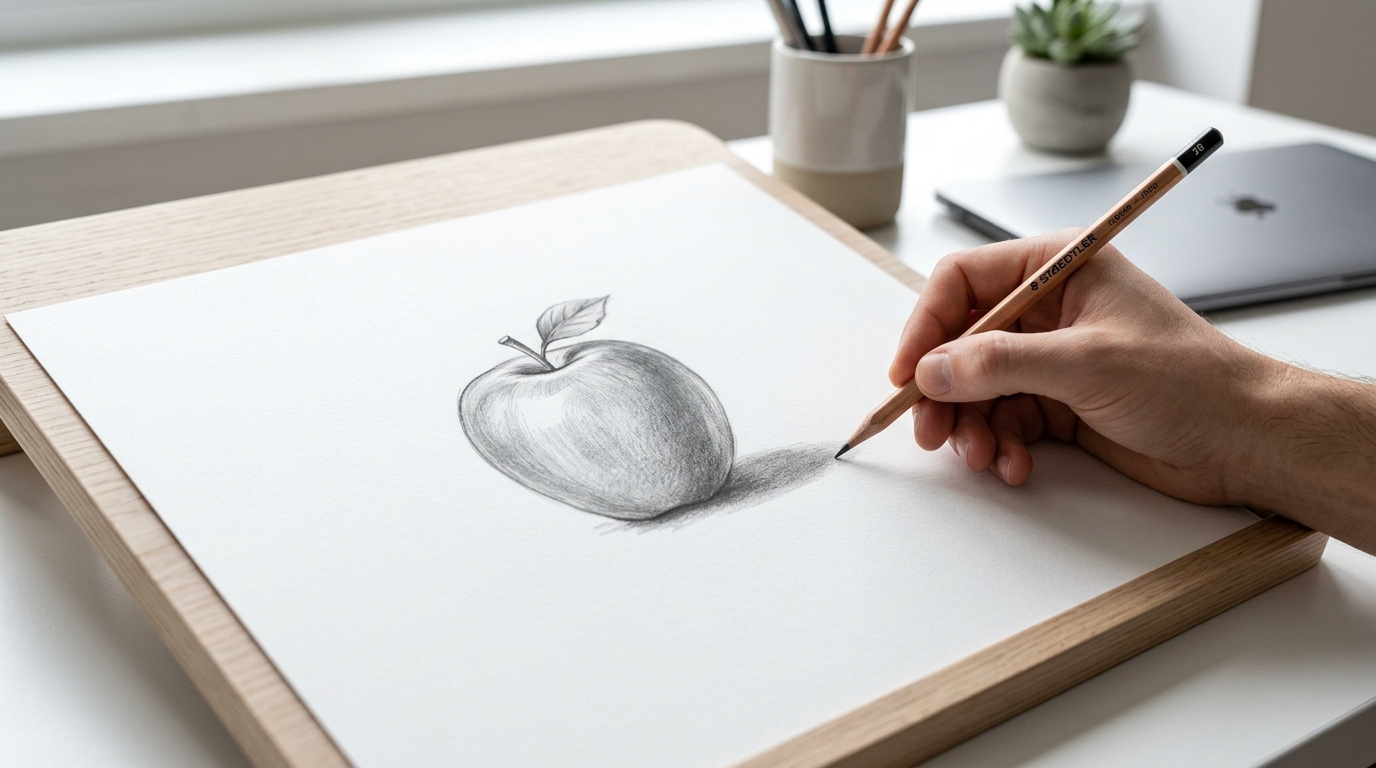
Identify the main shadow areas. Lightly shade them in with your 2B pencil. Don't be precise yet. Establish the broad areas of dark and light.
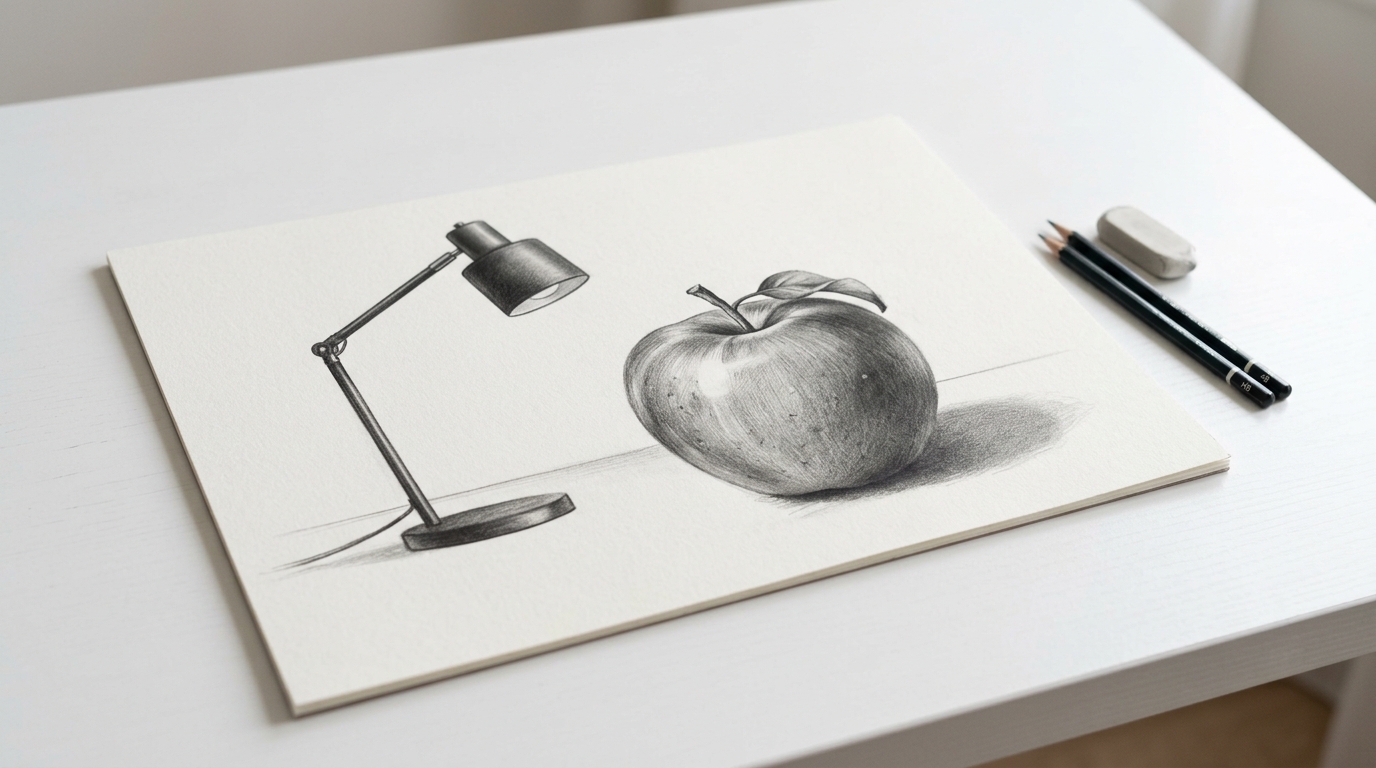
Look at the negative space. Check the shape of the air around your object against your drawing. Adjust any outlines that look wrong.
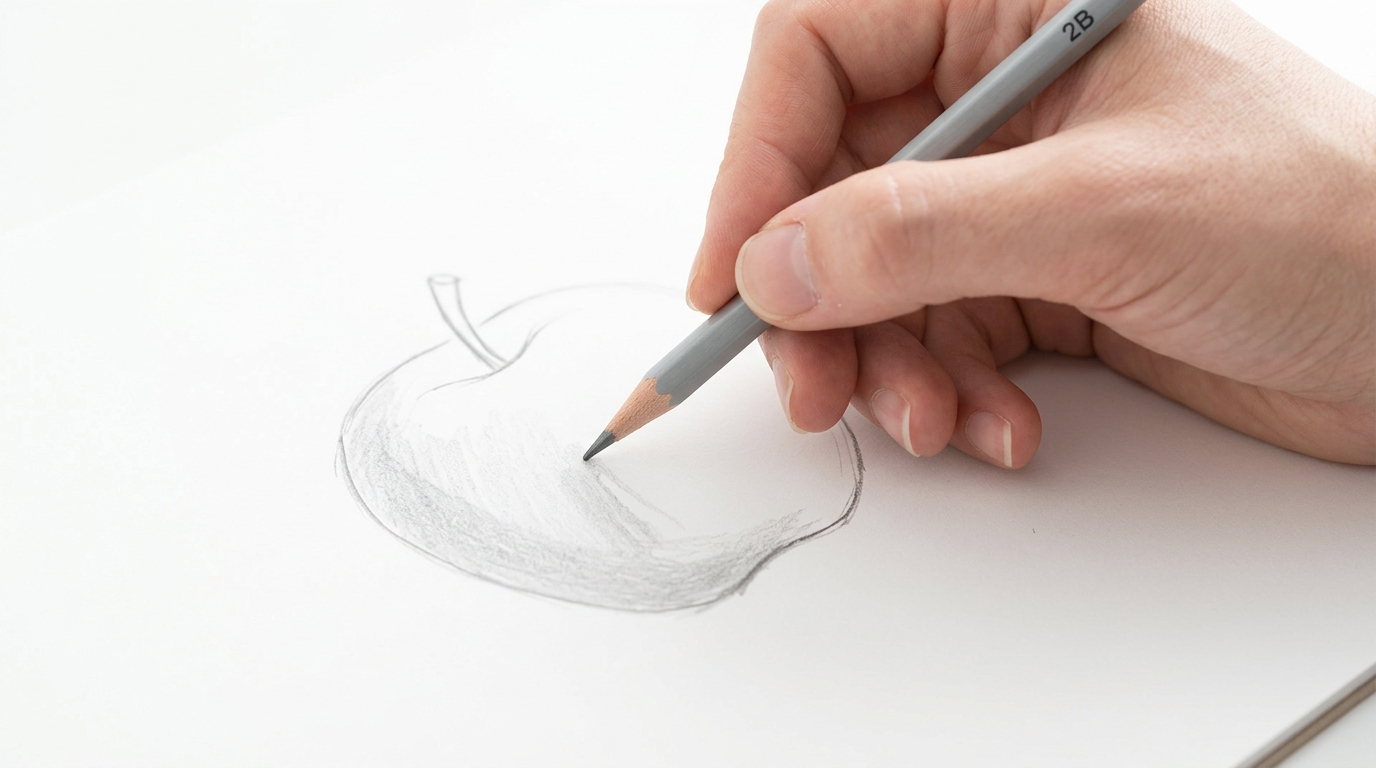
Add the cast shadow: the shadow the object throws onto the surface. This anchors the object and stops it looking like it's floating.
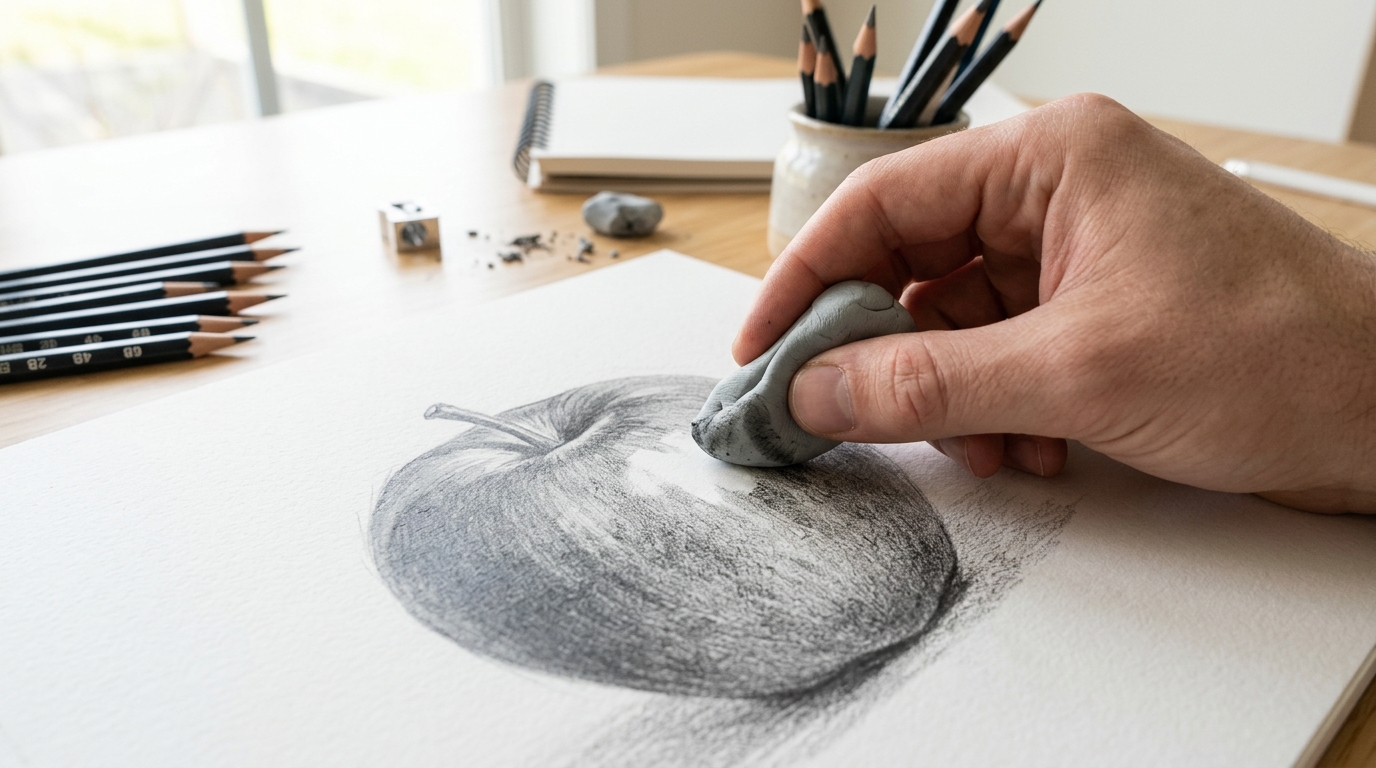
Refine. Add darker tones to the deepest shadows. Use your putty eraser to pull out the brightest highlights. Look more than you draw: the ratio should be roughly 70% looking, 30% marking.
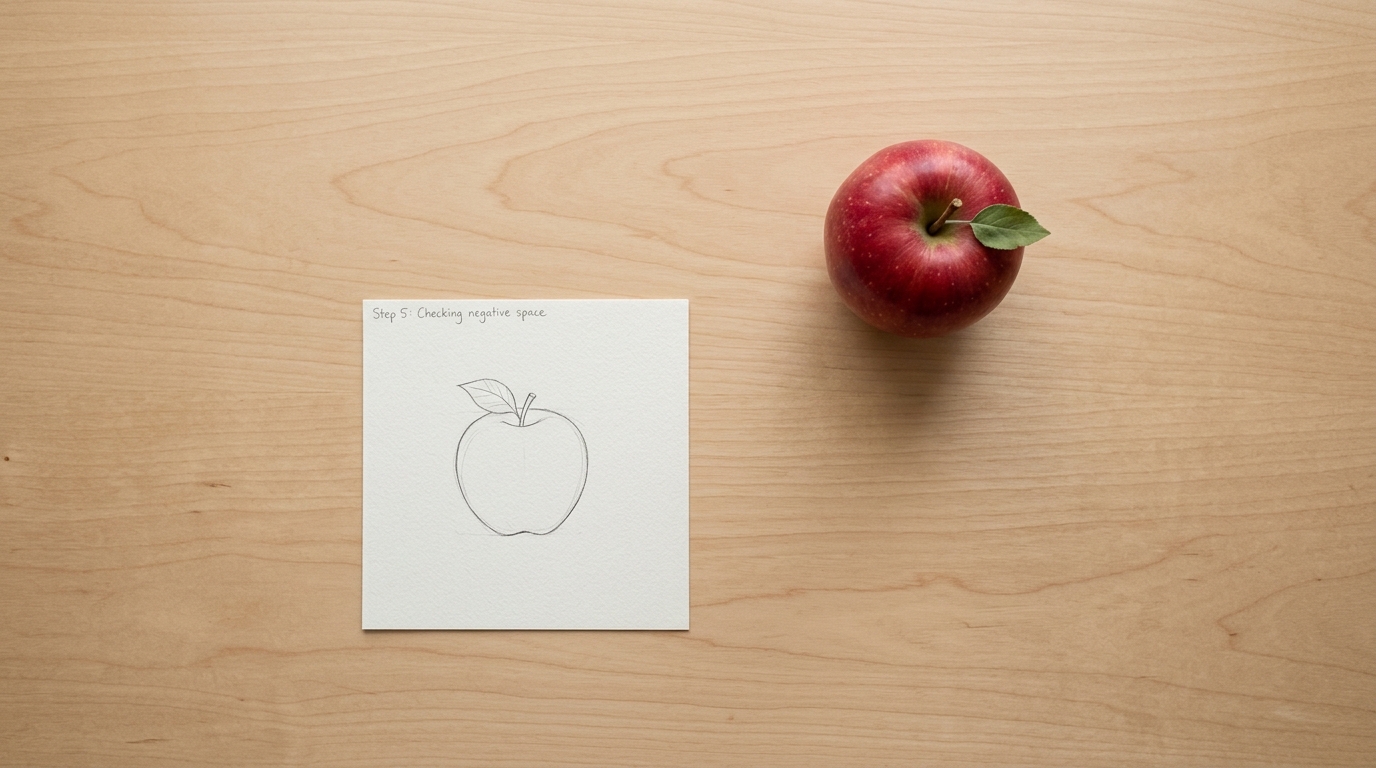
Stop when it looks more like the object than not. Your first drawing will be imperfect. The point isn't to produce art. The point is to train your eye to see what's actually there.
The most important thing you can do
Draw the same object again tomorrow. And the day after. Repetition with the same subject reveals improvement faster than drawing something new each time. You'll see in the third drawing what you missed in the first.
Your pathway to mastery
Beginner (you're here)
Week 1–4Simple objects, observational drawing, blind contour exercises, value studies. Building the habit of daily drawing.
Developing
Month 2–6Ellipses, foreshortening, complex forms. Still lifes with multiple objects and interesting lighting. Portrait gesture sketches. Ink, charcoal, other media.
Confident
Year 1Figures and faces from life. Plein air (outdoor drawing from observation). Perspective and architecture. Your own visual shorthand developing.
Skilled
Year 2+A personal style evident in your work. A full sketchbook practice. The ability to render any subject convincingly from observation. Drawing as a way of thinking, not just recording.
The artists to learn from
- Betty Edwards: Author of Drawing on the Right Side of the Brain (1979); the most important introductory book on observational drawing; explains the neuroscience of symbol-suppression in plain language
- Kimon Nicolaïdes: Author of The Natural Way to Draw (1941); the most rigorous drawing curriculum ever written; gesture, contour, and memory drawing exercises that still form the basis of most fine art education
- Proko (Stan Prokopenko): US-based artist and teacher; the best online figure drawing resource; deeply accessible, systematic, and thorough
- Alphonso Dunn: Author of Pen and Ink Drawing Workbook; exceptional at teaching observational drawing with pen: the unforgiving nature of ink accelerates learning
Best resources
Community
Reader tips
No tips yet. Be the first to share what worked for you.
Share a tip
Sign in to share what worked for you.
Same category
What to learn next
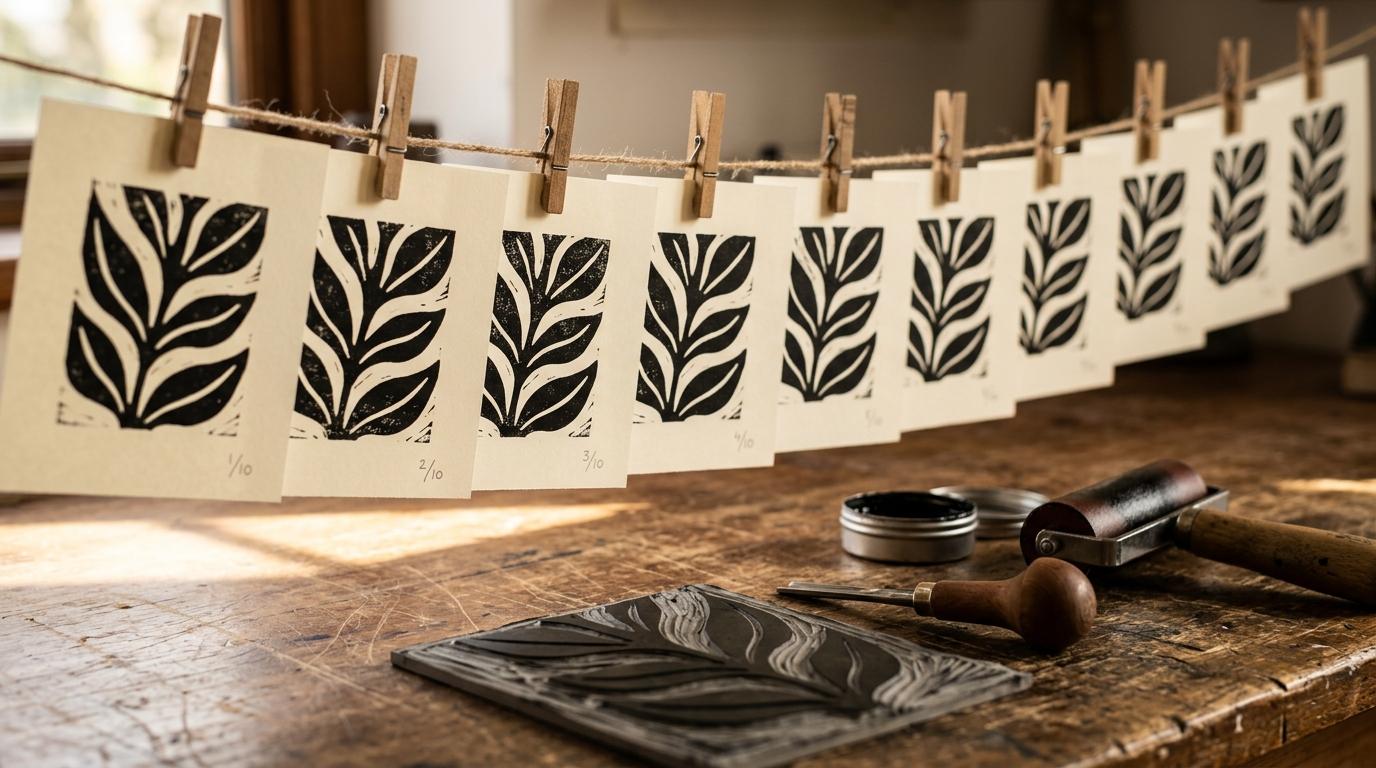
Linocut Printing
Carve a design into soft linoleum, ink it, press it to paper. Relief printing at its most direct: no press required, strong results from the first session.
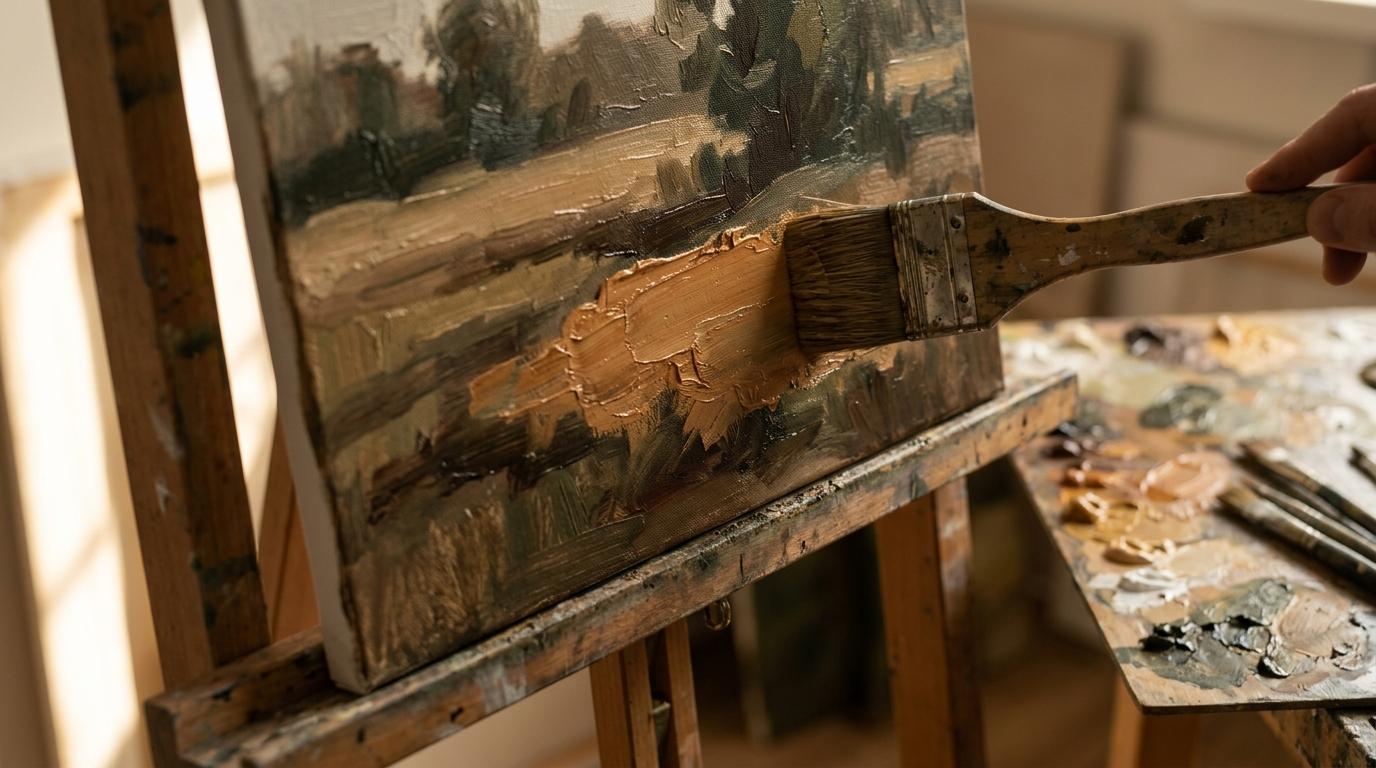
Oil Painting: Getting Started
Oil paint is slow, forgiving, and luminous. Learn the medium's principles: fat over lean, alla prima, colour mixing, and paint your first still life in oils.
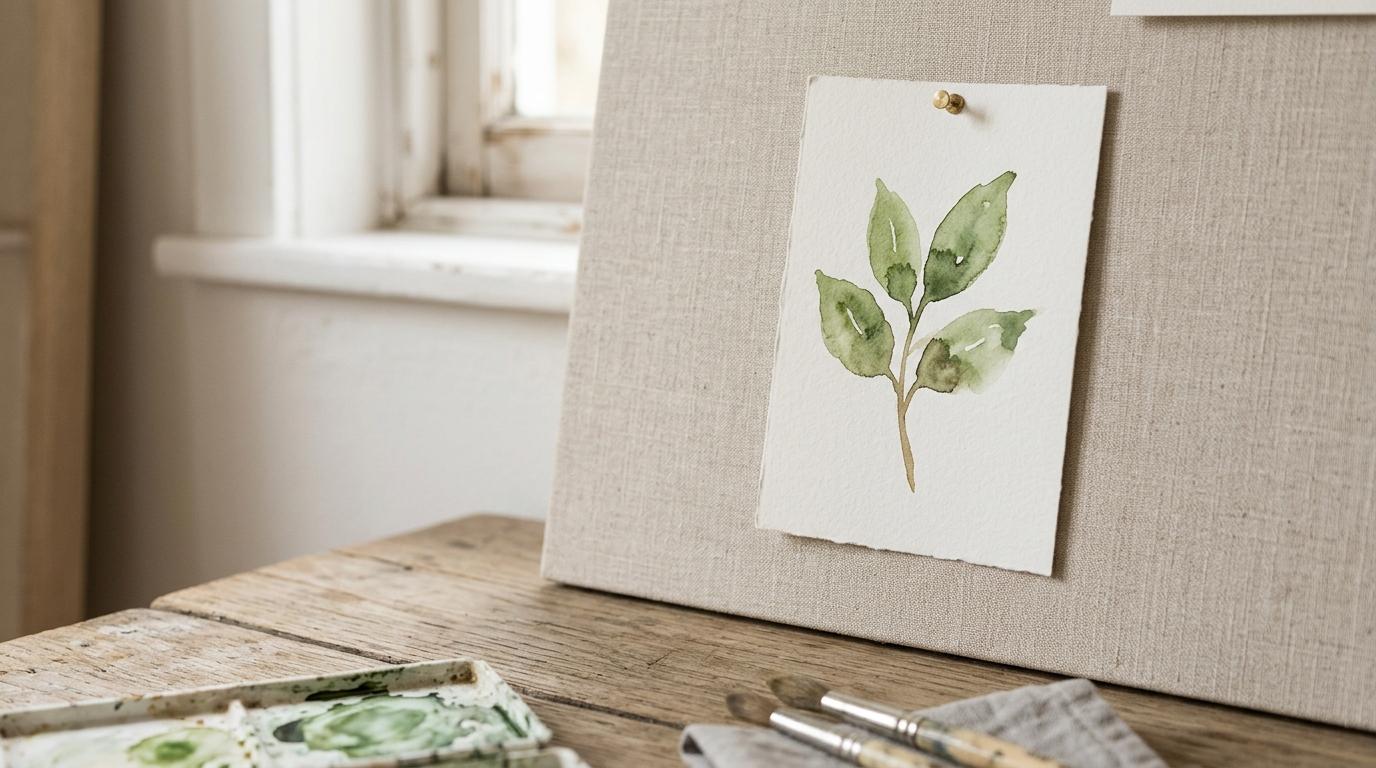
Watercolour for Beginners
Master water control, mixing, and light-to-dark technique. Paint a complete landscape on your first day.
Side quests