What you need to get started
Hand-building's great advantage is that it needs almost no equipment. Unlike wheel throwing, which demands a pottery wheel (£200–2000), hand-building works at a kitchen table. The challenge is firing: clay must go into a kiln to become hard and permanent. Two approaches: studio access, or air-dry clay.
The clay question
Earthenware clay (firing temperature: 1000–1150°C)
£8–15 for 2kg (enough for 6–8 pinch pots)Red or terracotta in colour, forgiving to work with, widely available. The clay used by beginners in most UK studio pottery classes. Requires kiln firing. Porous if left unglazed, so it needs to be glazed for functional items like bowls or mugs.
Affiliate link. We may earn a small commission.
Stoneware clay (firing temperature: 1200–1300°C)
£10–18 for 2kgGrey or buff in colour, slightly more demanding to work with but produces tougher, denser ceramics after firing. The clay used for most functional pottery (mugs, bowls, plates) because it becomes food-safe and vitrified (clay particles fused glass-like and impermeable) at high temperatures.
Affiliate link. We may earn a small commission.
Air-dry clay: the home option
£6–12 for 1kg (DAS or Crayola are reliable brands)Dries hard without a kiln, making it viable at the kitchen table with no studio access. The trade-off: it's more fragile than fired clay, not waterproof, and can't be glazed (though it can be painted with acrylic). Fine for decorative pieces and skill-building. Not suitable for functional ceramics.
Affiliate link. We may earn a small commission.
Basic tools, most optional
What you need
- Your hands: The primary tool for all hand-building. Nothing replaces them and nothing works without them.
- A wire clay cutter: For slicing clay from a block and cutting through forms. A length of wire with handles. Cheap and essential.
- A wooden modelling tool or skewer: For refining surfaces, adding texture, and scoring (scratching the surface before joining two pieces). A bamboo skewer or wooden chopstick does the job.
- A natural sponge: For smoothing surfaces and adding moisture to dry patches. A small piece of regular kitchen sponge works.
- A bowl of water: Keep your hands and the clay surface appropriately moist throughout. Clay that dries out cracks. Clay that's too wet collapses.
If you're using a community studio, they will have all tools available to borrow. Bring your own clay if you want to work with a specific type.
Some links are affiliate links. Airgap.life may earn a small commission at no extra cost to you.
Kiln access
Finding a kiln near you
Search for community pottery studios, adult education pottery classes, or ceramic cooperatives in your area. Many offer a "bisque firing" service: you bring your dried greenware (unfired piece) and pay per piece. UK costs typically £2–8 per piece depending on size. The Craft Pottery Charitable Trust maintains a directory of community studios. Alternatively: local evening classes often include kiln firing in the course fee.
Community
Reader tips
No tips yet. Be the first to share what worked for you.
Share a tip
Sign in to share what worked for you.
Same category
What to learn next
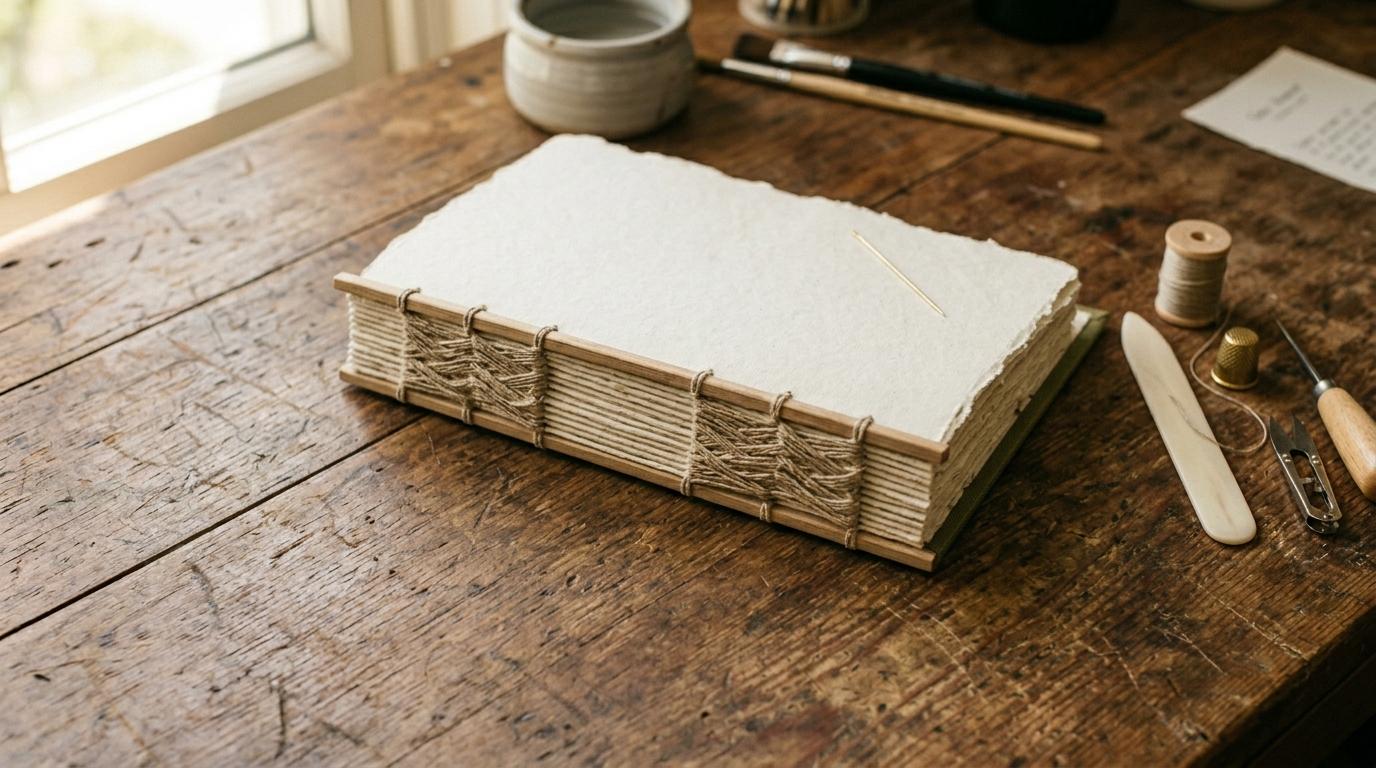
Bookbinding: Your First Journal
Fold, sew, and case a hardback journal by hand. The Coptic stitch and case binding are the two foundational methods, both achievable in a single afternoon session.

Calligraphy: The Foundational Script
Italic script with a pointed nib. The foundational Western calligraphy hand: clear, elegant, and achievable. Every lettering tradition descends from this one.
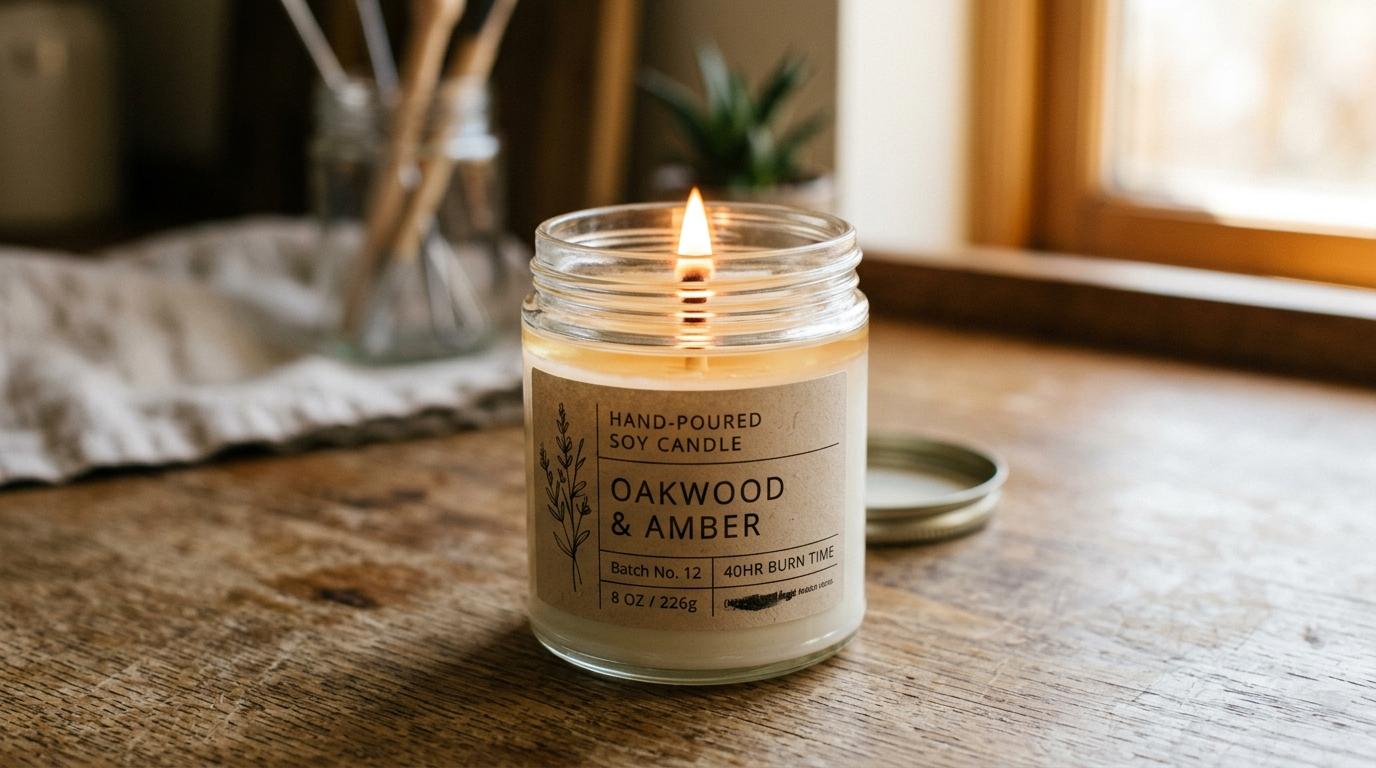
Candle Making
Make container candles with soy wax, fragrance oil, and cotton wicks. Published in late October, six weeks before Christmas: enough time to make gifts.