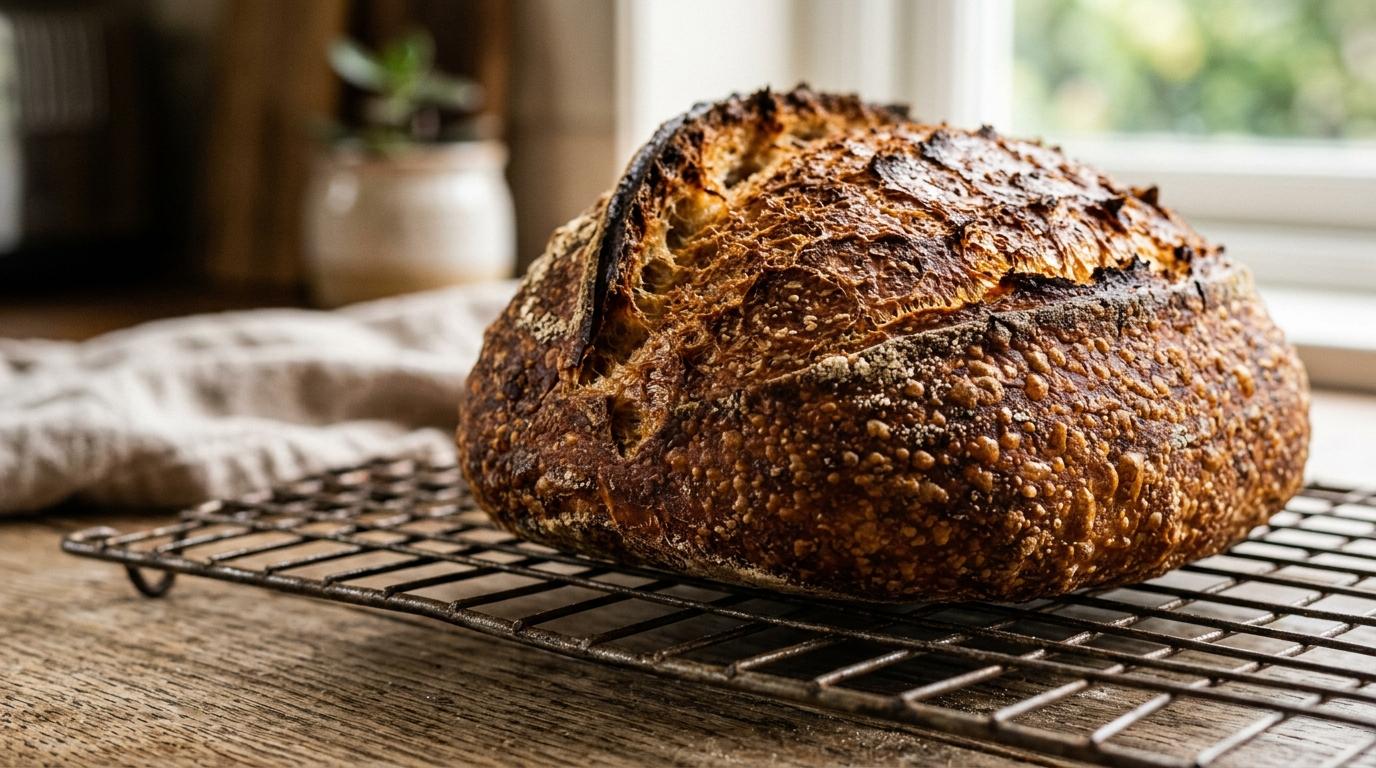
What you need to get started
Bread requires almost nothing. The main investment is time, not equipment. Most of what you need is already in your kitchen.
Equipment
Large mixing bowl (3–4 litre)
Already owned or £5–10You need room to mix and fold. A wide, shallow bowl is better than a tall, narrow one. Any material works: ceramic, stainless, plastic.
Affiliate link. We may earn a small commission.
Digital kitchen scales
£8–15 for a reliable setBread by weight, not volume. A recipe that says '500g flour' is exact. A recipe that says '4 cups flour' is not: flour packs differently each time. Scales are the single biggest upgrade a beginner can make.
Affiliate link. We may earn a small commission.
Dutch oven or heavy lidded casserole (22–26cm)
£20–40 second-hand (eBay); £200+ new (not necessary)The lid traps steam during the first half of baking, replicating a professional steam oven. The result is a crust that shatters when you cut it. Without the lid you get a pale, thick, chewy crust. A cast iron Le Creuset is ideal but a cheap enamel casserole works perfectly.
Affiliate link. We may earn a small commission.
Proving basket (banneton), optional
£10–18 if you want oneGives the loaf its shape during the final rise and leaves a beautiful spiral pattern. Not necessary for your first loaf: a bowl lined with a floured cloth works identically.
Affiliate link. We may earn a small commission.
Ingredients: for one 800g loaf
The shopping list
- Strong white bread flour (500g): The protein content (12–14%) is higher than plain flour: it's what forms the gluten network that gives bread its chew and structure. Waitrose, Sainsbury's, and Shipton Mill all make excellent versions.
- Fast-action dried yeast (7g / 1 sachet): Goes directly into the dough without pre-activating. Allinson's or Doves Farm are the reliable UK brands. One sachet = one loaf.
- Fine sea salt (10g): Salt controls the yeast, strengthens gluten, and, most importantly, makes it taste good. Don't skip it or reduce it.
- Warm water (325ml): Approximately body temperature (37°C). Too cold and the yeast won't activate; too hot and you kill it. If you don't have a thermometer: mix boiling and cold water in a 1:2 ratio.
Total ingredient cost: under £2 per loaf once you have flour in the cupboard.
Some links are affiliate links. Airgap.life may earn a small commission at no extra cost to you.
Strong flour vs. plain flour
Plain flour makes cakes and biscuits. Strong flour makes bread. The difference is protein content: strong flour has enough to form the elastic gluten network that traps the CO₂ bubbles from the yeast, giving bread its rise and chew. Plain flour produces a dense, crumbly result. It must be strong flour.
Theory, technique & terminology
What bread is
Bread is a fermented food. Yeast, a living organism, consumes the sugars in flour and produces carbon dioxide gas and alcohol as by-products. The gluten network, developed by mixing, traps those gas bubbles, causing the dough to expand. Heat kills the yeast, sets the gluten structure permanently, and drives off the alcohol, leaving a light, airy crumb and a crisp, Maillard-browned crust.
Gluten development
Gluten forms when two proteins in flour (glutenin and gliadin) bond together in the presence of water and physical manipulation. Ten minutes of hand kneading aligns these protein strands into a stretchy network. You can test gluten development with the windowpane test: take a small piece of dough and stretch it between your fingers. If it stretches thin enough to see light through without tearing, the gluten is fully developed.
The four stages of breadmaking
1. Mixing and kneading
Combines ingredients and develops the gluten network. The dough should become smooth, elastic, and slightly tacky (not sticky) after 8–10 minutes of kneading.
2. First prove (bulk fermentation)
The dough rests at room temperature for 1–2 hours, doubling in size. Yeast produces CO₂; the gluten relaxes and strengthens simultaneously.
3. Shaping and second prove
The dough is shaped into its final form and left to prove again (30–60 min). This sets the structure for the oven.
4. Baking
High heat (230°C) for 30–35 minutes. The initial steam phase (lid on, first 20 min) creates the crust; the second phase (lid off) browns and crisps it.
Why time matters more than technique
Bread is mostly about patience, not skill. A dough left to prove properly will always outperform a rushed one. If in doubt: prove for longer, not shorter.
Terminology
History
Leavened bread is at least 14,000 years old; the oldest known evidence comes from a Natufian archaeological site in Jordan. Ancient Egypt industrialised bread production around 3000 BCE, with professional bakers, multiple wheat varieties, and a range of loaf shapes. The Romans spread wheat-bread culture across Europe. For most of human history, bread was the primary calorie source for the majority of people. "Breaking bread" as a metaphor for sharing a meal reflects how central it was. Industrial bread production began in the 1960s with the Chorleywood Process (still used in most UK sliced bread), which cut proving time from hours to 45 minutes using intense mechanical mixing and additives. The artisan bread revival, driven by writers like Richard Bertinet and bakers like Chad Robertson at Tartine, began in the 1990s and has accelerated since, as people sought bread with actual flavour.
Your first loaf
A simple white tin loaf. Forgiving, reliable, delicious. The one to learn first.
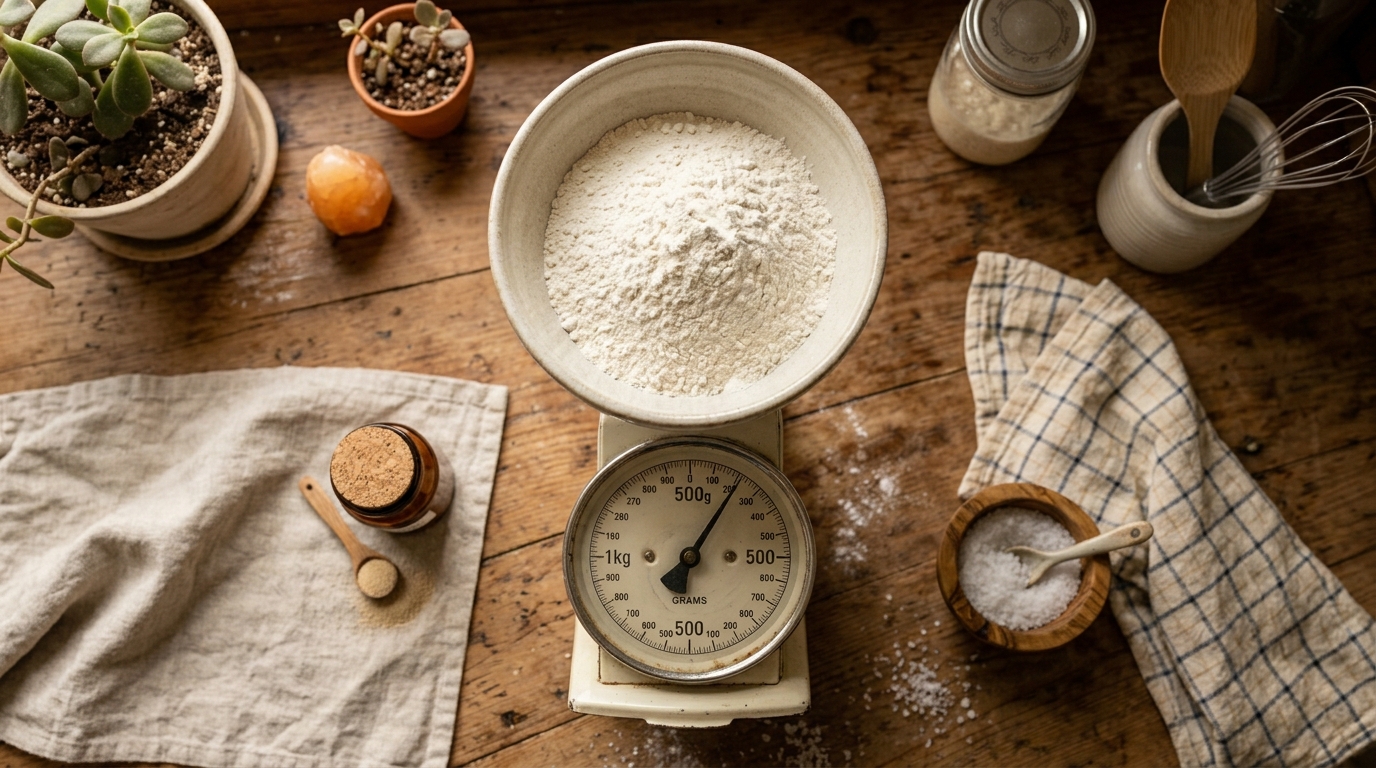
Weigh 500g strong white flour into your mixing bowl. Add 7g fast-action yeast and 10g salt on opposite sides of the bowl (salt kills yeast on direct contact).
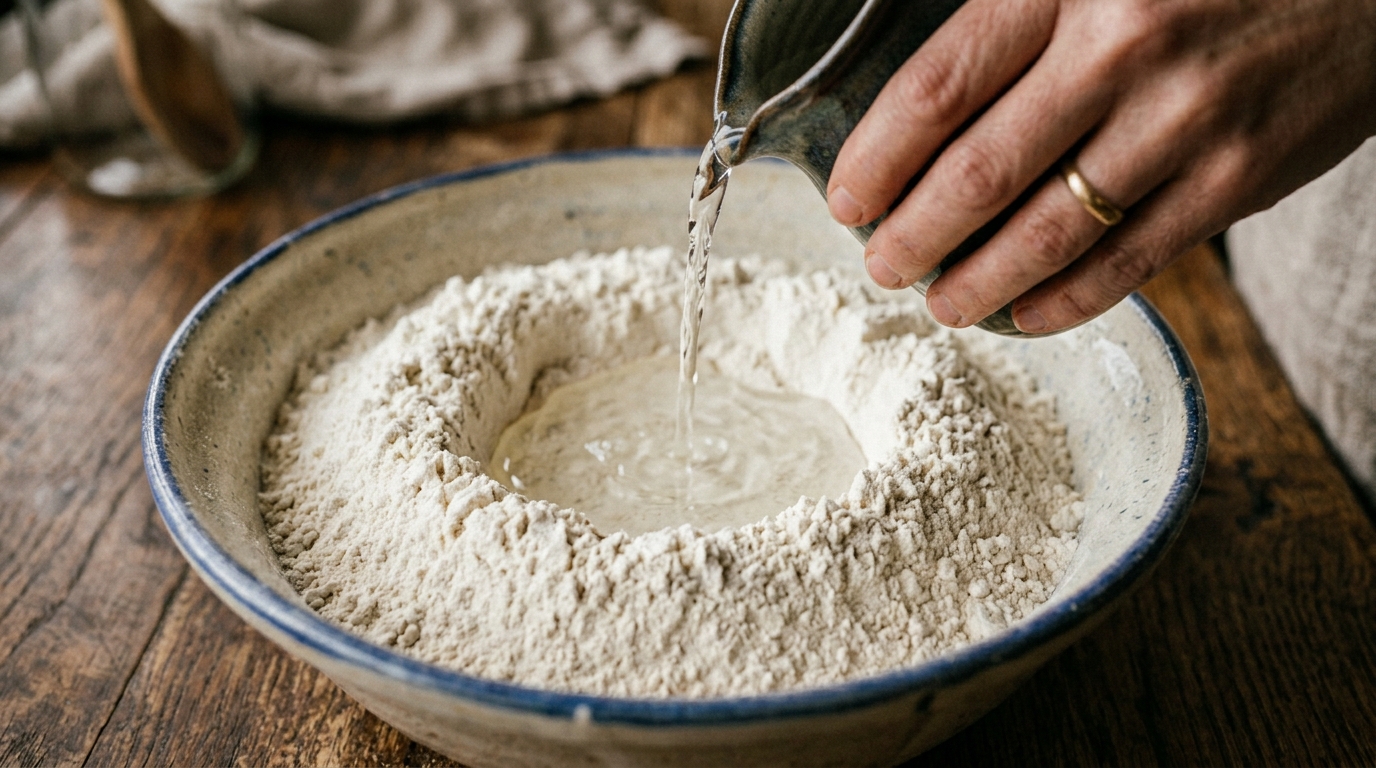
Make a well in the centre. Pour in 325ml warm water gradually, mixing with your hand or a dough scraper as you go.
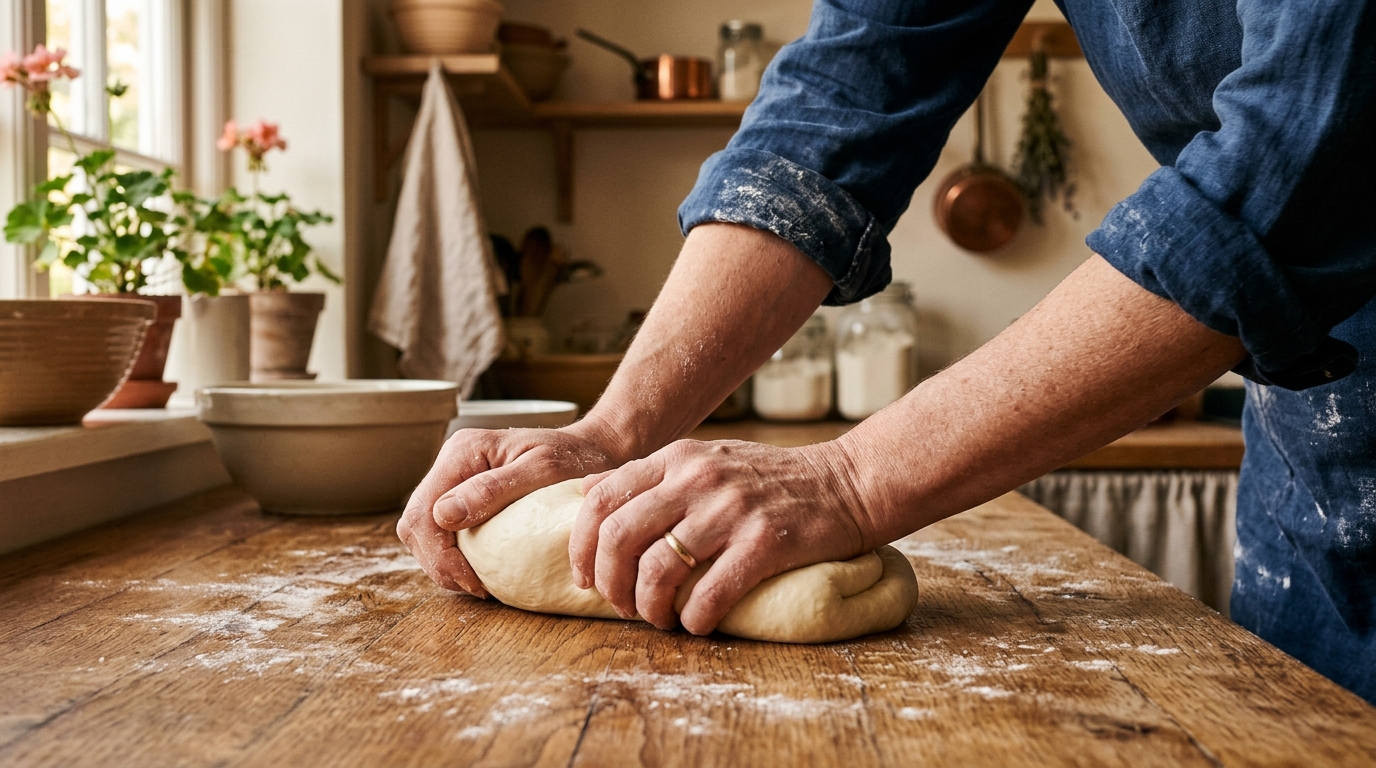
Once combined into a shaggy mass, tip onto a clean work surface. Knead for 8–10 minutes until smooth and elastic. No flour on the surface, as the slight stickiness helps develop gluten.
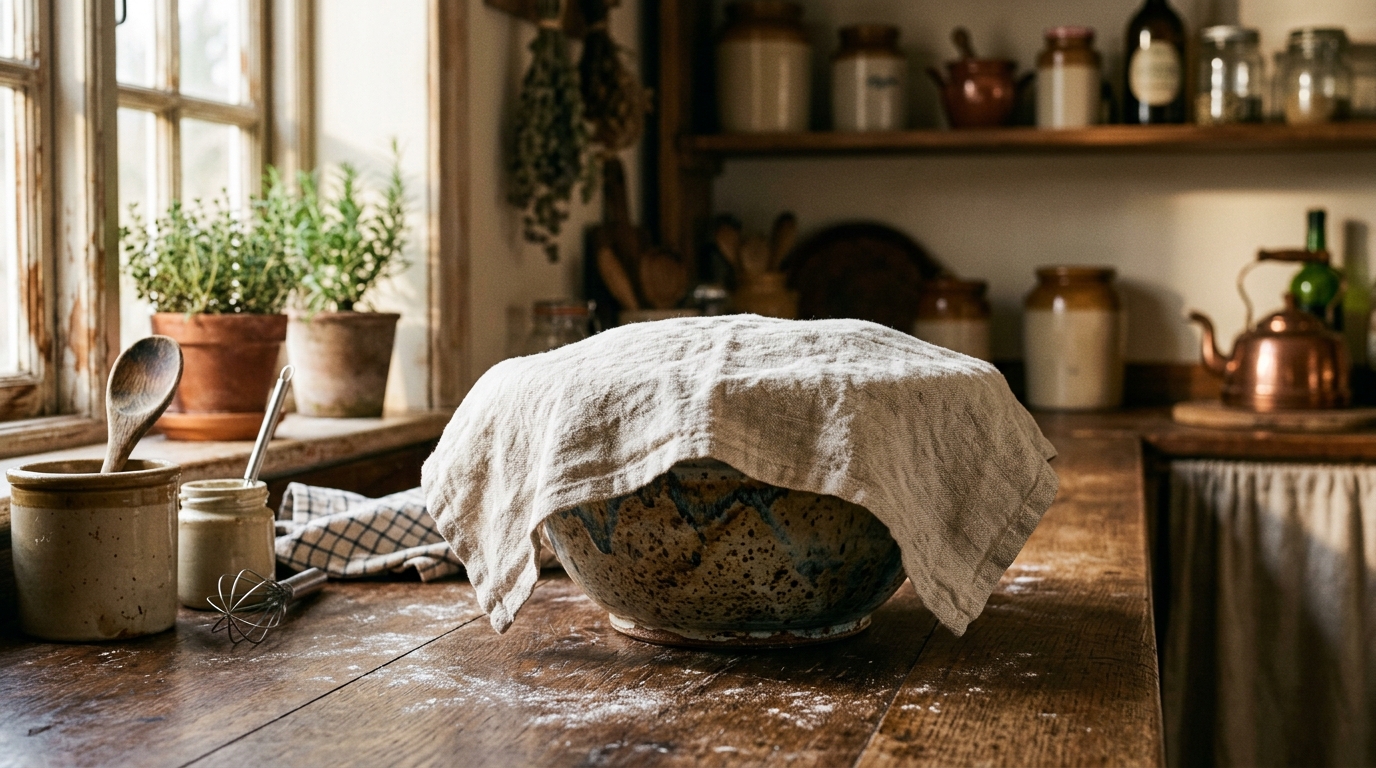
Place back in the bowl, cover with a damp cloth or cling film. Leave at room temperature for 1–1.5 hours until doubled in size.
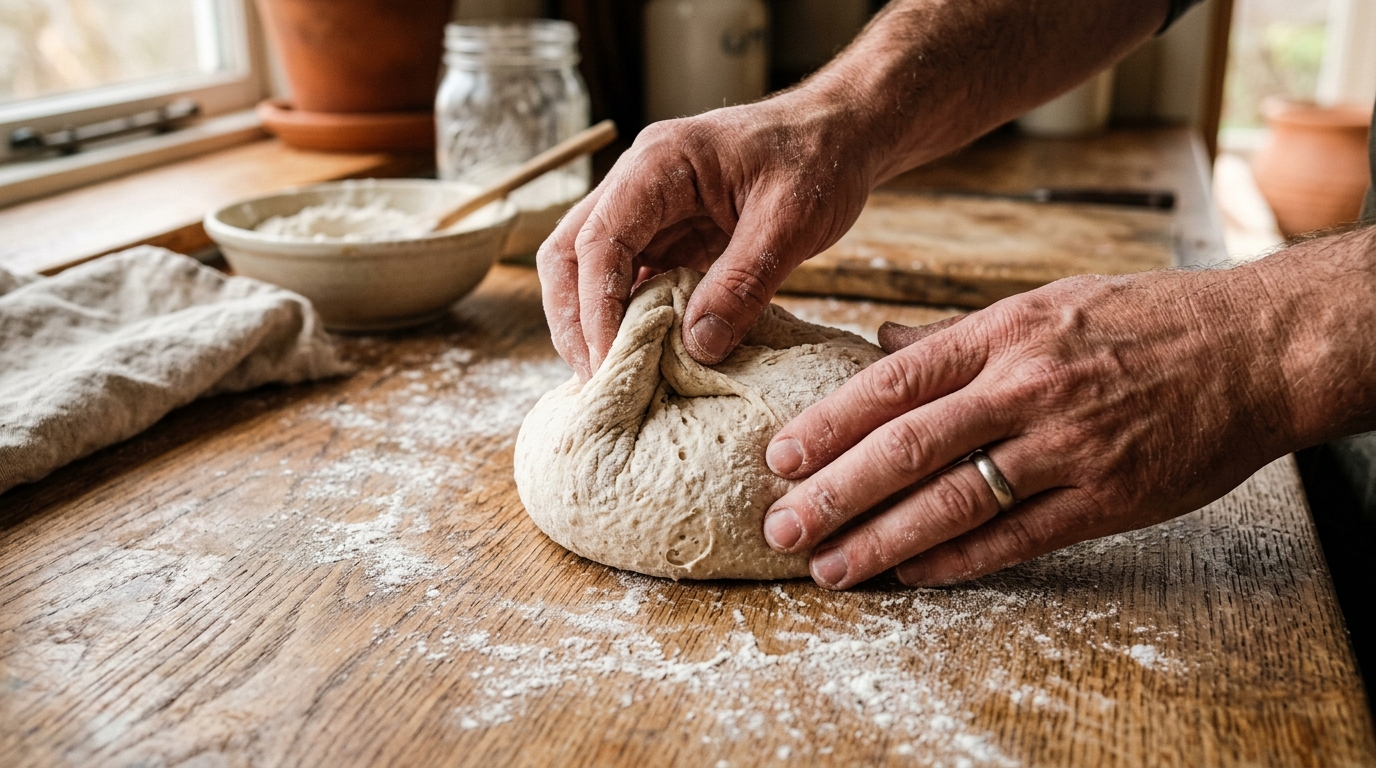
Knock back gently: tip the dough out, fold it over itself twice, and shape into an oval or round.
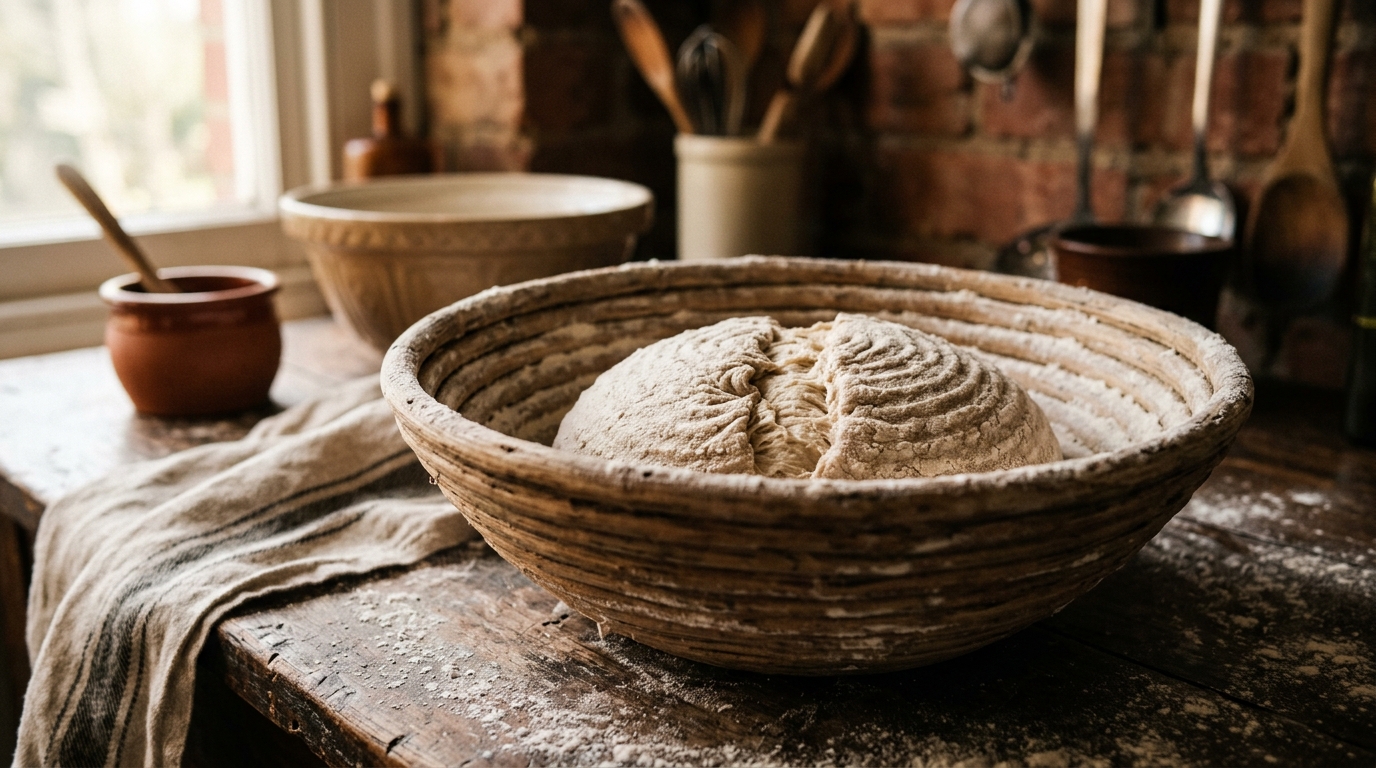
Place in a floured proving basket or a bowl lined with a floured cloth, seam side up. Cover and leave 30–45 minutes.
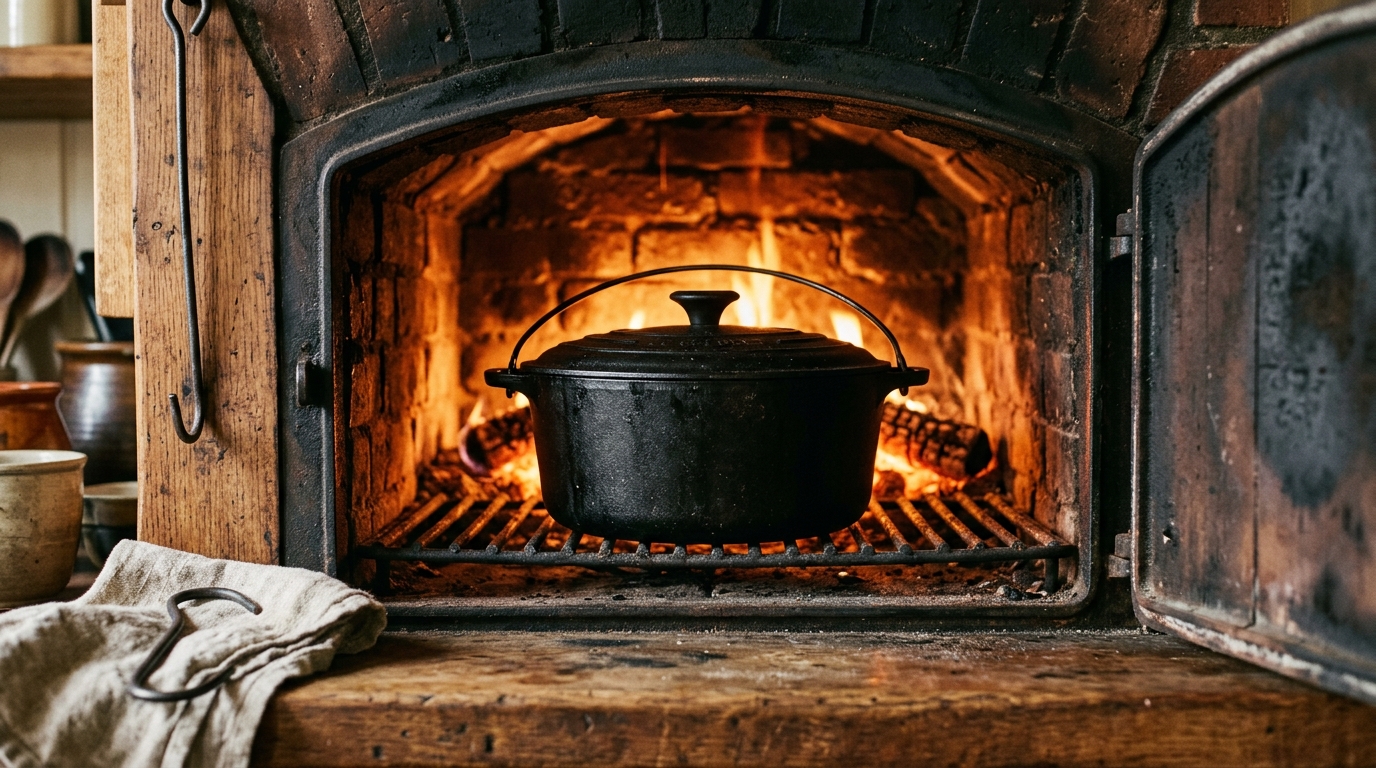
30 minutes before baking: place your Dutch oven in the oven and preheat to 230°C (fan 210°C).
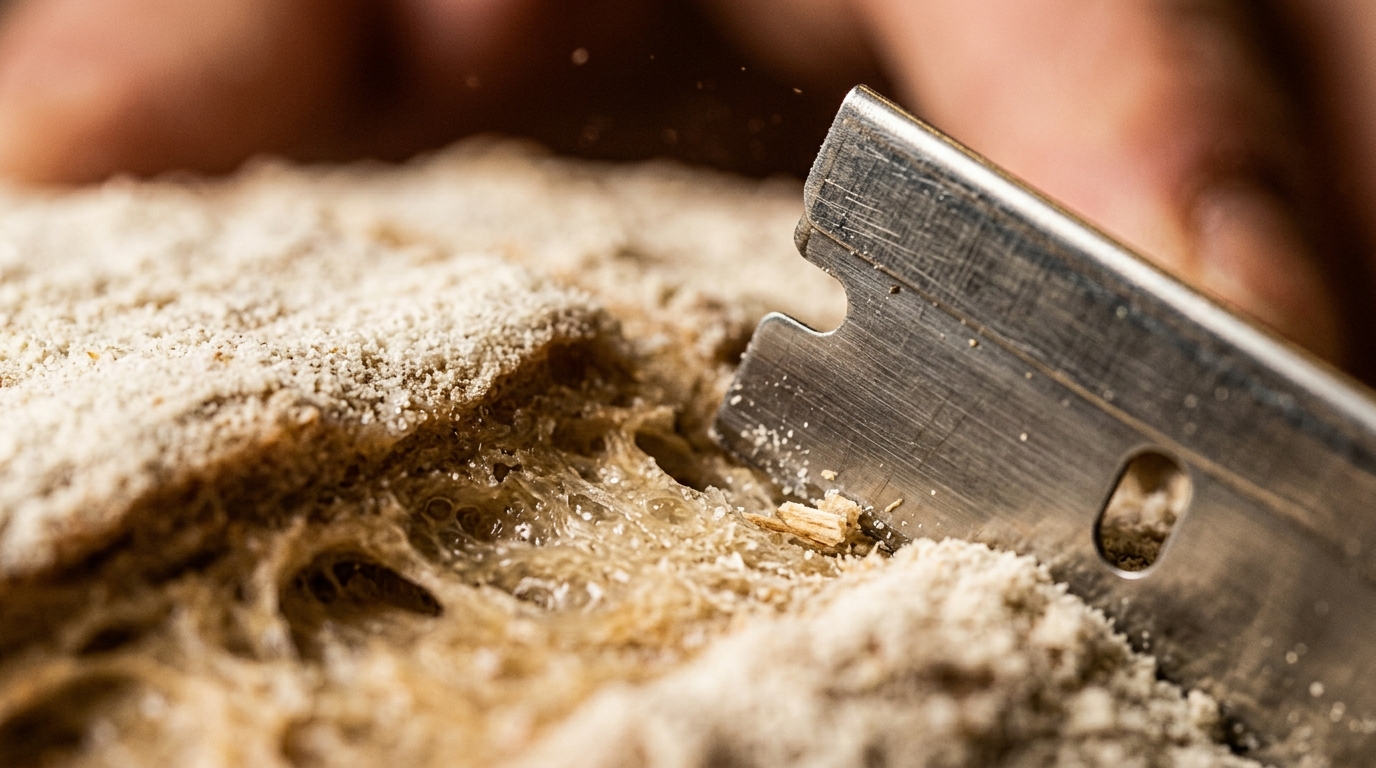
Tip the dough onto baking paper. Score the top with a sharp knife or blade: one confident slash, 1cm deep, at 45°.
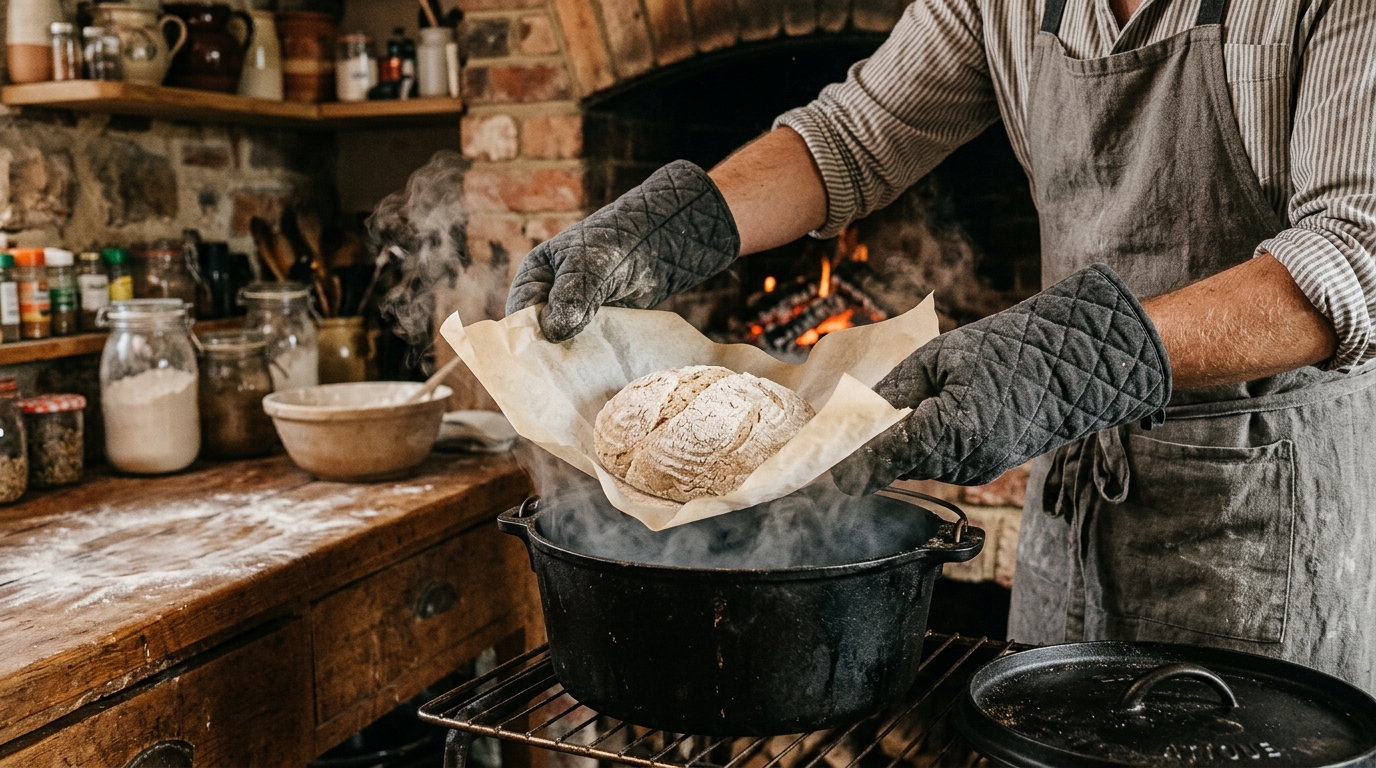
Lift into the hot Dutch oven using the baking paper. Put the lid on. Bake 20 minutes.
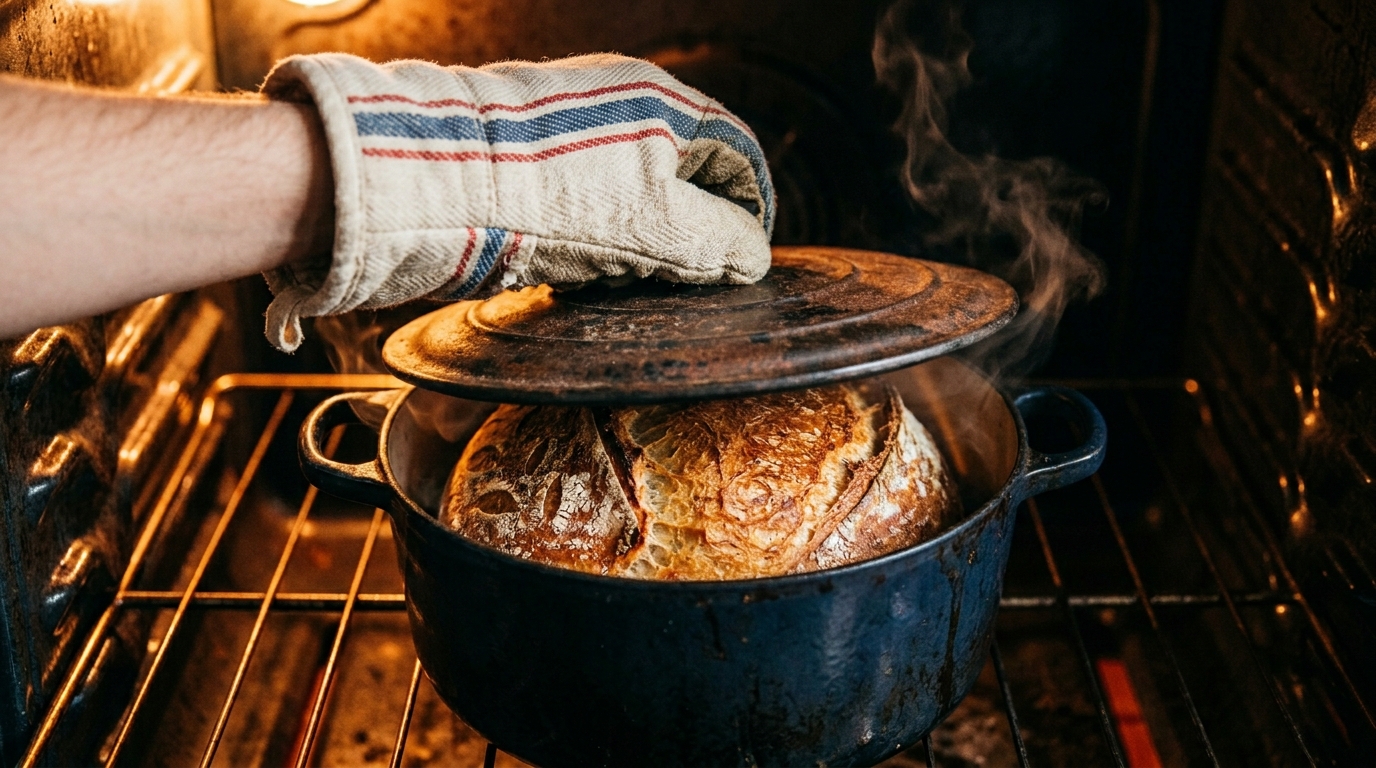
Remove the lid. Bake a further 15 minutes until deep golden brown. Internal temperature should reach 95°C+.
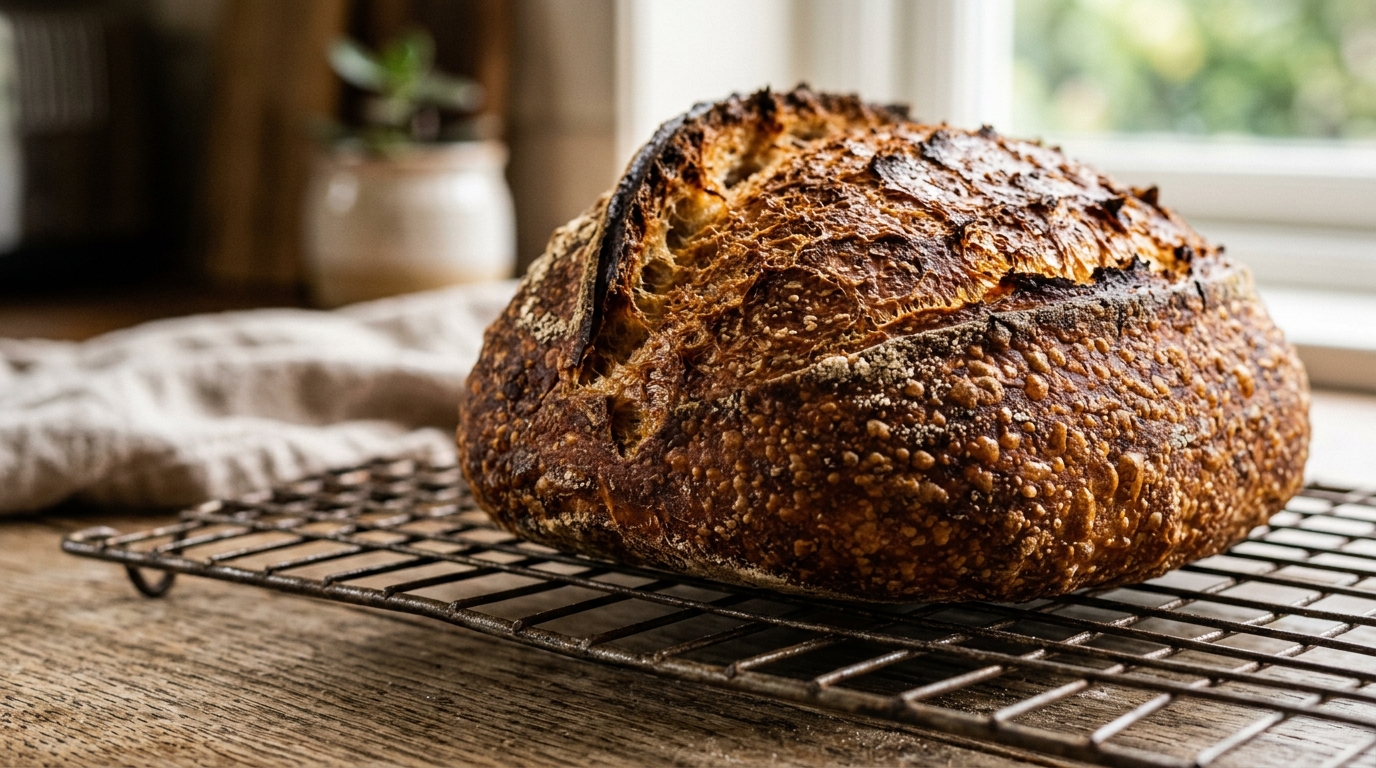
Lift out and cool on a wire rack for at least 30 minutes before cutting. Cutting too early gives a gummy crumb.
The most common first-loaf mistakes
- Not kneading enough: the dough should be smooth and elastic, not rough.
- A cold kitchen: if your house is below 18°C, the first prove will take 2–3 hours. Don't rush it.
- Cutting too soon: it's hard to wait, but a loaf cut hot has a gummy, dense crumb.
Your pathway to mastery
Beginner: you're here
Week 1–4White tin loaf with fast-action yeast, reliable results. Understanding gluten, proving, and steam baking.
Developing baker
Month 2–6Sourdough starter, wholemeal flour blends, fougasse, focaccia, enriched doughs (brioche). Shaping confidence.
Confident baker
Year 1100% sourdough loaves, long cold-retard proves, scoring patterns, baguettes, ciabatta. Understanding fermentation deeply.
Skilled
Year 2+Milling your own flour, heritage wheat varieties, baking for others, teaching. An understanding of bread as a living, variable thing.
The bakers to learn from
- Richard Bertinet: French baker based in Bath; his book Dough (2005) and YouTube channel are the gold standard for beginners; his slap-and-fold kneading technique is revelatory
- Chad Robertson (Tartine Bakery): San Francisco baker who popularised the modern sourdough revival; Tartine Bread is the definitive sourdough book
- Paul Hollywood: Most recognised UK baker; Great British Bake Off judge; his bread book is excellent for structured, recipe-based learning
- Jack Sturgess (Bake with Jack): UK YouTuber; the most practical, encouraging, beginner-focused bread tutorials available online
Qualifications
City & Guilds Professional Cookery (Patisserie & Confectionery)
Covers bread alongside pastry and confectionery. Level 2 and 3 available at catering colleges.
School of Artisan Food (Nottinghamshire)
UK's best artisan baking school; short courses (1–5 days) and full diplomas; tutored by world-class bakers
Bertinet Kitchen (Bath)
Richard Bertinet's own school; bread-focused day courses for beginners and advanced bakers; highly recommended
Best resources
Community
Reader tips
After my first loaf came out dense, I realised I was killing the yeast with water that was too hot. Now I use a thermometer every time — 35–38°C is the sweet spot. Changed everything.
Marcus T. · May 2026
I proof my shaped loaf overnight in the fridge. The slow cold ferment develops so much more flavour than a quick room-temperature rise. Just take it straight from the fridge into a hot oven.
Helen R. · May 2026
Share a tip
Sign in to share what worked for you.
Same category
What to learn next
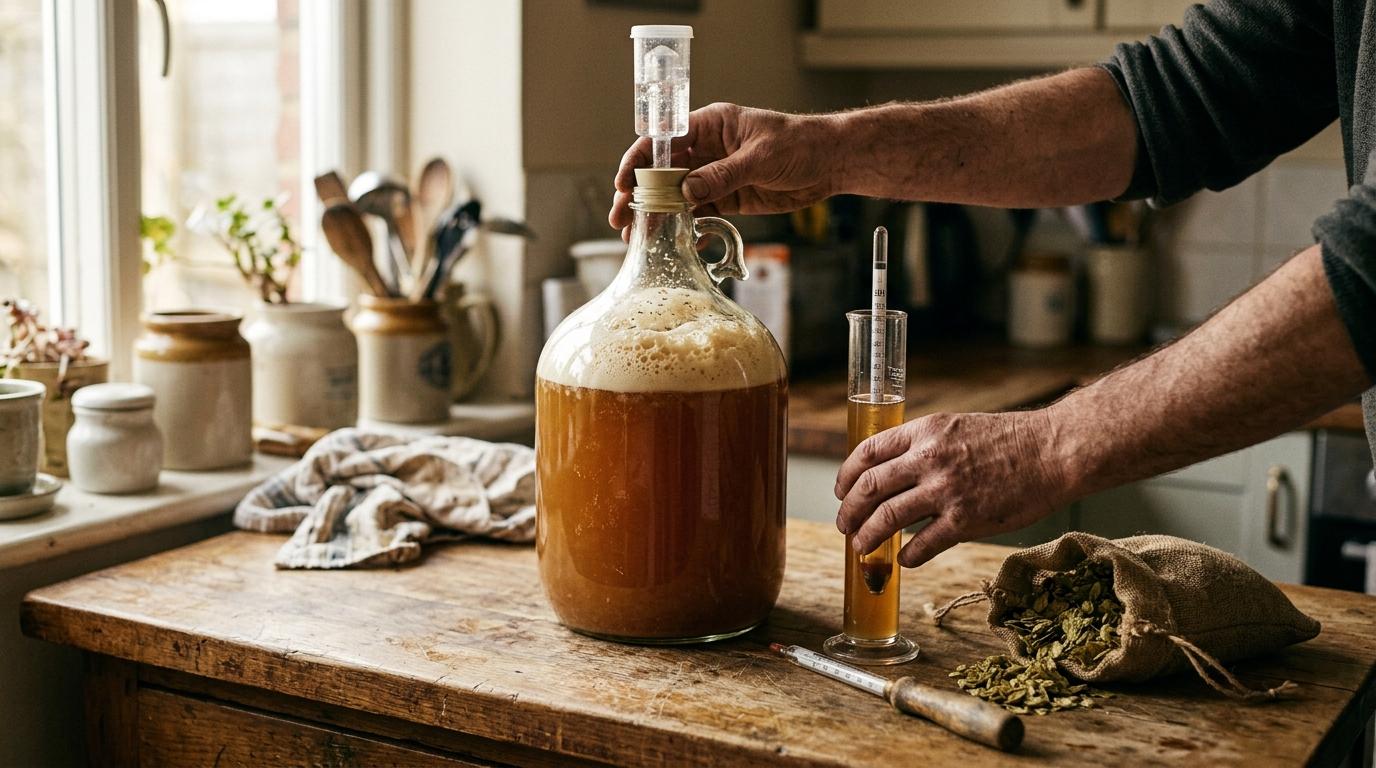
Home Beer Brewing
Brew your first batch of real ale at home. Equipment, ingredients, the brewing process, fermentation, and bottling, step by step.
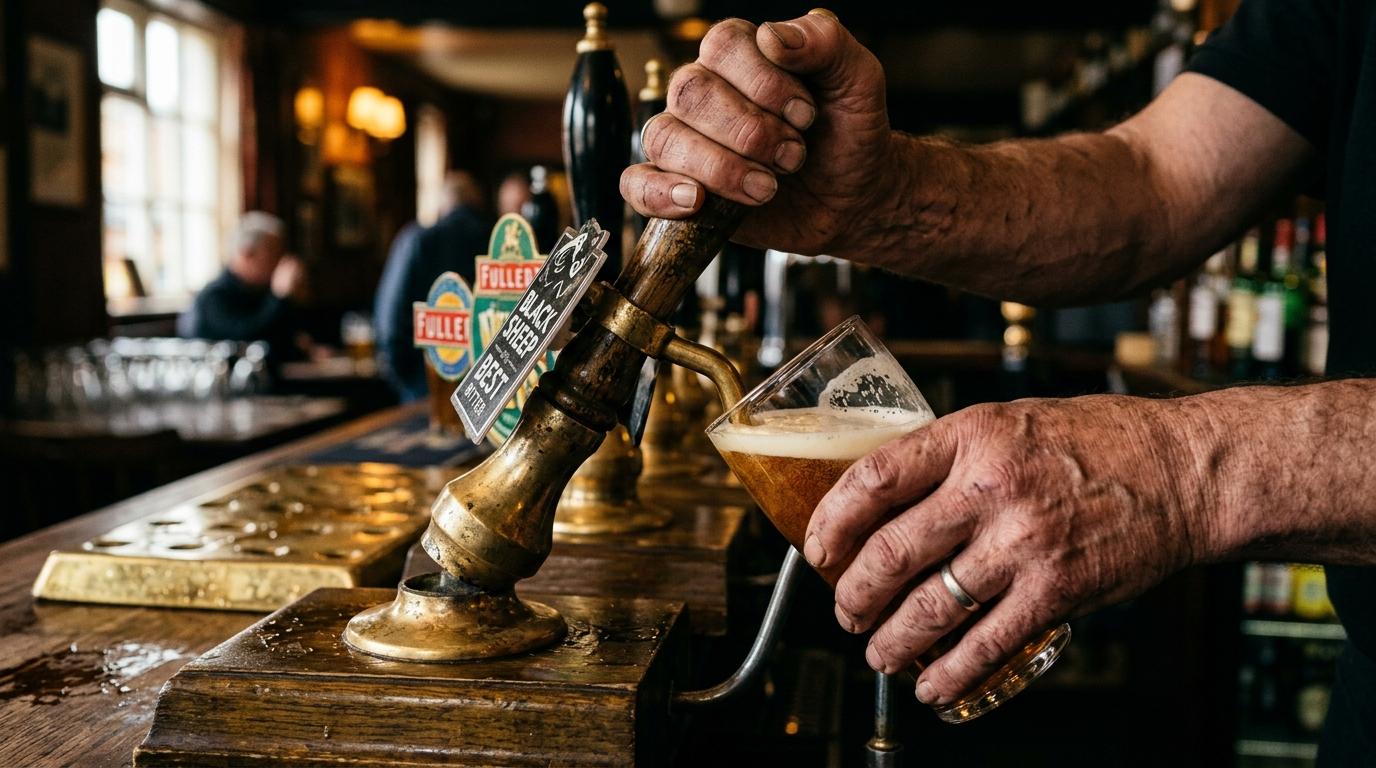
Beer: Styles, Serving and Off-Flavours
Beer styles, storage and draught service, glassware, pouring, and the common off-flavours and their causes. Preparation for the Cicerone Certified Beer Server (Level 1) exam.
Cheese Making: The First Four Cheeses
Make paneer, labneh, mozzarella and halloumi at home with pasteurised milk, a pan and a thermometer. Four fresh cheeses, each done in an afternoon.
Side quests
Practice drills for this course
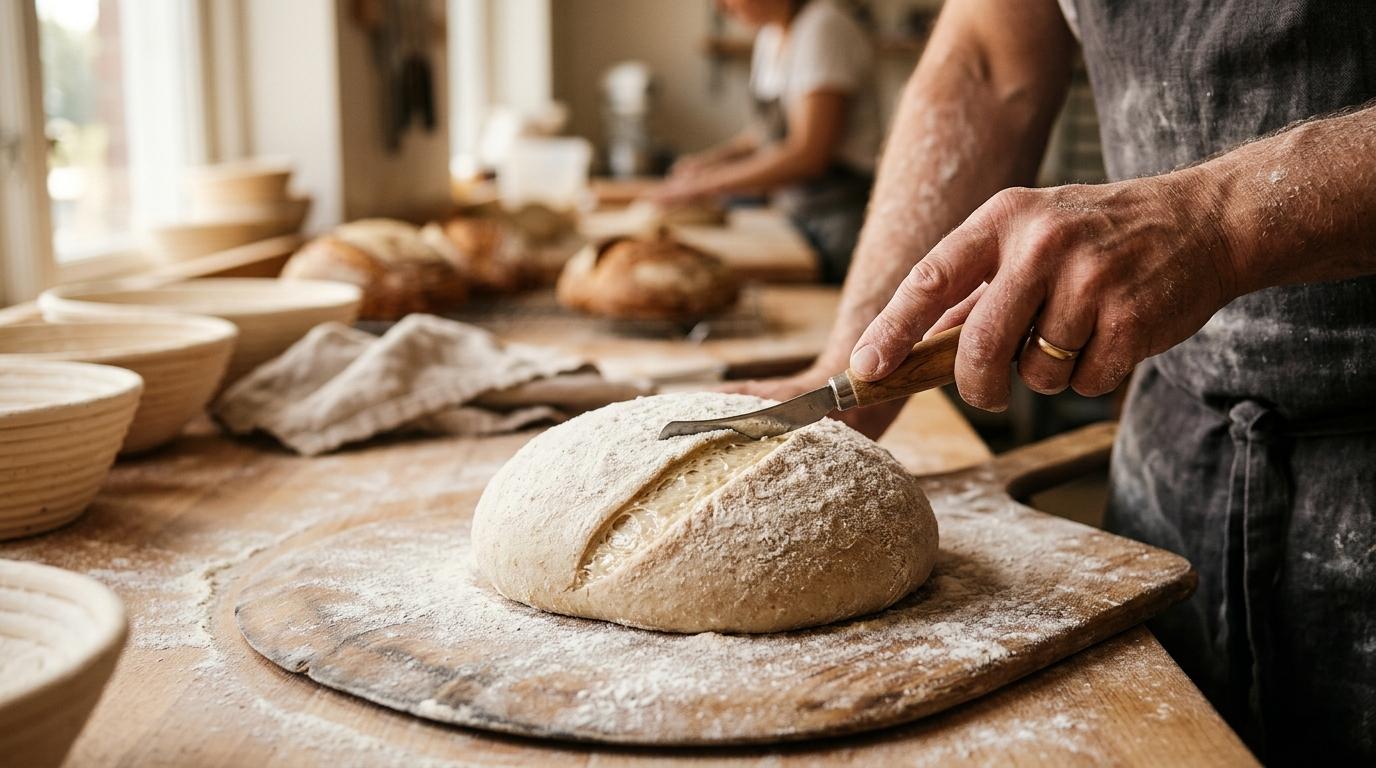
How to score bread before baking
Learn to score bread before baking: which blade to use, how deep to cut, and the slash patterns that make a loaf rise tall instead of bursting at the seams.
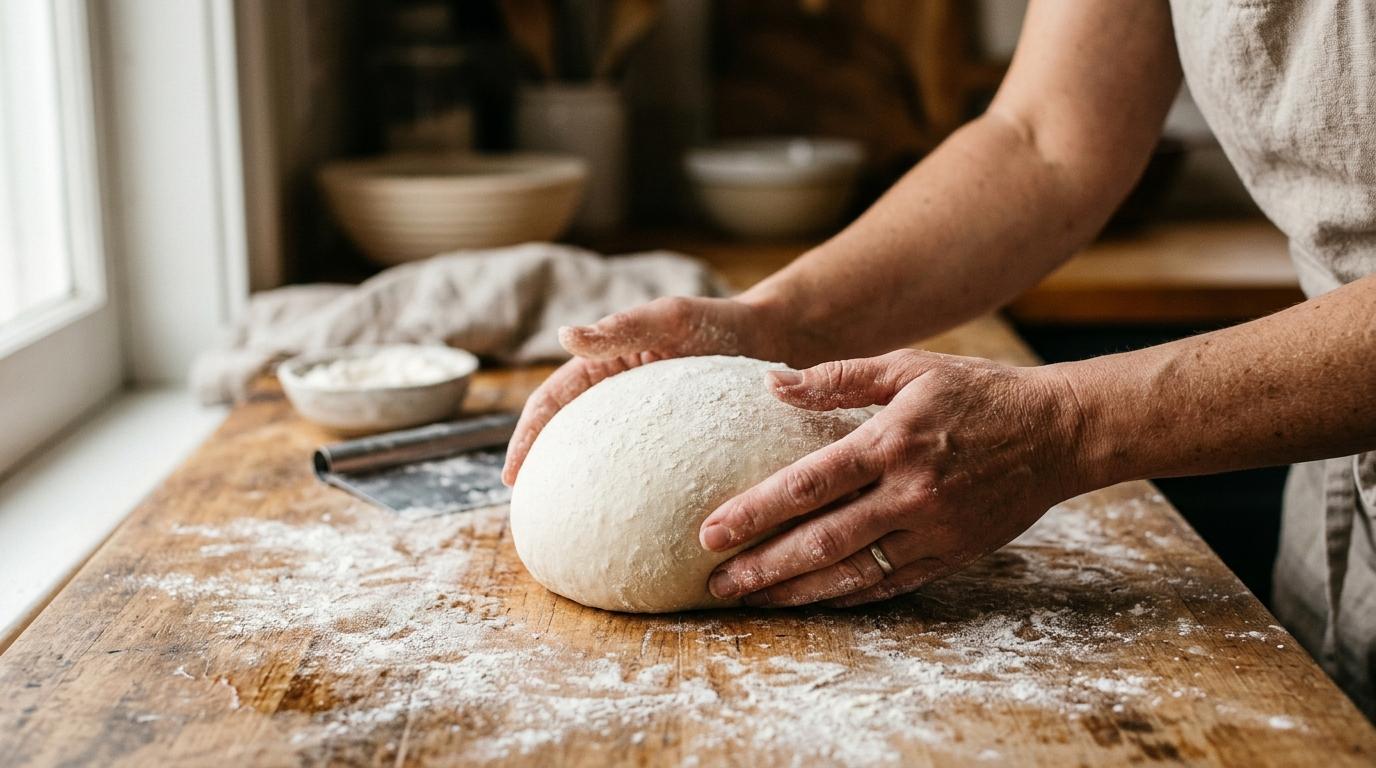
How to shape a boule
Learn to fold and tension a round loaf so it holds its shape and opens beautifully in the oven.