Pattern, fabric, measurements
everything in the path so far arrives here. the machine holds no fear, the feet are reflexes, hems are boring, shape and fastenings are learned. pyjama bottoms are the traditional first garment because they use all of it at the lowest possible stakes: a loose fit that flatters no one and therefore fails no one, worn where only your household can review it.
a note of honesty about the step up: garment sewing introduces the pattern, the tissue map of pieces, and reading one is the actual new skill of this course. the sewing itself you already own.
A pyjama bottom pattern
£8–15, or in the bookbuy a real one rather than improvising: the crotch curve is drafted geometry worth paying for. Tilly and the Buttons' Margot (from the book Love at First Stitch) is the beginner classic; any major-brand 'easy' pyjama pattern works. PDF patterns print at home and stick together with tape
Affiliate link. We may earn a small commission.
Cotton fabric, 2–2.5m
£12–25cotton poplin, flannel/brushed cotton or a stable gingham: woven, non-slippery, presses crisply, forgives everything. avoid anything stretchy or shiny for a first garment. pre-wash it at the temperature you will wash the pyjamas, because cotton shrinks once and you want that before cutting
Affiliate link. We may earn a small commission.
Elastic, 25mm wide, 1m
£2–3firm woven or knitted elastic for the waist channel. buy a metre; the offcut joins the mending tin
Affiliate link. We may earn a small commission.
Tape measure and a bodkin (or big safety pin)
£3–5the tape for your one honest measurement; the bodkin for threading elastic through the channel without losing it halfway, a rite of passage everyone completes exactly once
Affiliate link. We may earn a small commission.
Measure, then believe the chart
take your fullest hip measurement and find it on the pattern's chart, and sew whatever size that says. pattern sizes are numbers from a parallel universe with no relation to shop sizes, and choosing by ego produces pyjamas for a different person.
Reading and cutting
The pattern is a map with three symbols
unfold the pattern and you will find your size nested among the others like contour lines. three symbols carry nearly all the meaning. the grainline arrow, which must sit parallel to the selvedge, measured at both ends of the arrow. notches, the small triangles along edges, which are matching marks: notch meets notch when seams join, and they are why pieces cannot be assembled backwards. and the cutting layout diagram, which shows how the pieces tile onto folded fabric so everything fits your metreage.
Trace or cut
cutting your size directly out of the tissue is fine and normal. tracing it onto cheap greaseproof paper preserves the other sizes for future people and future you; dressmakers argue about this the way woodworkers argue about sharpening. either way, press the tissue flat with a cool dry iron first, because creased tissue cuts crooked pieces.
Cutting day discipline
fabric pressed, folded selvedge to selvedge as the layout shows, on the biggest flat surface in the house, which is traditionally the floor. pin each piece inside its edges, check every grainline with the tape, then cut with long smooth strokes, moving yourself around the fabric rather than the fabric towards you. transfer the notches as tiny 3mm snips into the allowance. cutting is a third of the project's time and more than a third of its quality: a garment cut off grain is crooked forever, and one cut true is halfway to done.
Construction
Finish, wear, repeat
Community
Reader tips
No tips yet. Be the first to share what worked for you.
Share a tip
Sign in to share what worked for you.
Same category
What to learn next
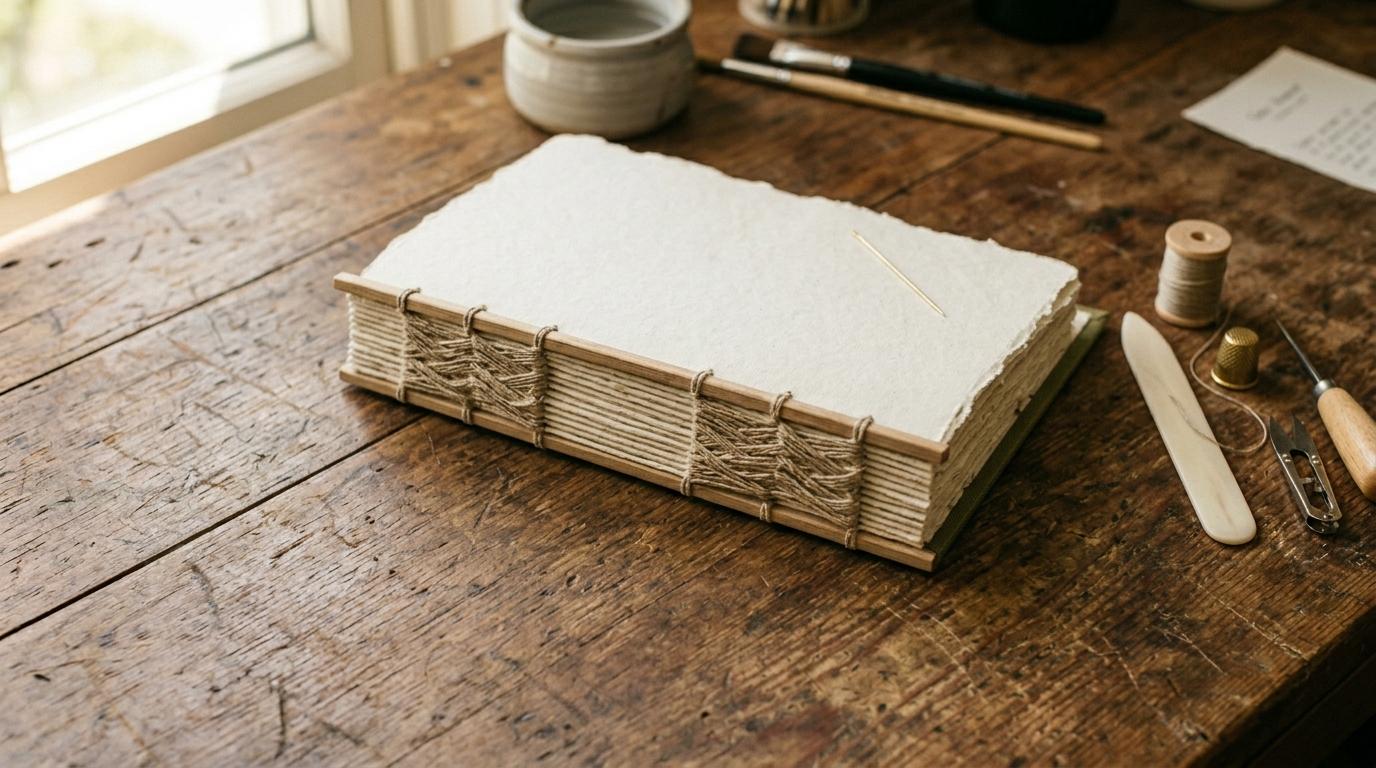
Bookbinding: Your First Journal
Fold, sew, and case a hardback journal by hand. The Coptic stitch and case binding are the two foundational methods, both achievable in a single afternoon session.
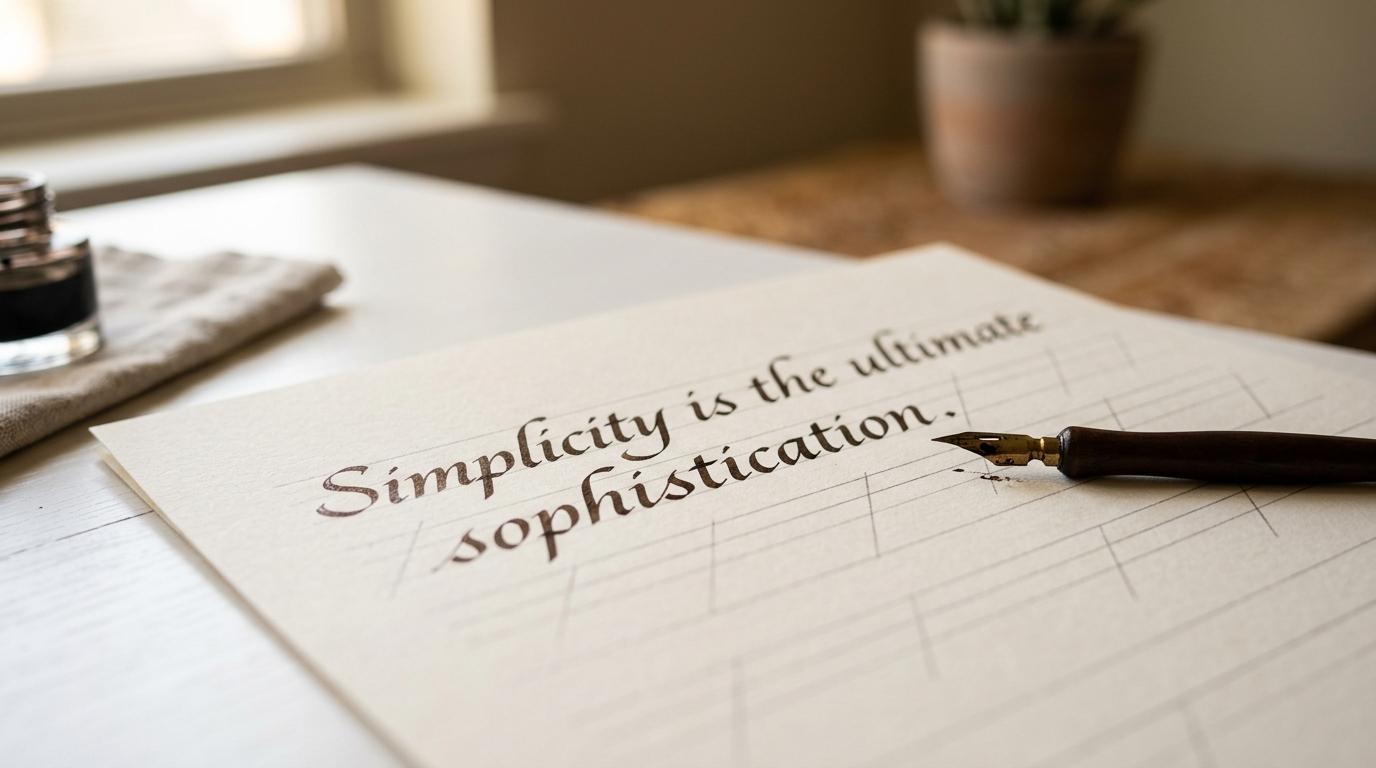
Calligraphy: The Foundational Script
Italic script with a pointed nib. The foundational Western calligraphy hand: clear, elegant, and achievable. Every lettering tradition descends from this one.
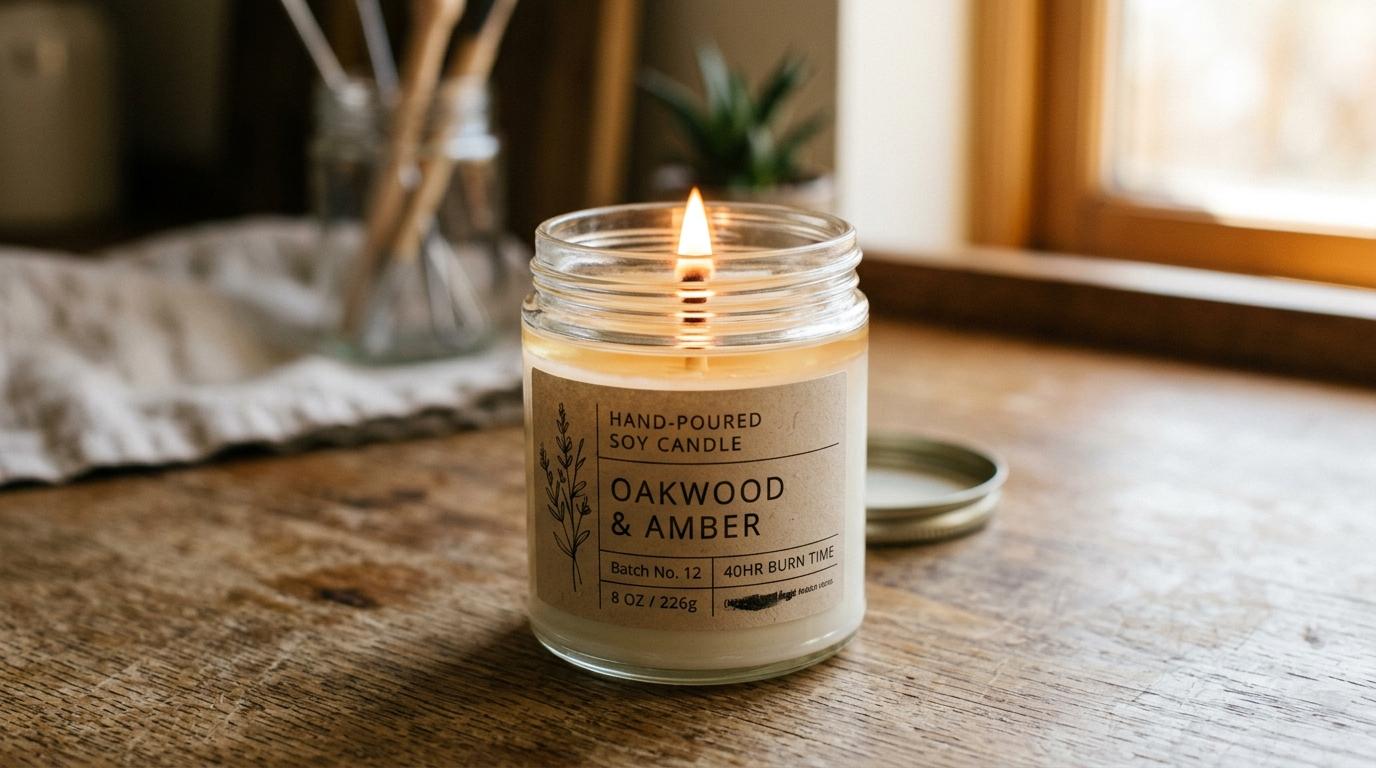
Candle Making
Make container candles with soy wax, fragrance oil, and cotton wicks. Published in late October, six weeks before Christmas: enough time to make gifts.