
What you need to get started
A drop-in seat pad is the ideal first upholstery project. It lifts out, is worked off the chair, and requires no sewing: just cutting, padding, and stapling. The principles transfer directly to more complex work.
A staple gun, electric or pneumatic
£20–45 for a reliable electric staple gunA heavy-duty staple gun is the primary tool of modern upholstery. Electric staple guns (Ryobi, Workzone) are quieter and easier to control than pneumatic (air-compressor) guns. 10mm staples are the standard for fabric. Do not use a light-duty craft staple gun: it lacks the power to drive staples into hardwood frames.
Affiliate link. We may earn a small commission.
A tack remover (ripping chisel)
£5–12For removing the old fabric and staples before you start. A wide, flat screwdriver can work in a pinch, but a proper tack remover (also called a staple remover or ripping chisel) gets under staples cleanly without damaging the wood.
Affiliate link. We may earn a small commission.
Upholstery foam: 50mm depth, medium density
£8–20 depending on chair sizeFoam density is measured in kg/m³. For a dining chair seat: 35–40kg/m³ (firm) or 25–30kg/m³ (medium) are appropriate. Cut to the shape of the seat using an electric carving knife or a serrated bread knife. Online retailers (Simply Foam, Foamite) cut to size if you provide measurements.
Affiliate link. We may earn a small commission.
Fabric: minimum 140cm wide, at least 0.5m
£8–25 per metre (charity shop, remnants, or fabric suppliers)Upholstery fabric is heavier than dress fabric: it's made to withstand daily use. Look for fabrics rated for domestic upholstery (15,000+ double rubs on the Martindale test). You'll need the seat dimensions plus 10–12cm wrap allowance on all sides. Canvas, linen, velvet, and medium-weight plain weaves all work well for a first project.
Affiliate link. We may earn a small commission.
Wadding (Dacron / polyester wadding)
£3–8 for enough to cover a seatA thin layer of Dacron wadding wrapped over the foam before fabric softens the look and feel, and prevents the fabric from feeling the hard edges of the foam. One layer of 2oz or 4oz wadding is enough.
Affiliate link. We may earn a small commission.
Padding systems & fabric: what goes on a seat and why
The layers of a traditional seat pad
1. The base: webbing or a solid plywood base
Traditional seats were built on interlaced webbing (jute or rubber) stretched across the frame. Modern drop-in pads often use a plywood base. If the base is sagging or broken, replace the webbing before adding new padding: the foundation determines the seat's long-term stability.
2. The padding: foam, horsehair, or cotton wadding
Contemporary seats use foam. Traditional seats used animal hair, horsehair, and cotton wadding built up in layers. Both are valid; foam is much easier for a beginner. The shape of the pad (flat, crowned, or deeply padded) is set by the foam profile.
3. The interfacing: Dacron wadding
Wrapped over the foam to soften the visual edge and prevent fabric wear against the foam. Stapled lightly to hold it in place before fabric is applied.
4. The covering fabric
The visible layer. Cut generously (seat dimensions + 12cm all round). Pulled taut and stapled to the underside of the seat board.
Fabric grain and pattern
Always cut fabric with the grain running straight (warp threads parallel to the front edge of the seat). A patterned fabric must be centred on the seat: mark the centre of the pattern on the fabric and the centre of the seat, align them, then cut. A beautifully recovered seat with the pattern running off to one side is a waste of good work.
Re-cover your first drop-in seat
- Remove the seat pad from the chair frame. Most drop-in pads lift or push out; some are held by screws from below.
- Strip the old fabric: Using the tack remover, lever out all staples or tacks on the underside of the pad. Remove the old fabric completely. Inspect the base: is the webbing or plywood sound? Repair or replace if not.
- Cut and fit the foam: Trace the seat shape onto the foam. Cut with a serrated knife or electric carving knife, cutting slightly larger than the shape, then trim back. The foam should fit inside the seat frame rebate with a small amount of compression.
- Wrap in Dacron: Cut a piece of Dacron 5cm larger than the seat on all sides. Lay the foam (on the seat base) on the Dacron. Pull the Dacron over the foam and staple loosely to the underside, just to hold it in place.
- Position the fabric: Cut fabric to seat size plus 12cm all round. Find the centre of the fabric and mark it. Place it face-down on a flat surface. Place the seat pad face-down, centred on the fabric.
- Staple the fabric, starting at the centres: Pull the fabric taut over the back edge. Place two staples in the centre of the back edge. Move to the front edge (opposite) and pull taut (firm tension, no wrinkles on the top surface) and place two staples in the centre. Repeat for both sides. You now have 8 staples holding the fabric under tension.
- Work outward from the centres: Continue stapling alternately front/back and side/side, working outward from the centre staples. Maintain even tension. Check the top surface regularly for wrinkles and adjust before adding more staples.
- Pleat the corners: Fold the corner fabric neatly, using a hospital corner fold or a series of small pleats, pulled taut and stapled. Trim excess fabric if too bulky.
- Finish the base: Cut a piece of black cambric 2cm smaller than the seat underside. Fold the edges under and staple all around to cover the raw staples and fabric edges.
- Replace the seat pad in the chair. Stand back. Admire a renewed chair that looks like it cost £200 to restore.
The corner is the tell
A well-pleated corner (neat, flat, and symmetrical) is what separates a professional re-cover from an amateur one. Take your time with the corners. Unpick them and redo if they look wrong. Once all the other staples are in and the fabric is taut everywhere else, you have the time to get the corners right.
Your pathway to mastery
Beginner: you're here
Week 1–4Drop-in seat pad. Stripping, foam replacement, fabric cutting and stapling. Neat corners. A finished chair that looks new.
Developing
Month 2–6Fixed seat pads (attached to the frame, not removable). Dining chair backs. Small tub chairs. Piping and welting. Working with webbing and spring repair.
Confident
Year 1Full chair re-upholstery. Traditional stuffing techniques (horsehair, cotton wadding). Hand-stitched edges. Decorative nailing. Buying 'project' chairs from charity shops and markets.
Skilled
Year 2+Sofas. Custom furniture commission work. Deep button tufting. Antique restoration. Running upholstery workshops. Sourcing unusual fabrics from specialist mills.
Best resources
- Pinterest (fabric inspiration and technique reference)
- Notes (fabric and yardage calculations)
Community
Reader tips
No tips yet. Be the first to share what worked for you.
Share a tip
Sign in to share what worked for you.
Same category
What to learn next
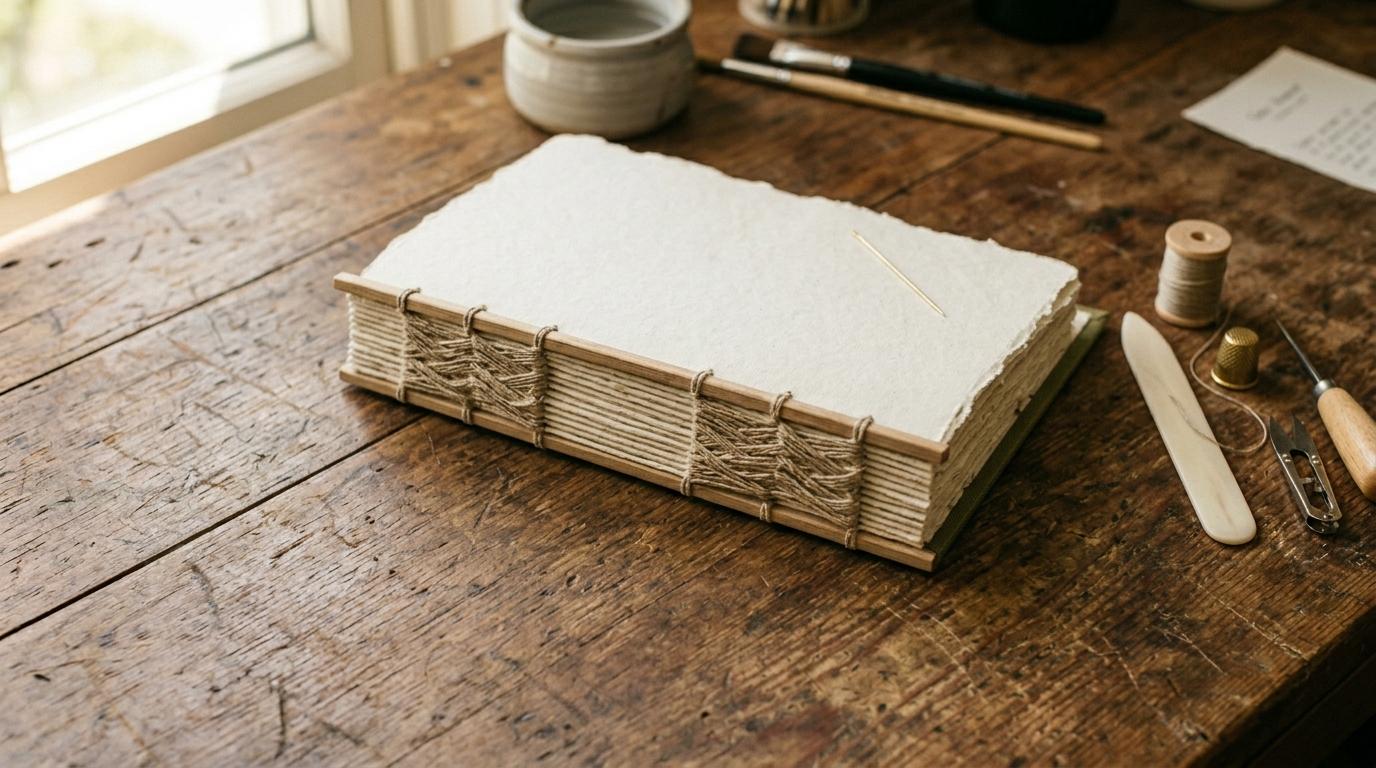
Bookbinding: Your First Journal
Fold, sew, and case a hardback journal by hand. The Coptic stitch and case binding are the two foundational methods, both achievable in a single afternoon session.

Calligraphy: The Foundational Script
Italic script with a pointed nib. The foundational Western calligraphy hand: clear, elegant, and achievable. Every lettering tradition descends from this one.
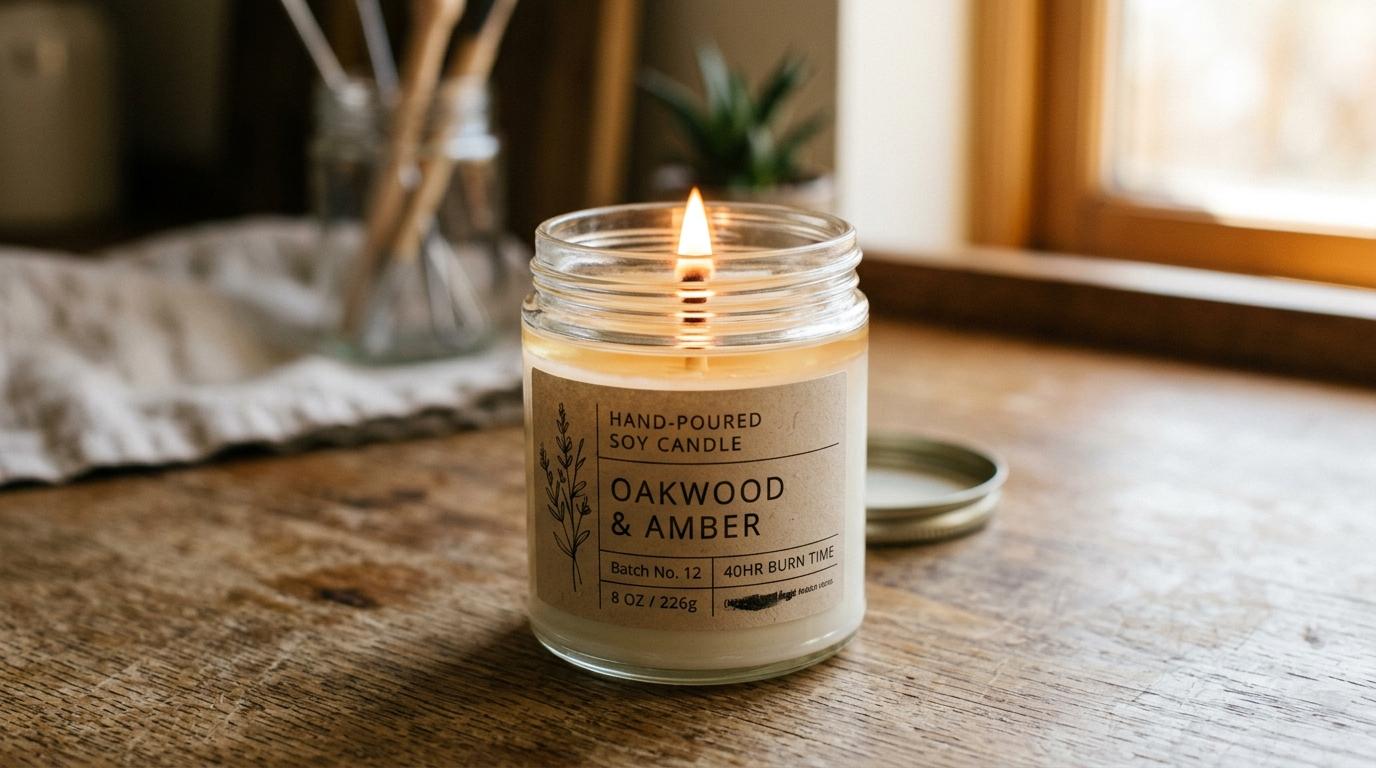
Candle Making
Make container candles with soy wax, fragrance oil, and cotton wicks. Published in late October, six weeks before Christmas: enough time to make gifts.