Kit and zip anatomy
ask a room of lapsed sewers what stopped them and zips come up more than anything except tension. the fear is misplaced. a zip is a strip of tape with interlocking teeth and it sews on like any other trim; what people lack is the two or three specific tricks, and those are learnable in an afternoon of scraps.
a zip has teeth (or a nylon coil), tape, a slider, a top stop and a bottom stop. closed-end zips are for cushions, pouches, trousers; open-end zips split apart entirely for jackets. invisible zips hide their coil behind a fold of tape so the closed seam shows nothing but a pull.
Nylon coil zips, assorted
£5–8 for 10–20a bag of mixed-length closed-end coil zips is practice material and project stock at once. coil zips are the most forgiving kind: they sew easily, curve slightly, and shorten with scissors and a few stitches
Affiliate link. We may earn a small commission.
Invisible zips, 2–3, around 40cm
£3–5the project uses one and you should ruin at least one learning. buy them longer than needed; invisible zips shorten from the bottom like coil zips
Affiliate link. We may earn a small commission.
Invisible zipper foot
£3–6a foot with two grooves that roll the coil upright as you sew, placing stitches where a standard zipper foot cannot reach. plastic generic ones cost little and work; check shank fit as ever
Affiliate link. We may earn a small commission.
Buttons, mixed, and a hand needle
£1–4a jar of mixed buttons for buttonhole practice and shank drills. charity shops sell tins of them for a pound, which is also where the interesting ones are
Affiliate link. We may earn a small commission.
Cushion pad, 45cm
£4–7the project is a cover for a real pad, because a cushion cover is the perfect zip vehicle: flat, square, forgiving, and finished the same evening
Affiliate link. We may earn a small commission.
Zips and buttonholes, understood
The centred zip
the teaching method and still the honest workhorse for cushions and pouches. sew the seam closed with a long basting stitch where the zip will live, press it open, and you now have a perfectly straight placement line with the zip hidden behind it. tack the zip face-down over the pressed-open allowances, fit the zipper foot, and topstitch a rectangle around it from the right side. unpick the basting and the zip appears through the slit. every difficulty in zip insertion is solved by that basted seam: it holds everything still and straight while you sew.
The invisible zip
the elegant one, and counterintuitively the easier one once the special foot is on. the zip goes in while the seam is still open. press the coils flat-ish from the wrong side (cool iron; the coil is nylon), then sew each tape to each seam allowance with the coil rolled into the foot's groove, stitching right in the fold line. close the zip, then sew the remaining seam up to meet it, starting as close to the zip's end as the standard zipper foot allows. from the right side: a plain seam with a pull at the top.
Buttonholes, the one-step way
any machine from this course's era makes buttonholes nearly automatically. the real button sits in a cradle at the back of the buttonhole foot, the machine sews a sized rectangle of dense zigzag with a bartack at each end, and you cut it open afterwards with a seam ripper, pin placed across one end so the blade cannot overshoot. always sew a test buttonhole on a doubled scrap of the project fabric first, and always interface the buttonhole area: a buttonhole in floppy single-layer fabric puckers.
Buttons that stay on
machine or hand, the principles are the same two: anchor well, and give thick fabric a shank. by hand: six passes through the holes over a matchstick, remove the stick, wind the slack into a stem, finish with three knots buried under the button. by machine: zigzag set to the hole spacing, feed dogs dropped, a dozen stitches. the sew-a-button side quest covers the hand version step by step if you want it drilled.
Project: the invisible-zip cushion
a 45cm cushion cover with an invisible zip along the bottom seam and, because this course is about fastenings plural, a buttoned inner flap you will never show anyone. two evenings, one of which is mostly pressing.
Cut and prepare
two squares of medium-weight fabric 47cm by 47cm (1cm allowances, snug fit on the pad, which is what makes a cushion look plump rather than sad). fuse a 3cm strip of interfacing along the bottom edge of each square on the wrong side, where the zip will go.
The zip goes in first
press the invisible zip's coils gently open. mark 5cm in from each side along the bottom edges. sew one tape to each panel between the marks, coil in the foot's groove, right sides together, stitching in the fold line. close the zip and check the two panels hang level; unpicking now costs five minutes, later the whole seam.
Close the box
with the zip half-open (or you cannot turn the thing), sew the remaining bottom seam sections from each corner to meet the zip stitching, then the other three sides. clip the corners diagonally, turn through the zip, poke the corners out, press.
The buttonhole drill, smuggled in
before stuffing the pad in: on a doubled offcut, sew three one-step buttonholes for three different buttons from the jar, cut them open, and sew the buttons opposite them with proper shanks. keep the sampler in the machine drawer. it is your reference for every future buttonhole, and making it inside a project means it got made.
Mastery
fastenings unlock the projects people notice: cushions in fabric you chose, pouches with zips that run true, shirts whose missing buttons come back the same evening. the two capstones ahead lean on this weekend, the pyjamas lightly and the weekend bag heavily.
A zip shortened cleanly
First eveninga coil zip cut to length with a stitched stop that holds under a hard tug
The centred zip mastered on scrap
First eveningbasted seam, tacked zip, topstitched rectangle, basting out: a zip that runs straight and lies flat
An invisible zip that vanishes
Weekendclosed, the seam shows tape nowhere and the pull sits level
Buttonholes to size
Weekendthe three-button sampler sewn, cut open without overshoot, buttons shanked opposite
The cushion in service
Weekendpad in, zip closed, corners sharp, on the sofa taking compliments
Fastenings are a detail, not a decision
A montha project with a zip or buttons in it no longer gets postponed for one without
- Made to Sew (YouTube): the invisible zip method taught with the clearest camera work on the fold line you will find
- Professor Pincushion (YouTube): every zip insertion method demonstrated, plus one-step buttonholes across different machine brands
- Evelyn Wood (YouTube): buttons, shanks and hand-finished fastenings from a tailoring perspective
Community
Reader tips
No tips yet. Be the first to share what worked for you.
Share a tip
Sign in to share what worked for you.
Same category
What to learn next
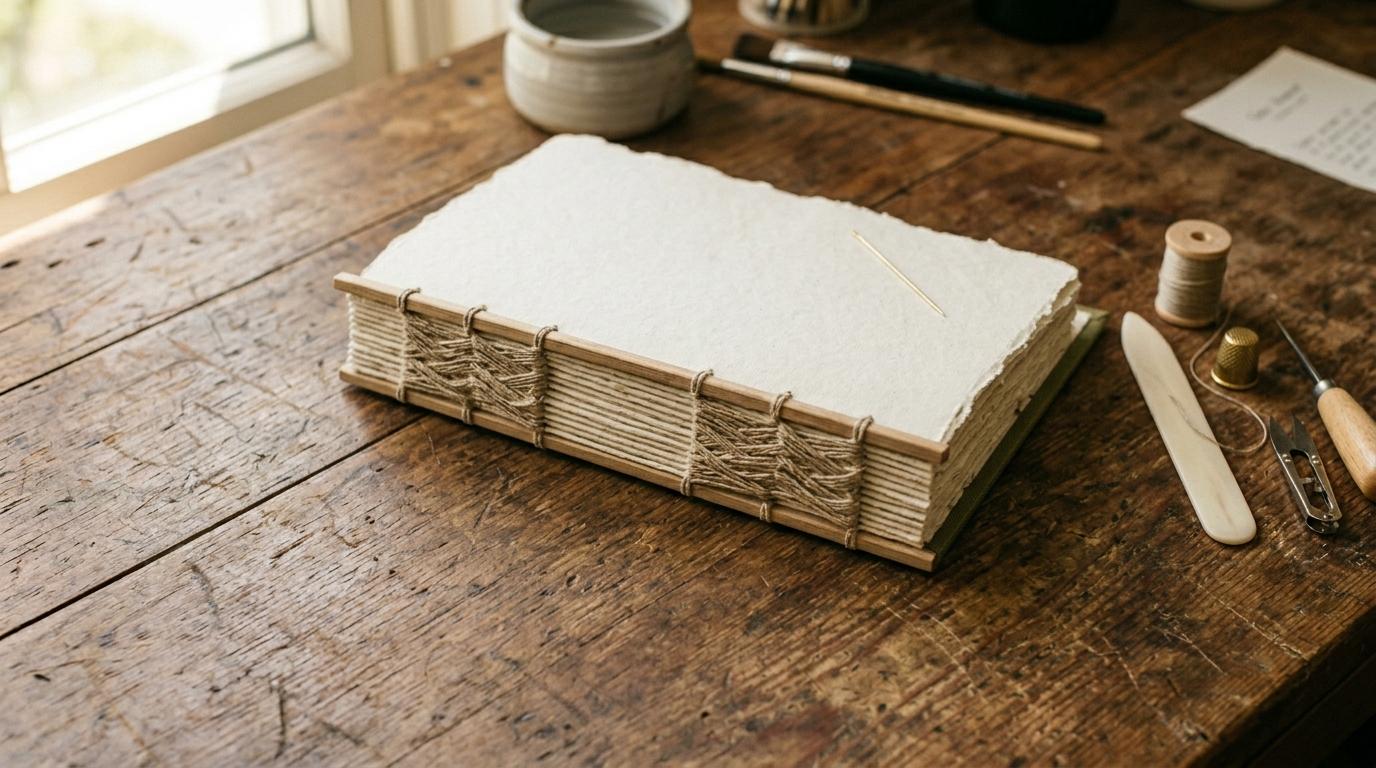
Bookbinding: Your First Journal
Fold, sew, and case a hardback journal by hand. The Coptic stitch and case binding are the two foundational methods, both achievable in a single afternoon session.
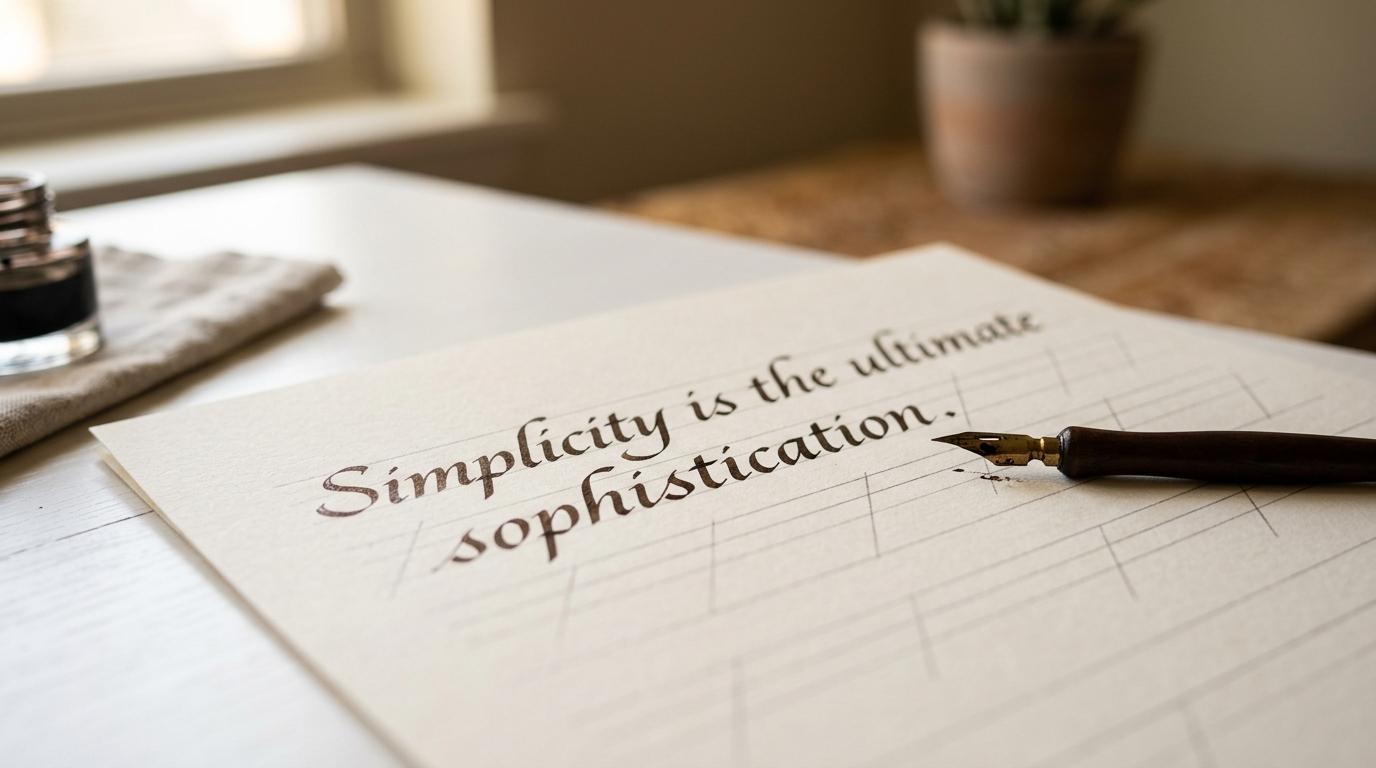
Calligraphy: The Foundational Script
Italic script with a pointed nib. The foundational Western calligraphy hand: clear, elegant, and achievable. Every lettering tradition descends from this one.
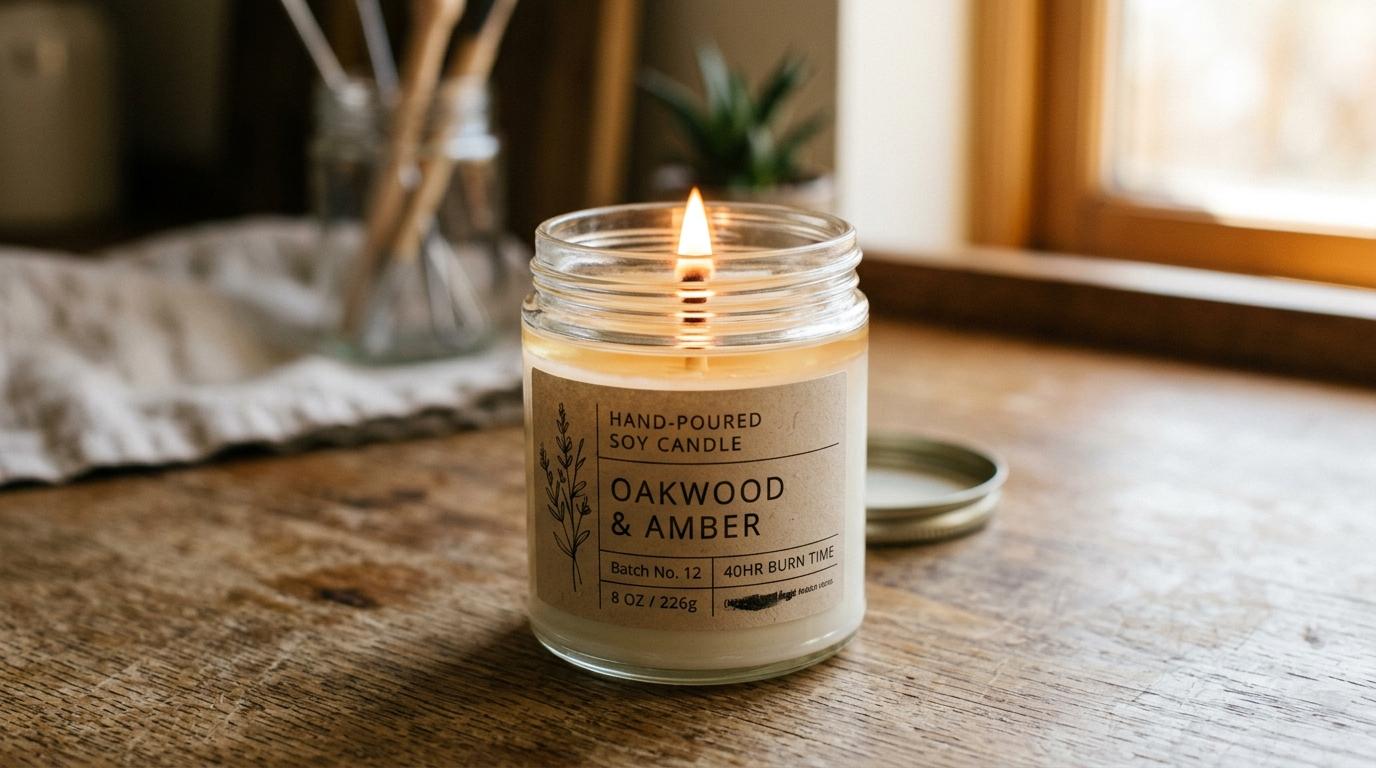
Candle Making
Make container candles with soy wax, fragrance oil, and cotton wicks. Published in late October, six weeks before Christmas: enough time to make gifts.