The mending kit
this course is free because mending is the front door of the whole craft. it needs no machine for four of its five repairs, the kit costs less than one garment it will save, and the payback starts the first evening. if it leaves you wanting the machine skills, the sewing path this course belongs to starts one course back and runs all the way to making your own clothes.
everything below fits in a biscuit tin, which is traditional and correct.
Hand needles, assorted
£2–4a wallet of sharps in mixed sizes covers everything here: fine for shirt buttons, sturdy for jeans, a longer darner for knits. buy a branded wallet over a market-stall card; cheap needles have burrs that chew thread
Affiliate link. We may earn a small commission.
Strong thread and wool darning yarn
£4–7all-purpose polyester in black, white, navy and grey handles most repairs; a card of wool darning yarn handles jumpers and socks. matching colour exactly matters less than matching weight: heavy fabric, heavy thread
Affiliate link. We may earn a small commission.
Darning mushroom (or a smooth ball)
£4–8darning needs the fabric held taut and curved over something. the wooden mushroom is the proper tool and pleasingly cheap; a tennis ball or a smooth orange inside the sock works the first time you cannot wait for delivery
Affiliate link. We may earn a small commission.
Denim scraps or iron-on patches
£0–5jeans offcuts from the hemming course are ideal patch stock, which is why that course said keep them. failing that, a pack of iron-on denim patches works as backing, though iron-on alone is temporary: the stitching is what lasts
Affiliate link. We may earn a small commission.
The mending basket rule
one basket or bag, somewhere visible, where damaged clothes go the day the damage happens. mending happens in front of the television in ten-minute pieces, and the basket is what turns "I should fix that" into a pile that actually shrinks.
Reading the damage
The first question: thread or fabric?
every repair starts with the same diagnosis. if the thread failed and the fabric is sound (a popped trouser seam, a hem come down, a button gone), the fix is re-sewing along the original lines: quick, invisible, permanent. if the fabric itself failed (a knee worn through, a moth hole, a tear), no amount of stitching thin air will hold, and the repair means adding material (a patch), rebuilding material (a darn), or accepting the garment's retirement to the rag bag with honour.
The second question: how far does the weakness run?
hold the damage up to a window. worn fabric glows thin well beyond the visible hole, and that whole glow is the repair zone. patches anchor 2–3cm into sound cloth beyond it; darns start and finish in firm yarn. repairs that fail almost always failed because they were sized to the hole instead of the wear.
The third question: does it show?
a repair inside a pocket bag needs to be strong and nothing else. a repair on a jumper's front is a design decision: match it and hide it, or contrast it and own it. both are respectable. what does not work is the halfway house, a slightly-wrong colour pretending to be invisible.
Five repairs
five real repairs, easiest first. the whole step is hand sewing except the jeans, where a machine helps but a thimble and patience also finish the job.
1. The button (five minutes)
the gateway repair, covered stitch-by-stitch in the sew-a-button side quest: anchor, six passes over a matchstick, wind the shank, bury the knots. do one tonight from the mixed jar even if nothing needs a button, to put the motion in your hands.
2. The popped seam (ten minutes)
turn the garment inside out and find where the stitching ends on each side of the gap. hand backstitch along the original seam line, starting and ending 2cm into the surviving stitching. on trouser seats and underarms, sew the line twice. this is the highest-value ten minutes in this course: popped seams retire more clothes than holes do.
3. The fallen hem (fifteen minutes)
press the hem back into its crease first. slip stitch inside the fold: travel the needle a centimetre inside the hem fold, surface to catch one or two threads of the garment, back into the fold. from outside, nothing. the pressing is half the repair, as ever.
4. The darned jumper (half an hour)
fabric over the mushroom, snug not stretched. anchor in sound yarn beyond the thin zone, lay parallel threads across the hole (the ladder), then weave across them over-under, alternating each row, packing gently with the needle. matching wool disappears; contrast wool is a feature. socks are the same repair on a smaller planet.
5. The jeans knee (an evening)
the full repair, combining everything. trim the hole's ragged edge. cut a denim patch from the hemming course offcuts, 3cm bigger than the worn glow on every side, and tack it behind the hole. from the front, sew rows of stitching back and forth across the whole worn zone, catching patch and garment together: by machine with the jeans needle, or by hand in sashiko-style running stitch rows. the repair is a quilted plate of new-and-old fabric that outlasts the rest of the jeans.
Visible mending and mastery
somewhere in the last century, a mended garment started reading as poverty rather than sense, and clothes became disposable. that has reversed. visible mending, contrast darns, sashiko rows, patches that announce themselves, is now the opposite signal: this garment was worth keeping, and someone had the skill to keep it.
the craft point is that visible mending is the same techniques as invisible mending with braver thread choices, so everything in step 3 is already the toolkit. the hand embroidery course, next in this path, turns those functional stitches decorative, which is where repair and ornament stop being different subjects.
The kit assembled, the basket placed
First eveningbiscuit tin stocked, mending basket visible, one button sewn from the jar as the warm-up
Diagnosis is automatic
First eveningthread or fabric, how far the wear runs, show it or hide it: three questions asked of every damaged garment
A seam and a hem back in service
First weekone popped seam backstitched, one fallen hem slip stitched, both invisible from the outside
A darn that holds
Second weekone jumper or sock darned over the mushroom, anchored in sound yarn, woven tight
The jeans repair done
Second weekpatched, stitched across the whole worn zone, and back in the drawer rather than the bin
The basket empties monthly
Ongoingdamage goes in the day it happens and comes out mended; the household bin loses its clothing habit
- Repair What You Wear (YouTube): a channel devoted entirely to clothing repair, from buttons to complex darns, at genuine beginner pace
- Tom of Holland: the mender most associated with the visible mending movement; his Visible Mending Programme reframed repair as craft
- Evelyn Wood (YouTube): hand-stitch repairs with a tailor's standards, including slip stitch hem fixes filmed properly close
Community
Reader tips
No tips yet. Be the first to share what worked for you.
Share a tip
Sign in to share what worked for you.
Same category
What to learn next
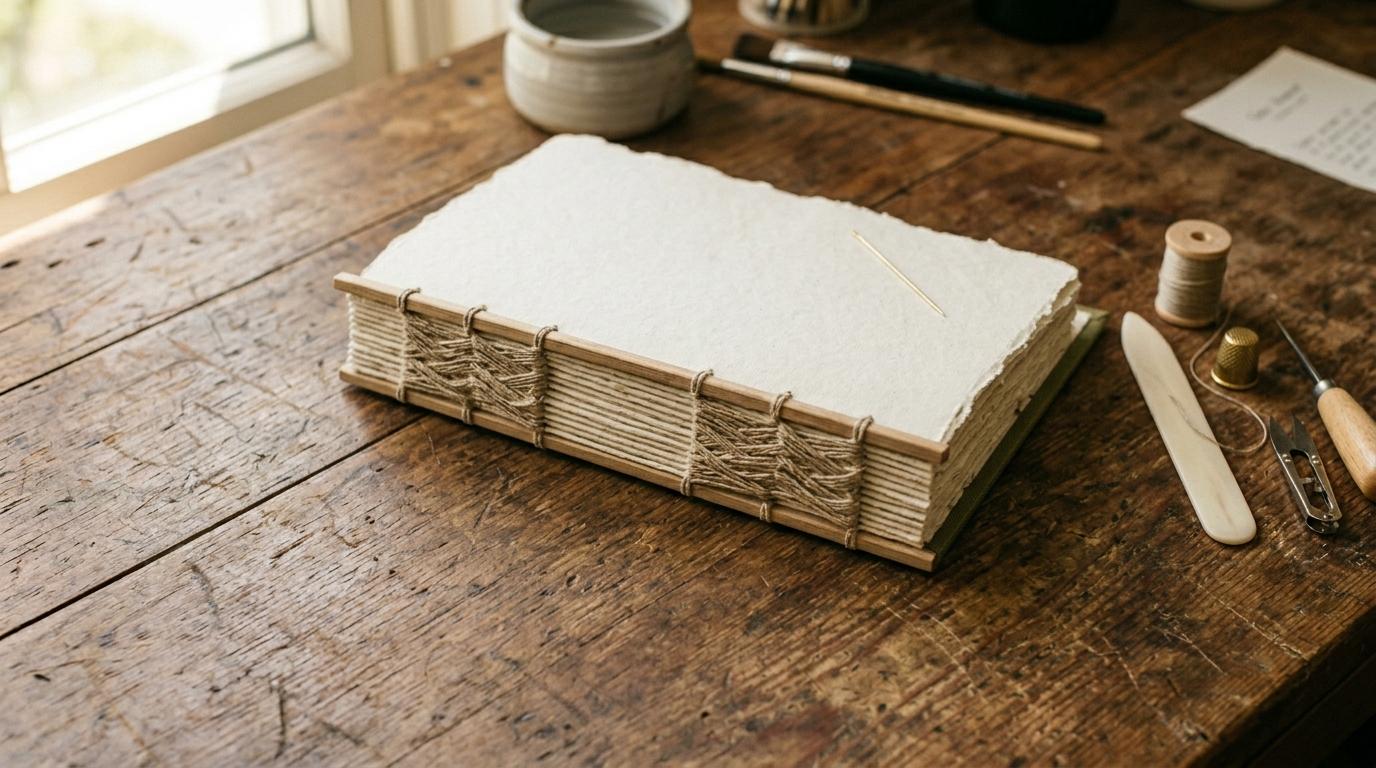
Bookbinding: Your First Journal
Fold, sew, and case a hardback journal by hand. The Coptic stitch and case binding are the two foundational methods, both achievable in a single afternoon session.
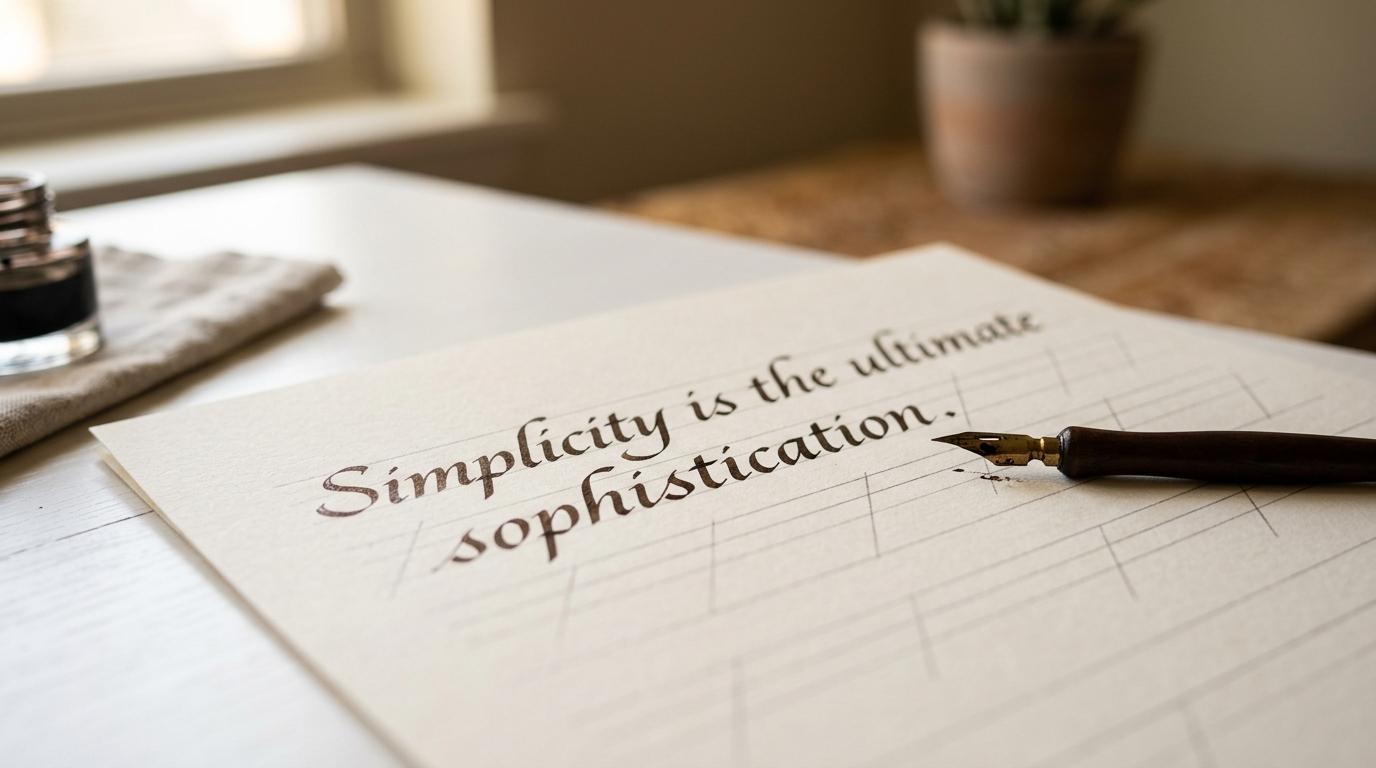
Calligraphy: The Foundational Script
Italic script with a pointed nib. The foundational Western calligraphy hand: clear, elegant, and achievable. Every lettering tradition descends from this one.

Candle Making
Make container candles with soy wax, fragrance oil, and cotton wicks. Published in late October, six weeks before Christmas: enough time to make gifts.